
Photographing Trees in Autumn: 10 Woodland Photography Tips
Introduction
Trees in autumn provide some of the best opportunities of the woodland photography year. Yellows, golds, reds, greens and every shade of brown can appear almost overnight, transforming familiar woods into something completely different.
The problem is that the best colour can be remarkably short-lived. A spell of strong wind can strip leaves quickly, so once autumn starts to develop it pays to be ready.
In this blog I am going to give you ten practical tips to help you make the most of your time in autumn woodlands. This is intended as a quick-reference guide before heading out with the camera and draws on many of the ideas in my ebook Order in the Chaos – Demystifying Woodland Photography.
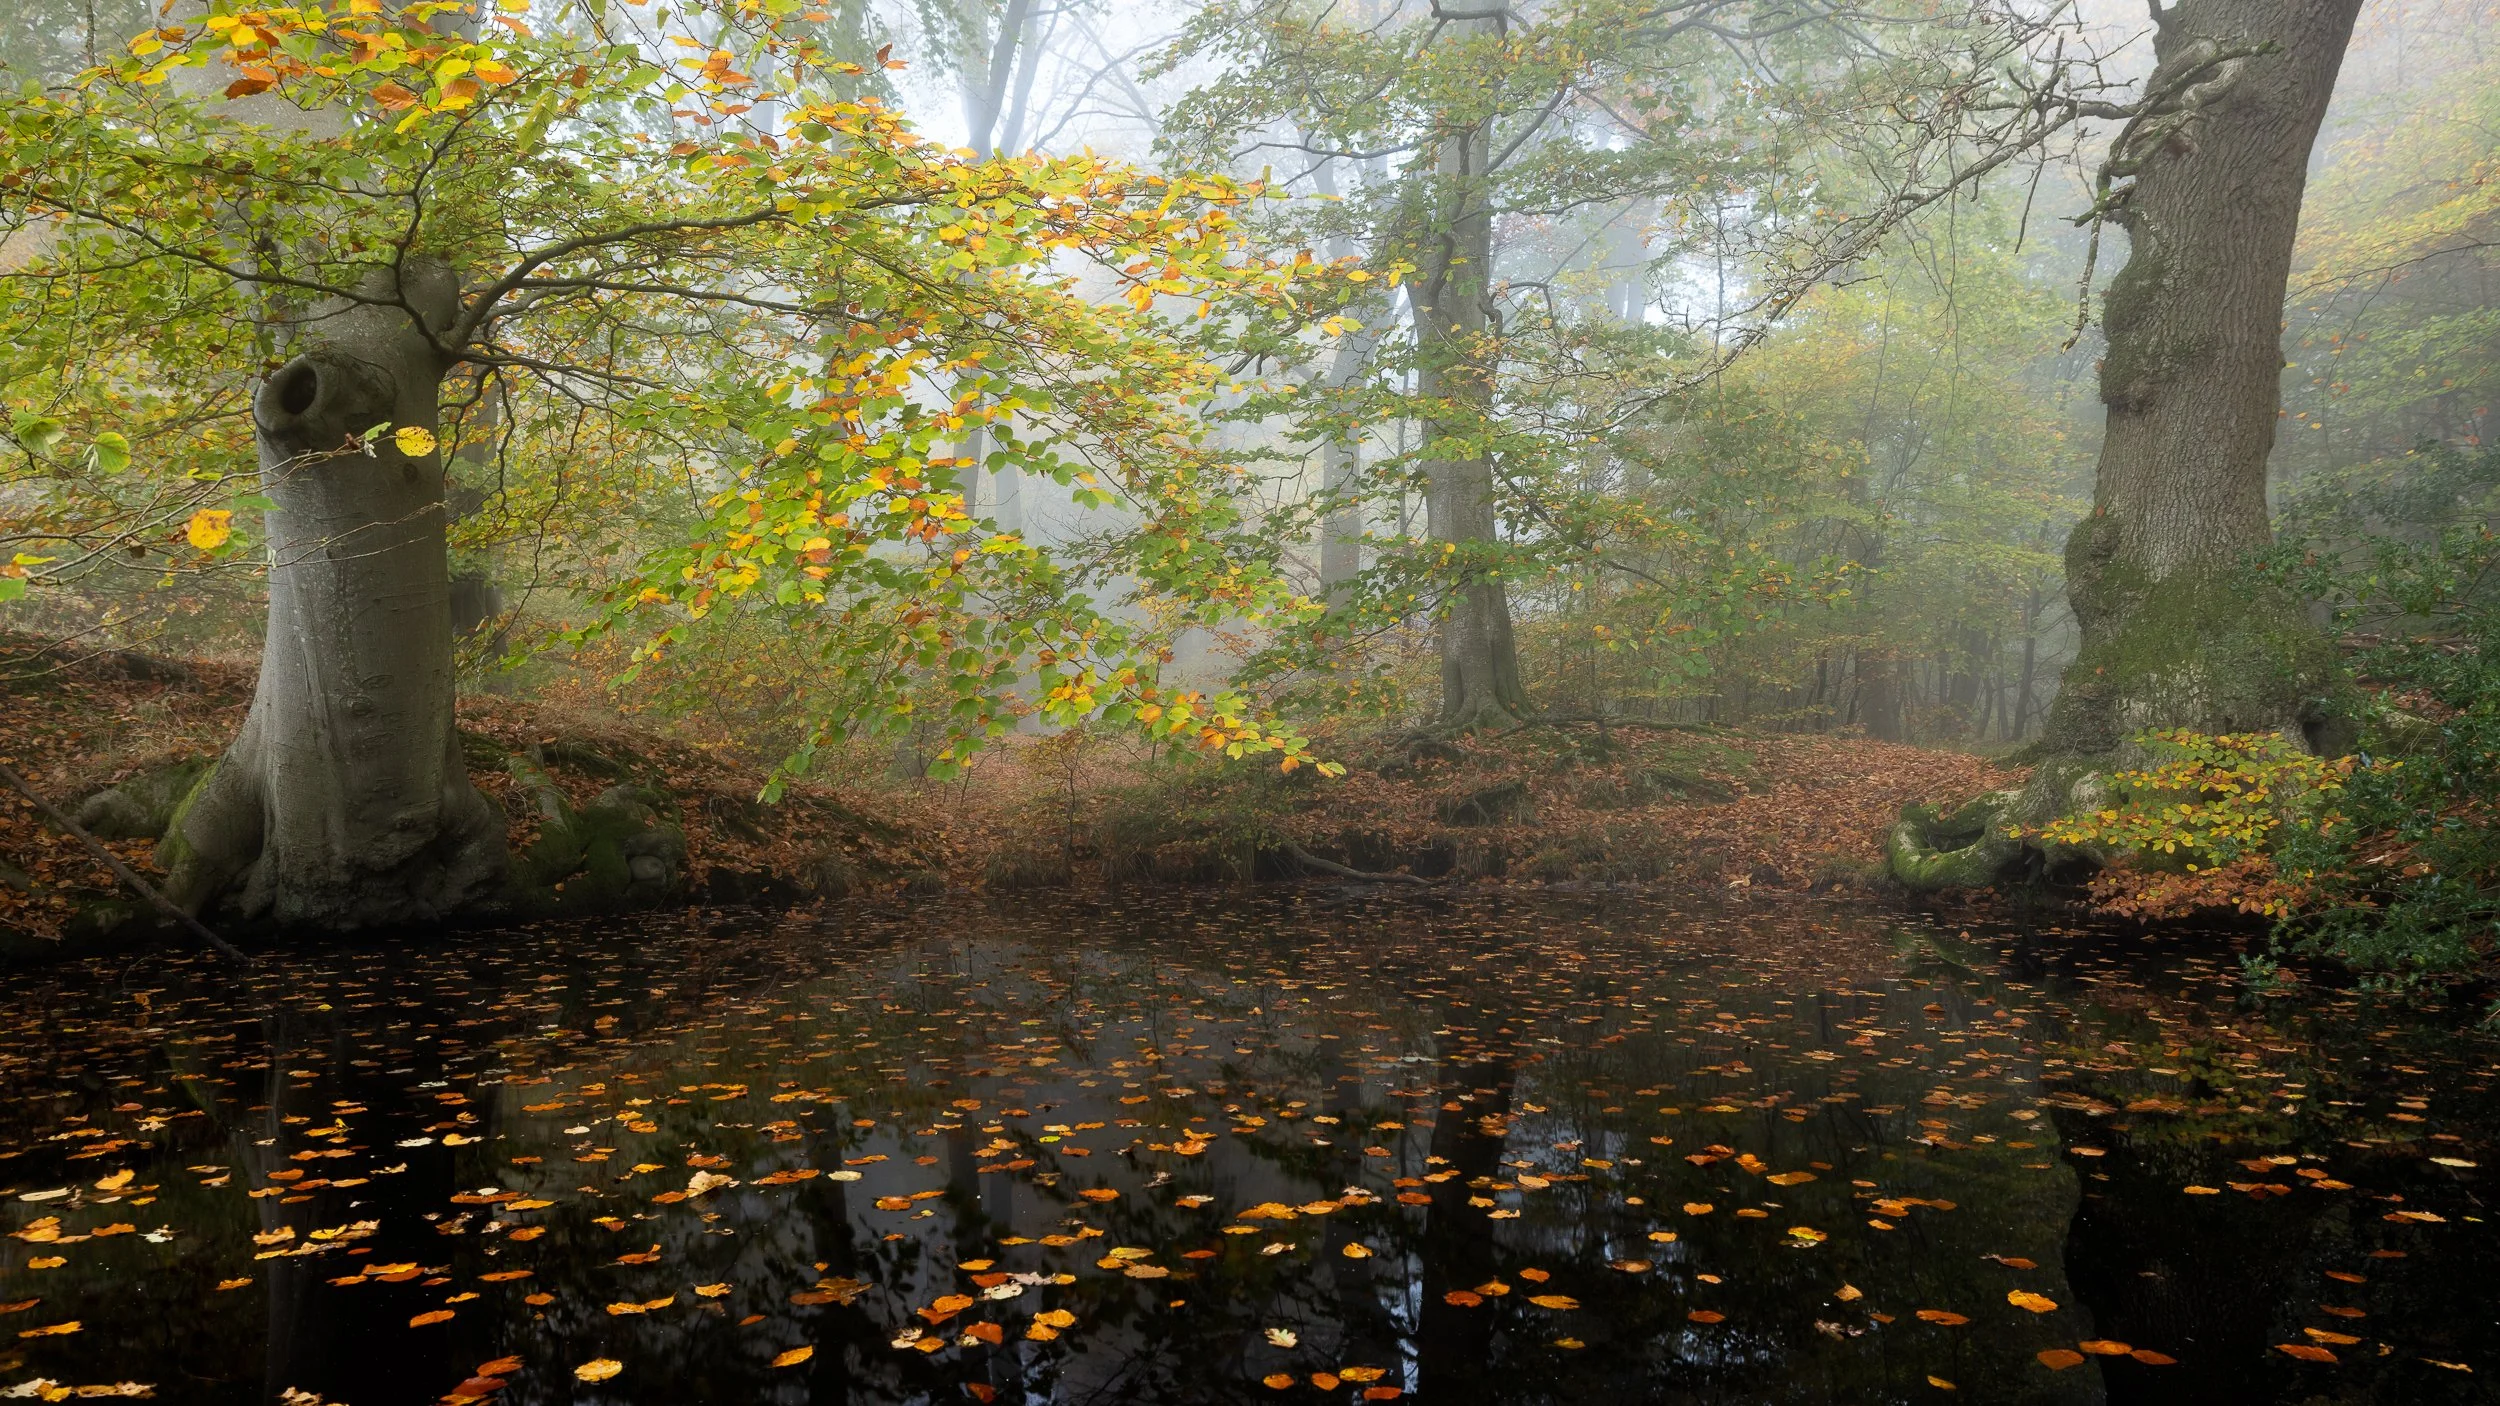
Fog, autumn leaves and water. Idyllic conditions and structures for Autumn photography in the Chiltern Hills, Oxfordshire.
The underlying principle is simple:
Don't try to photograph everything in front of you. Stay calm, slow down and find order, separation and mood within the chaos.
1. Start with your core woodland settings
Woodland is complicated enough without making the camera complicated as well. I like to arrive with a baseline already established so that my attention can shift almost entirely to the scene.
In my recent technique article for Outdoor Photography Magazine, I suggested the following as a useful starting point for a full-frame camera:
Aperture Priority mode, around f/13–f/16, ISO 100–400, RAW file, Daylight white balance and a tripod.
Around 35–50mm is also a useful starting focal length. I personally often default to ISO 400.
On a smaller APS-C sensor I might start around f/11–f/13.
You will notice that I haven't given you a shutter speed. In Aperture Priority the camera will determine that, and inside woodland it might be anything from around 1/30sec to several seconds.
That is why I nearly always use a tripod.
At these slower speeds I also prefer electronic first-curtain shutter rather than a conventional mechanical shutter, reducing the possibility of vibration. On a solid tripod I generally switch image stabilisation off as well.
These settings are not rules. They are simply a reliable starting point that allows me to stop worrying about the camera and start looking properly at the woodland.
2. Find the subject before worrying about composition
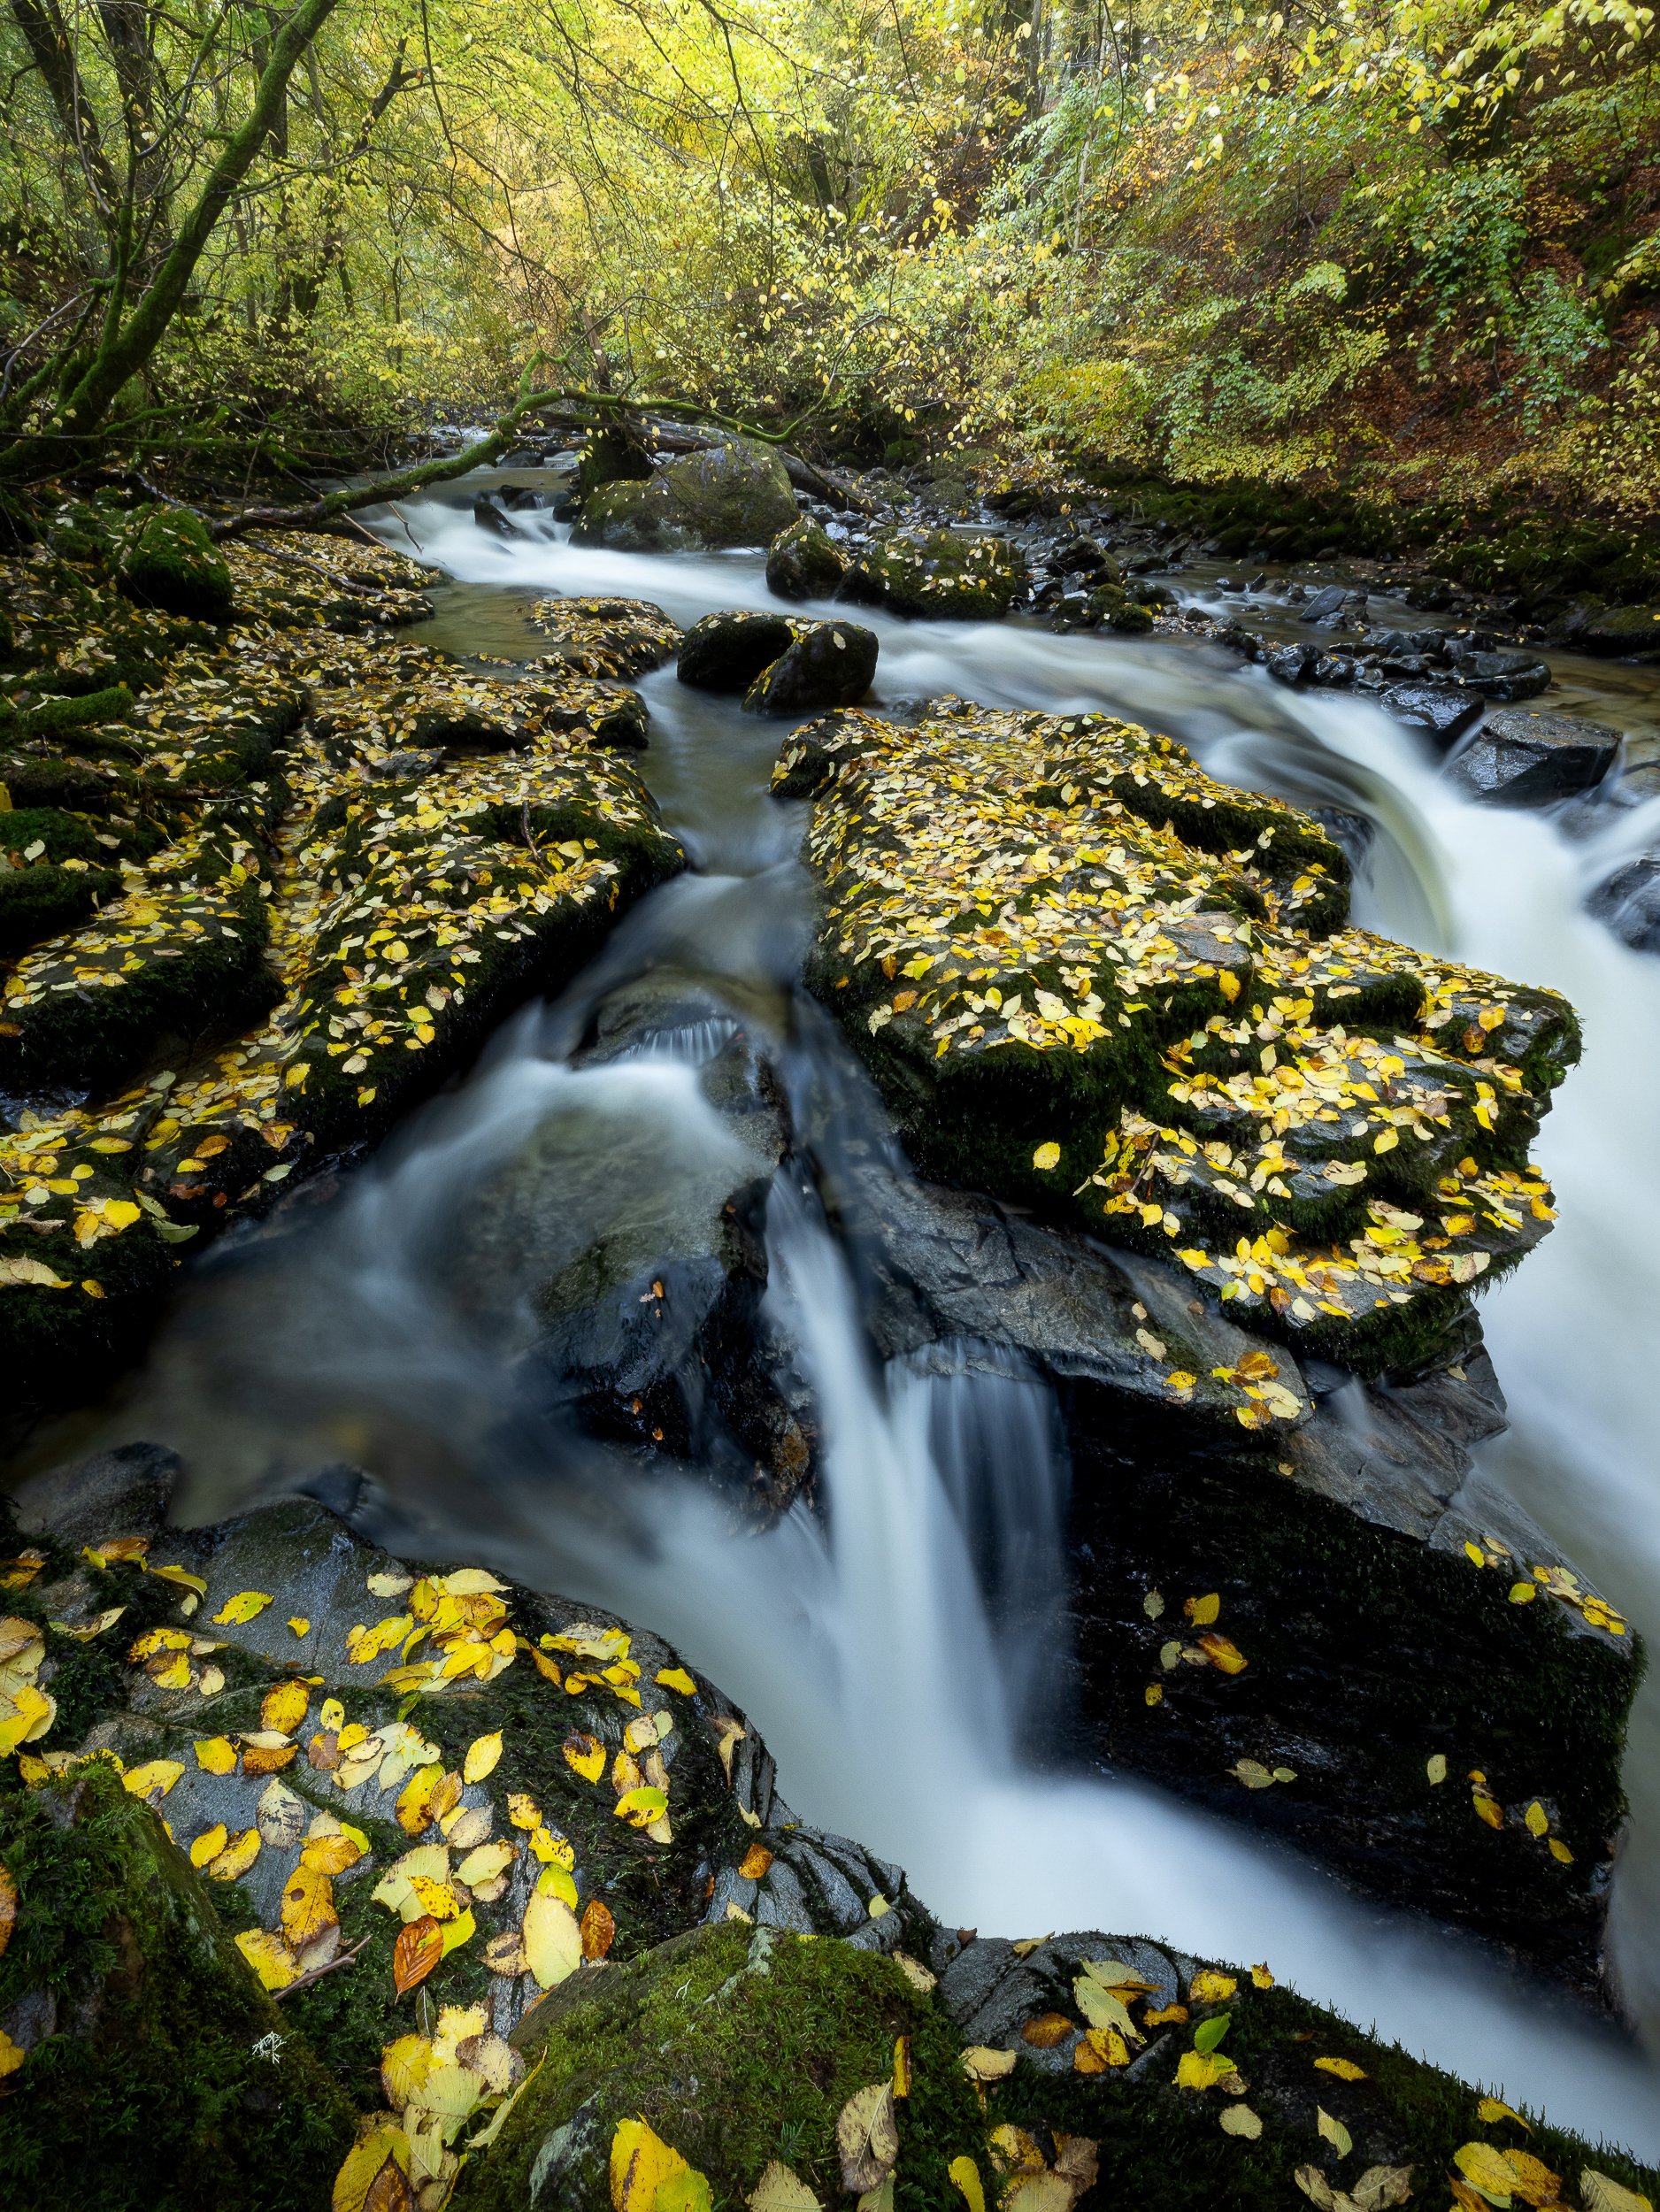
Subject is the waterfall supported by the leaves. Scotland in Autumn
When something catches my attention — a tree, a line of trunks, a patch of autumn colour, fungi, water or simply the way light is falling — I stop and ask:
What is the subject here?
Sometimes the answer is obvious. At other times you realise that the subject is not really a physical object at all. It may be the light, colour or mood.
Then walk around it.
You are going to struggle with woodland photography if you don't explore your subject from different directions. I will often walk a complete 360 degrees around something before deciding where to place the tripod.
I also use something I call the “first point of loss”.
This is simply the place from which I first noticed the subject. Something made me stop at that exact point, so after investigating other angles I return to it. Surprisingly often the strongest composition is close to where that first connection happened.
From there I work through four questions:
Subject – Separation – Mood – Edges
Subject: What actually attracted me?
Separation: How can I separate it from the chaos around it?
Mood: What am I trying to convey? Lens choice, depth of field, light and weather can all influence this. Sometimes the answer is simply to return in different conditions. Excellence often comes from persistence.
Edges: Have I properly checked the edges of the frame?
Always patrol your edges.
A bright leaf, half a branch, a wedge of white sky or a pale stick on the forest floor can become infuriating once you get home. It is much easier to deal with it while you are standing there.
Extra tip: look for colour contrast
If you are struggling to find an obvious subject, look for contrasting colours.

Red and green are particularly useful as autumn develops.
Red and green form a complementary colour pairing because they sit opposite each other on the traditional colour wheel.
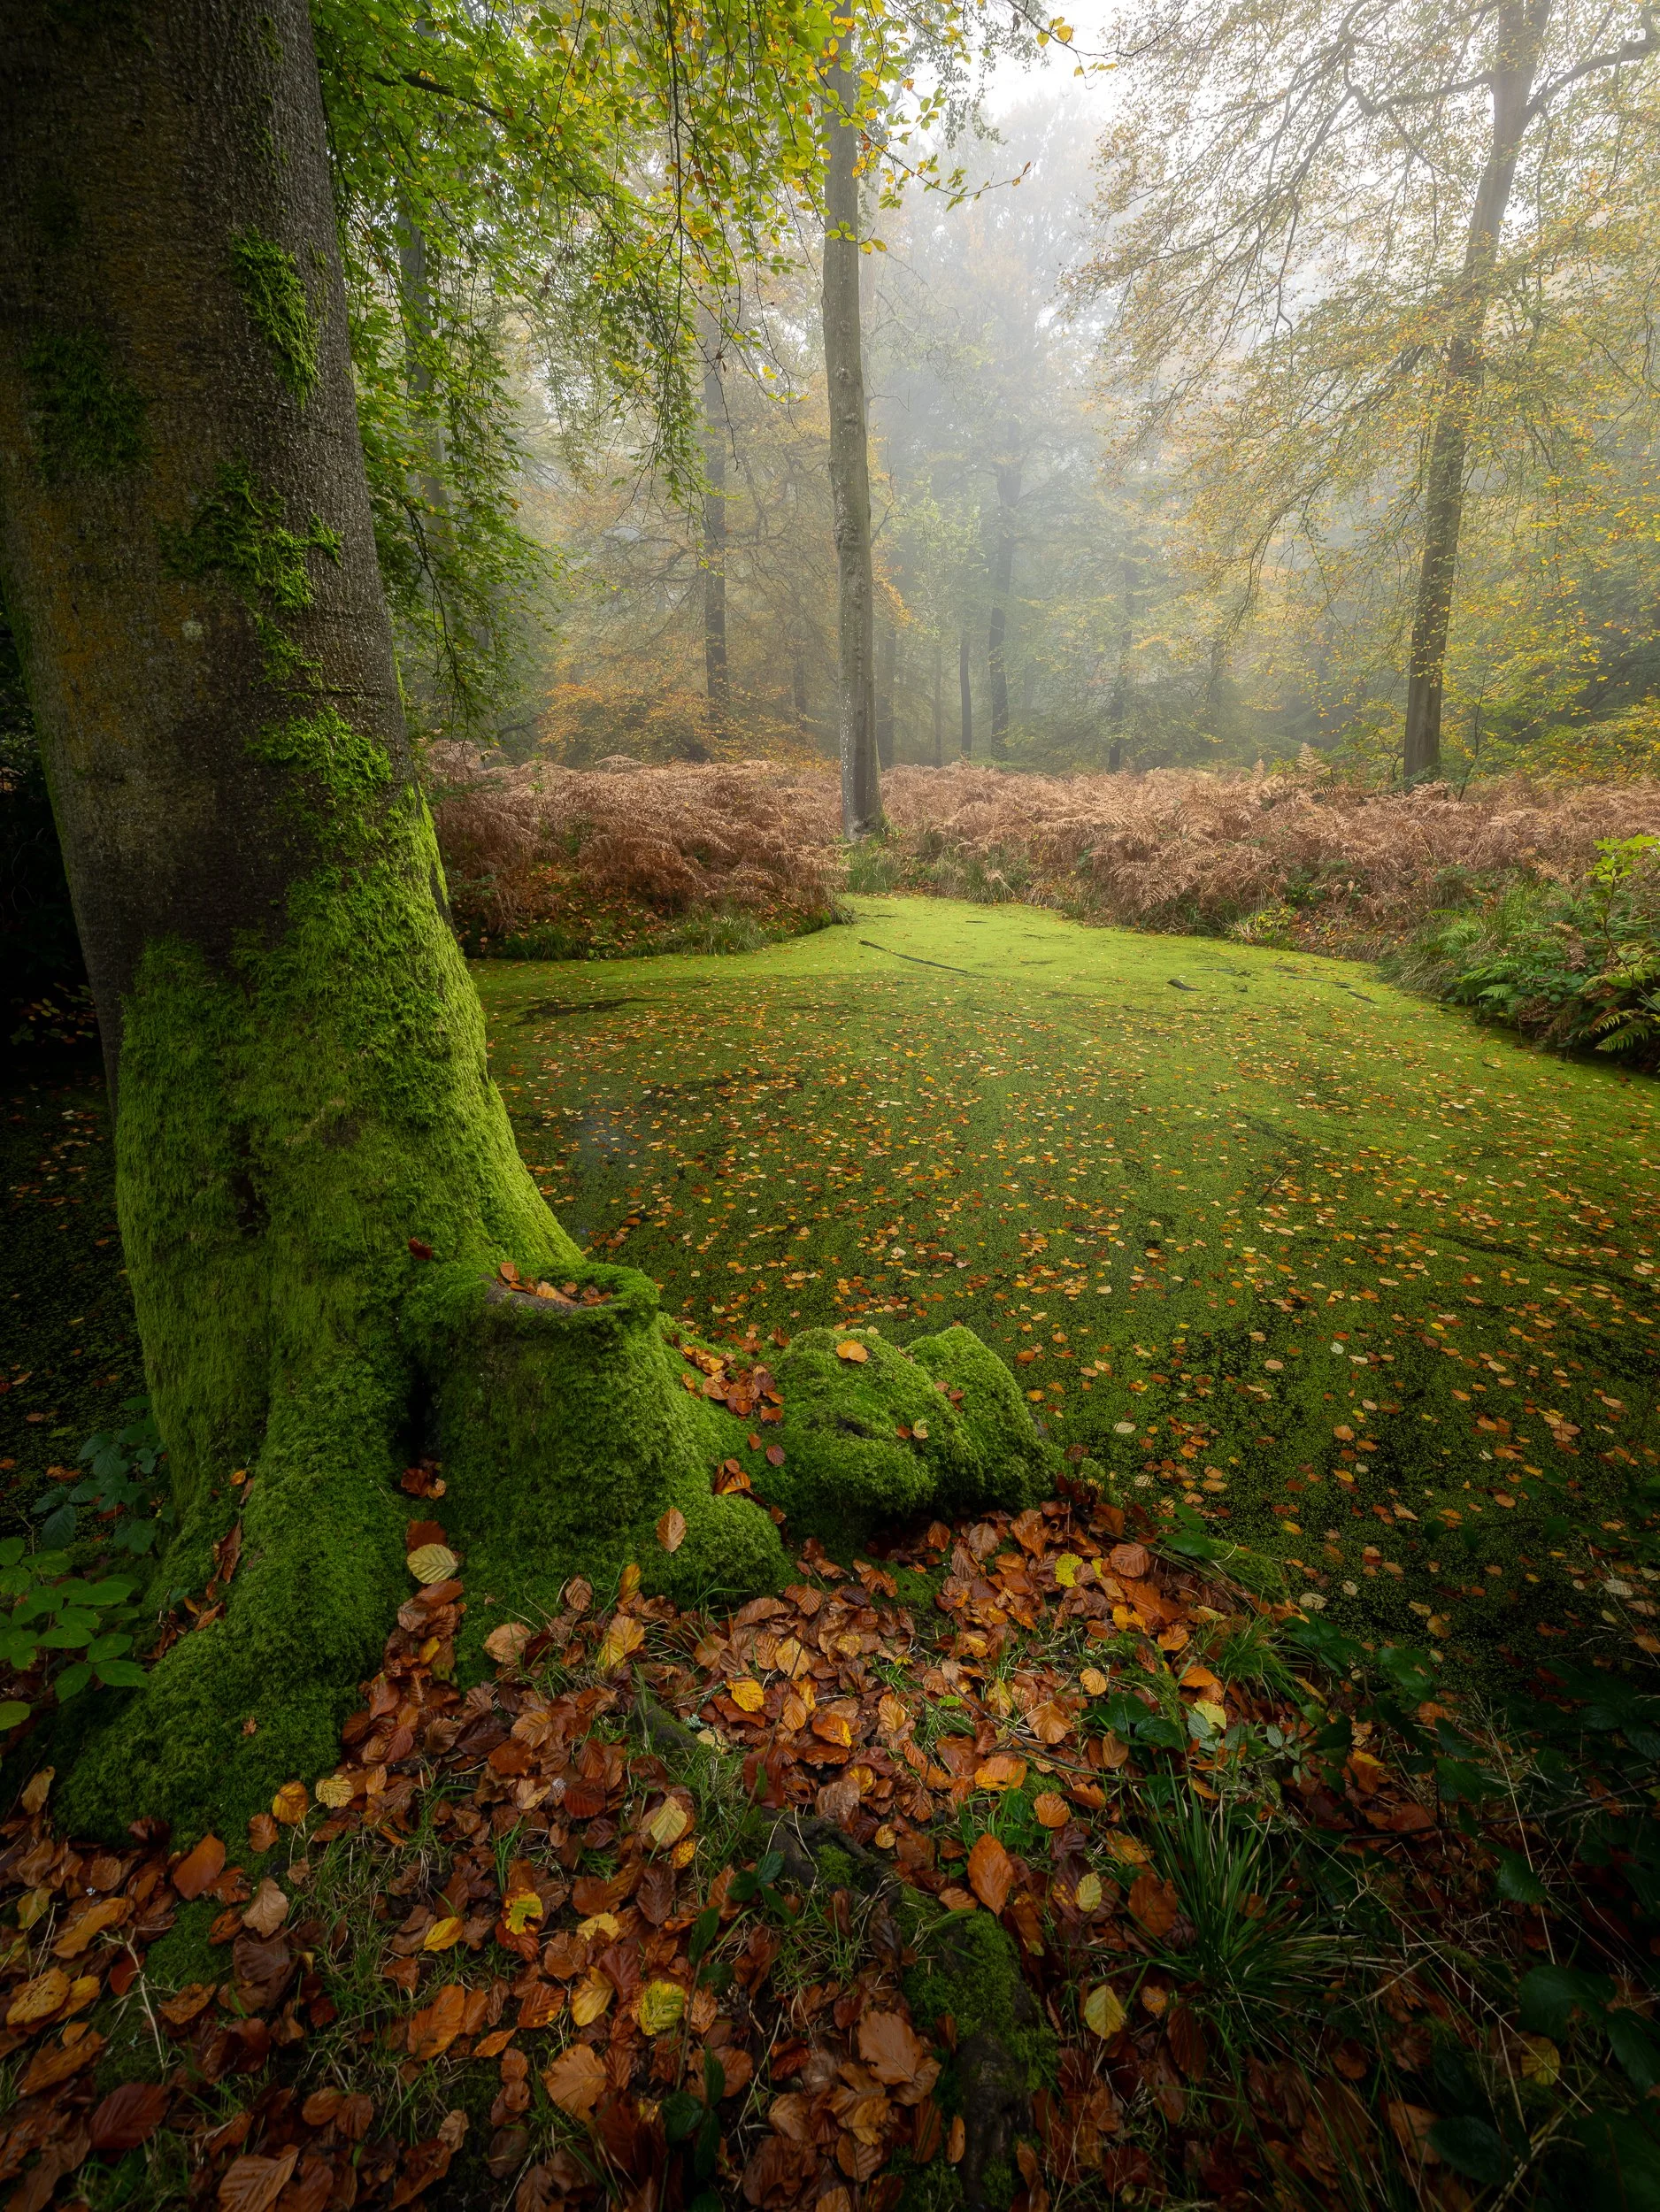
The subject is the leaves and trunk in the foreground. The Chilterns.
A red or orange leaf amongst remaining green foliage can therefore immediately attract the eye and provide the starting point for a composition.
Look at the colour wheel and consider what other colour relationships might appear as the season develops.
Colour is one of the most useful tools for bringing order to complicated woodland, and I explore this in much greater depth in Order in the Chaos.
3. Think carefully about tripod height and focal length
Once you have identified your subject, you need to decide how strongly you want to draw the viewer towards it.
Two of your simplest tools are focal length and camera height.
Focal length
The longer the focal length, the easier it becomes to isolate and simplify.
Around 50mm is an excellent starting point in woodland. It gives a fairly natural perspective, avoids some of the stretching associated with wider lenses and makes it easier to exclude bright sky.
As your experience develops, you may deliberately allow small areas of sky into the image where they contribute to the direction of the light or help tell the story.
The important point is that the sky is there because you chose to include it, not because you failed to notice it.
Tripod height
Camera height can completely alter the relationship between your subject, forest floor and sky.
I often raise the camera and point it slightly downwards. This can reduce distracting sky and give much more control over the forest floor.
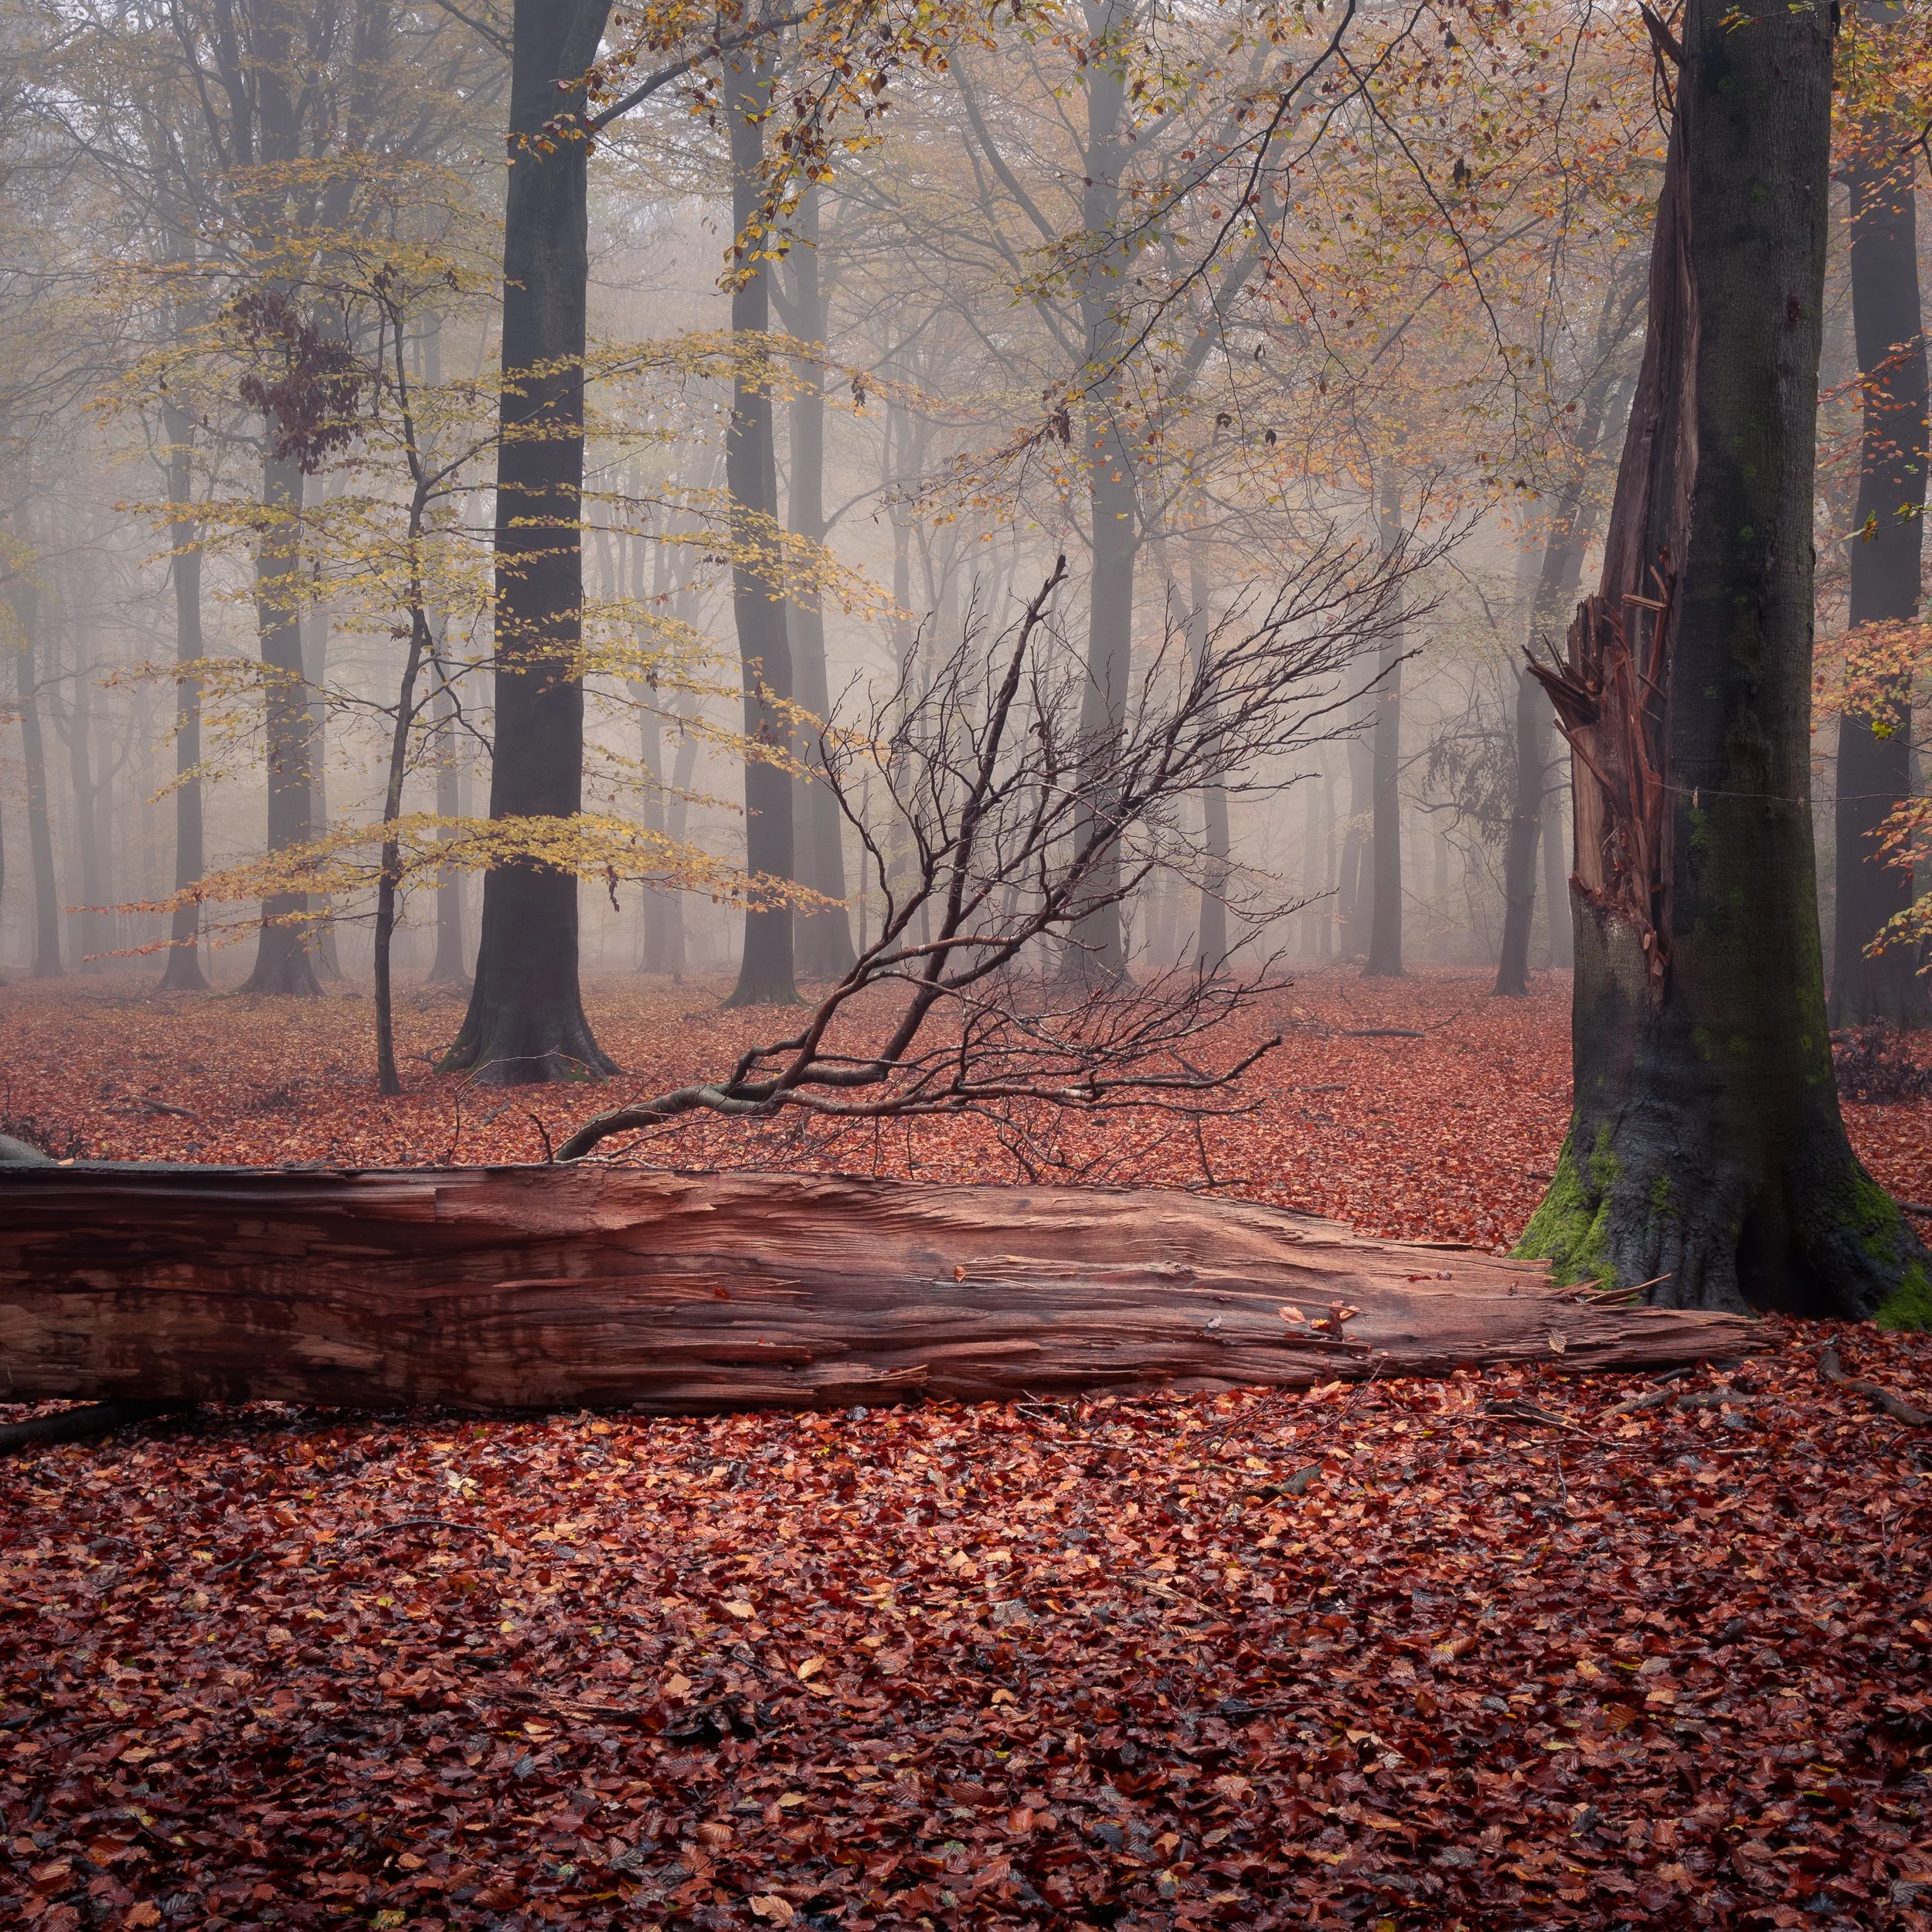
The subject is the fallen tree. Autumn in Oxfordshire’s Woodlands
My own tripod is sturdy rather than ultralight and has an extension column that allows me to get the camera above head height when necessary.
The opposite may be true when photographing fungi or other small woodland subjects. Here I might place the camera close to ground level and shoot at something like f/2.8, allowing the canopy and brighter background to dissolve into soft bokeh.
And don't forget the simplest compositional tool of all:
Your feet.
Moving only a few centimetres left, right, up or down can hide a distracting highlight behind a tree trunk.
This becomes increasingly useful as the canopy thins and more bright sky begins appearing between the trees in autumn.
4. Wind changes everything: remote release, shutter speed and ISO
Wind creates two obvious problems during autumn.
It can shorten the period of peak colour by stripping leaves from the trees, and moving foliage can turn an otherwise sharp photograph into a blur.
One of the easiest mistakes in woodland photography is assuming that because the camera is on a tripod everything will be sharp.
The tripod stops the camera moving. It does nothing for the leaves.
In still conditions I am happy working at ISO 100–400 and allowing the shutter speed to fall.
As soon as foliage begins moving, shutter speed becomes much more important.
If necessary, I will aim for something around 1/100sec and raise the ISO rather than open the aperture and lose the depth of field I wanted.
Don't be frightened of ISO 800, 1600 or even 2000 if that is what is required.
Modern noise-reduction software is extremely effective. Blurred leaves are much harder — often impossible — to repair.
Use a remote release
Woodland wind often comes in waves.
I watch the foliage, wait for the lull and fire immediately using a cable or wireless remote.
If you rely on a two-second self-timer, Sod's law dictates that the leaves will start moving again just before the shutter opens.
A remote lets you take the image at exactly the right moment.
It is a very simple technique but one worth mastering.
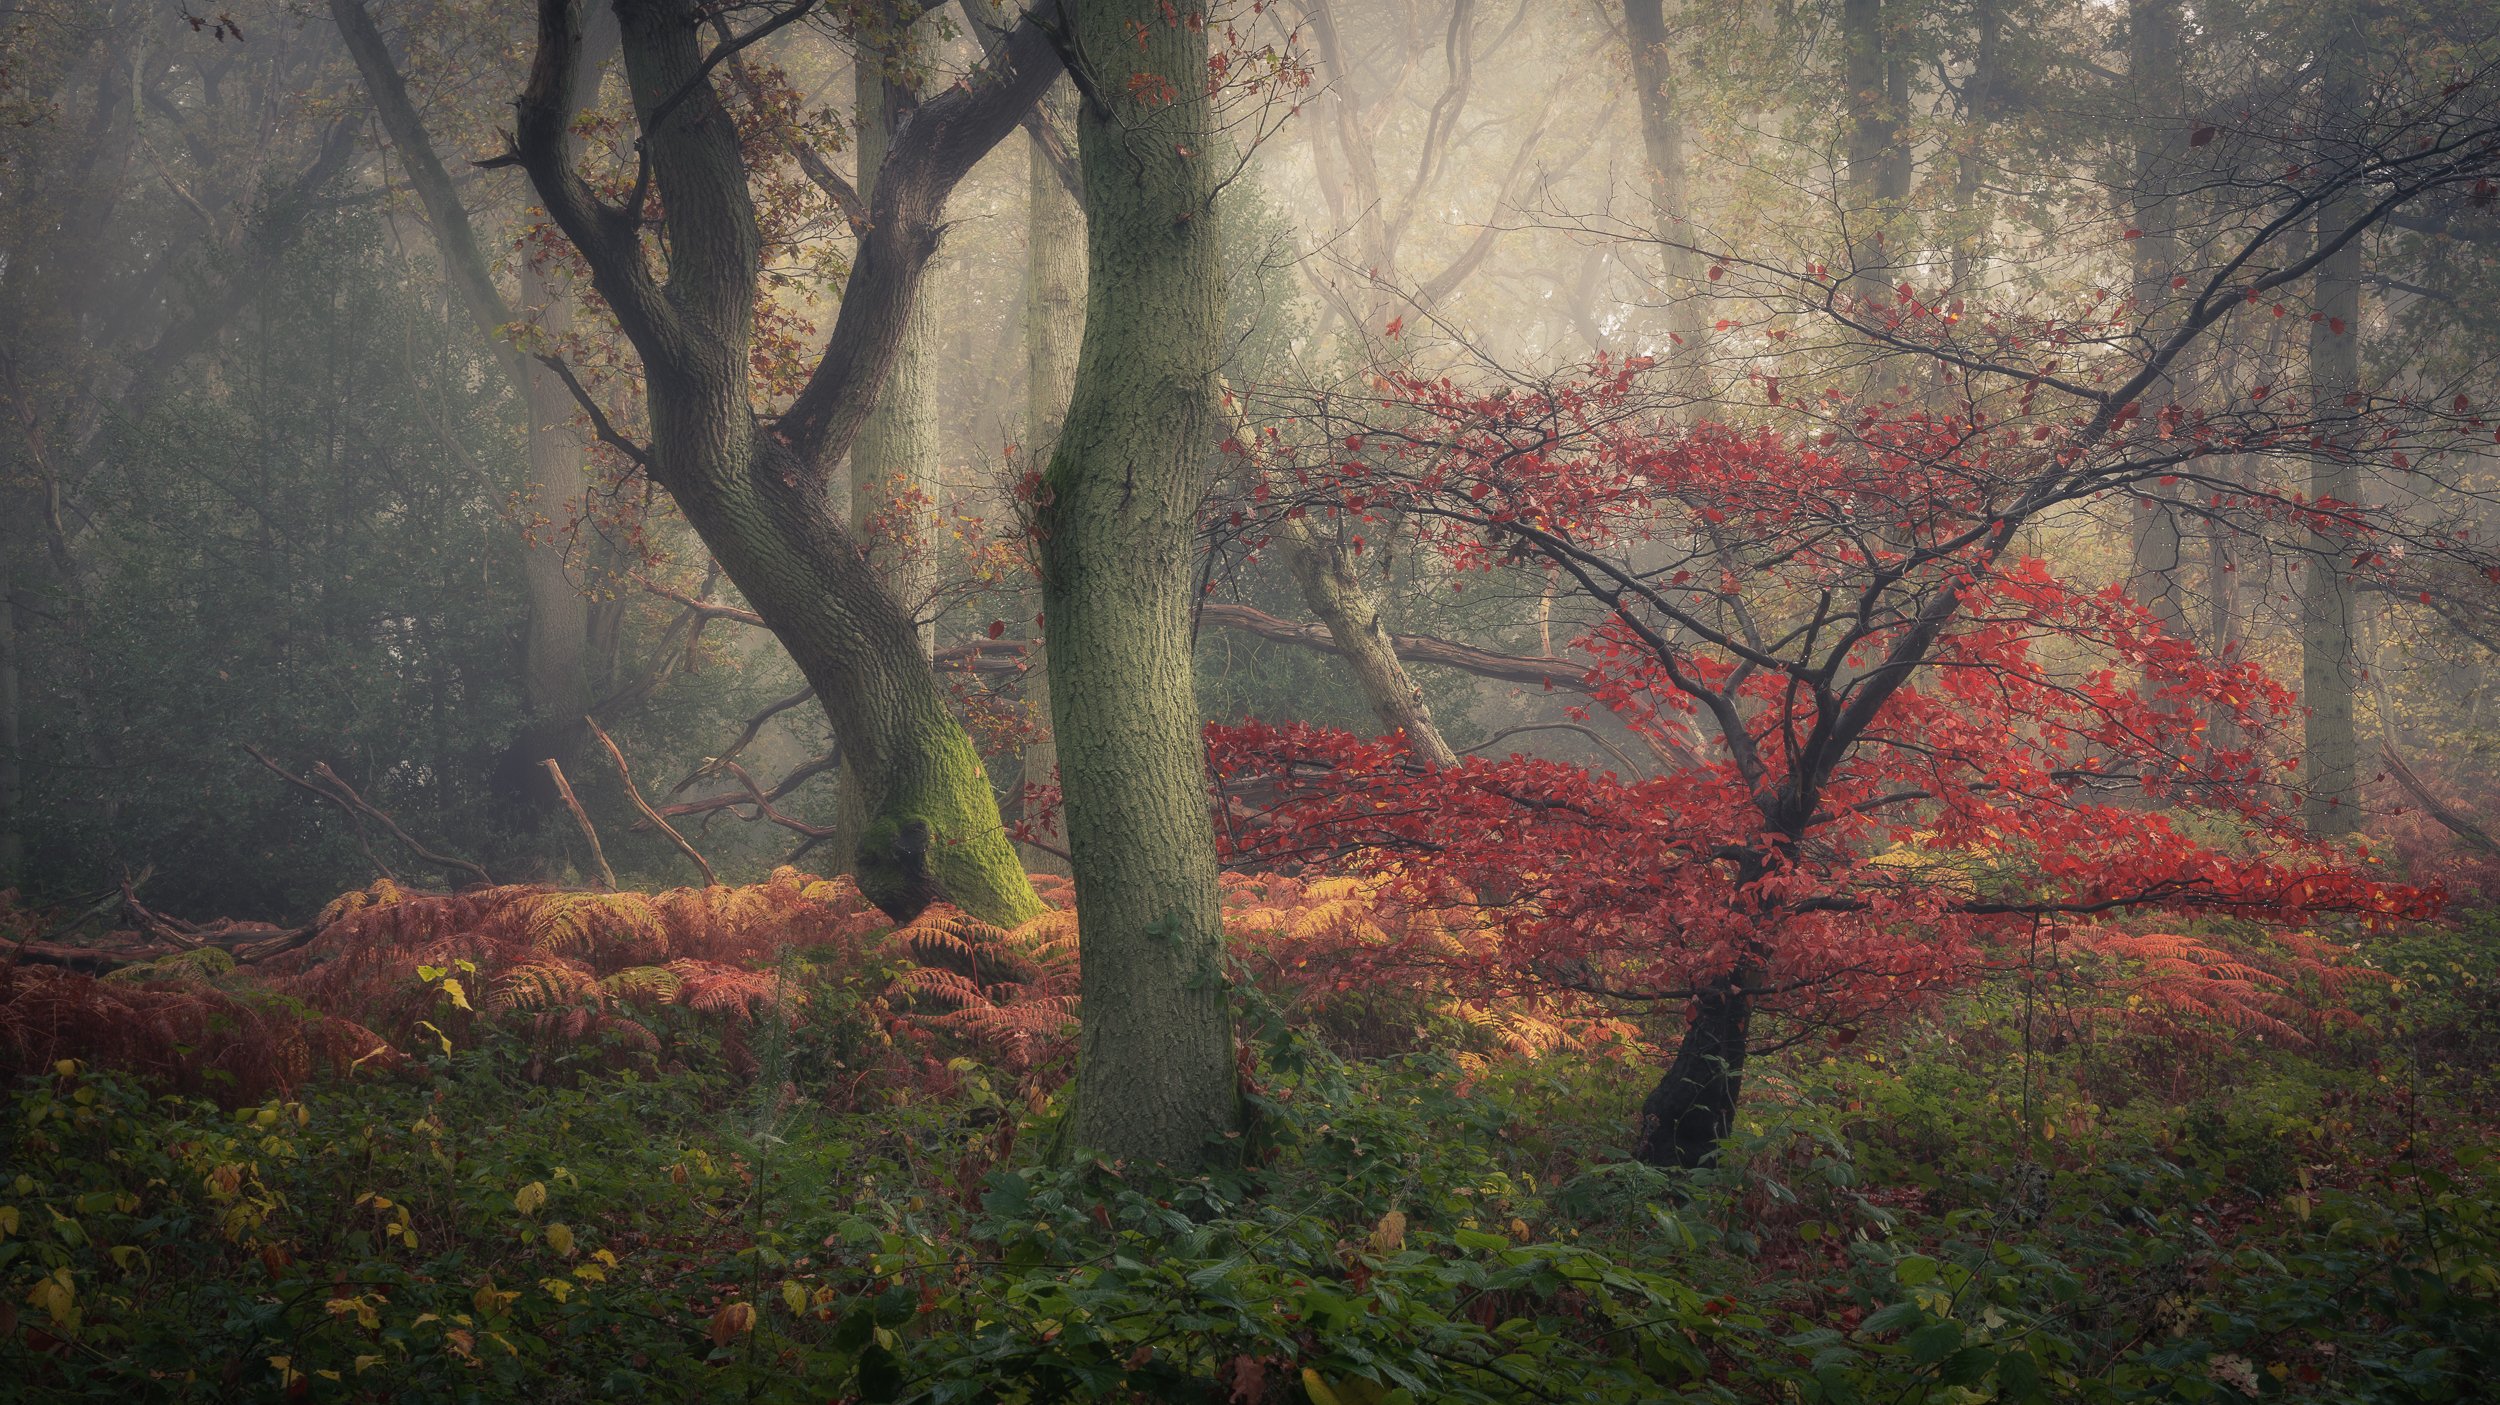
Fog with reds and greens as complementary colours providing contrast. That’s always going to be a winner with the fog to provide separation as well.
Or deliberately embrace movement
There is another option: go completely the other way.
Leave the camera on the tripod and deliberately use a shutter speed of several seconds.
If the main tree or subject remains still while the surrounding foliage moves, the resulting blur can actually increase separation and create a very different interpretation of the woodland.
Likewise, rather than increasing ISO you might deliberately open the lens to f/5.6 or f/2.8 and use shallow depth of field creatively.
One warning: don't try to focus-stack a series of wide-aperture images if the leaves are moving. The foliage will occupy different positions in every frame and can become almost impossible to blend convincingly.
5. Use a polariser - especially after rain and later in the day
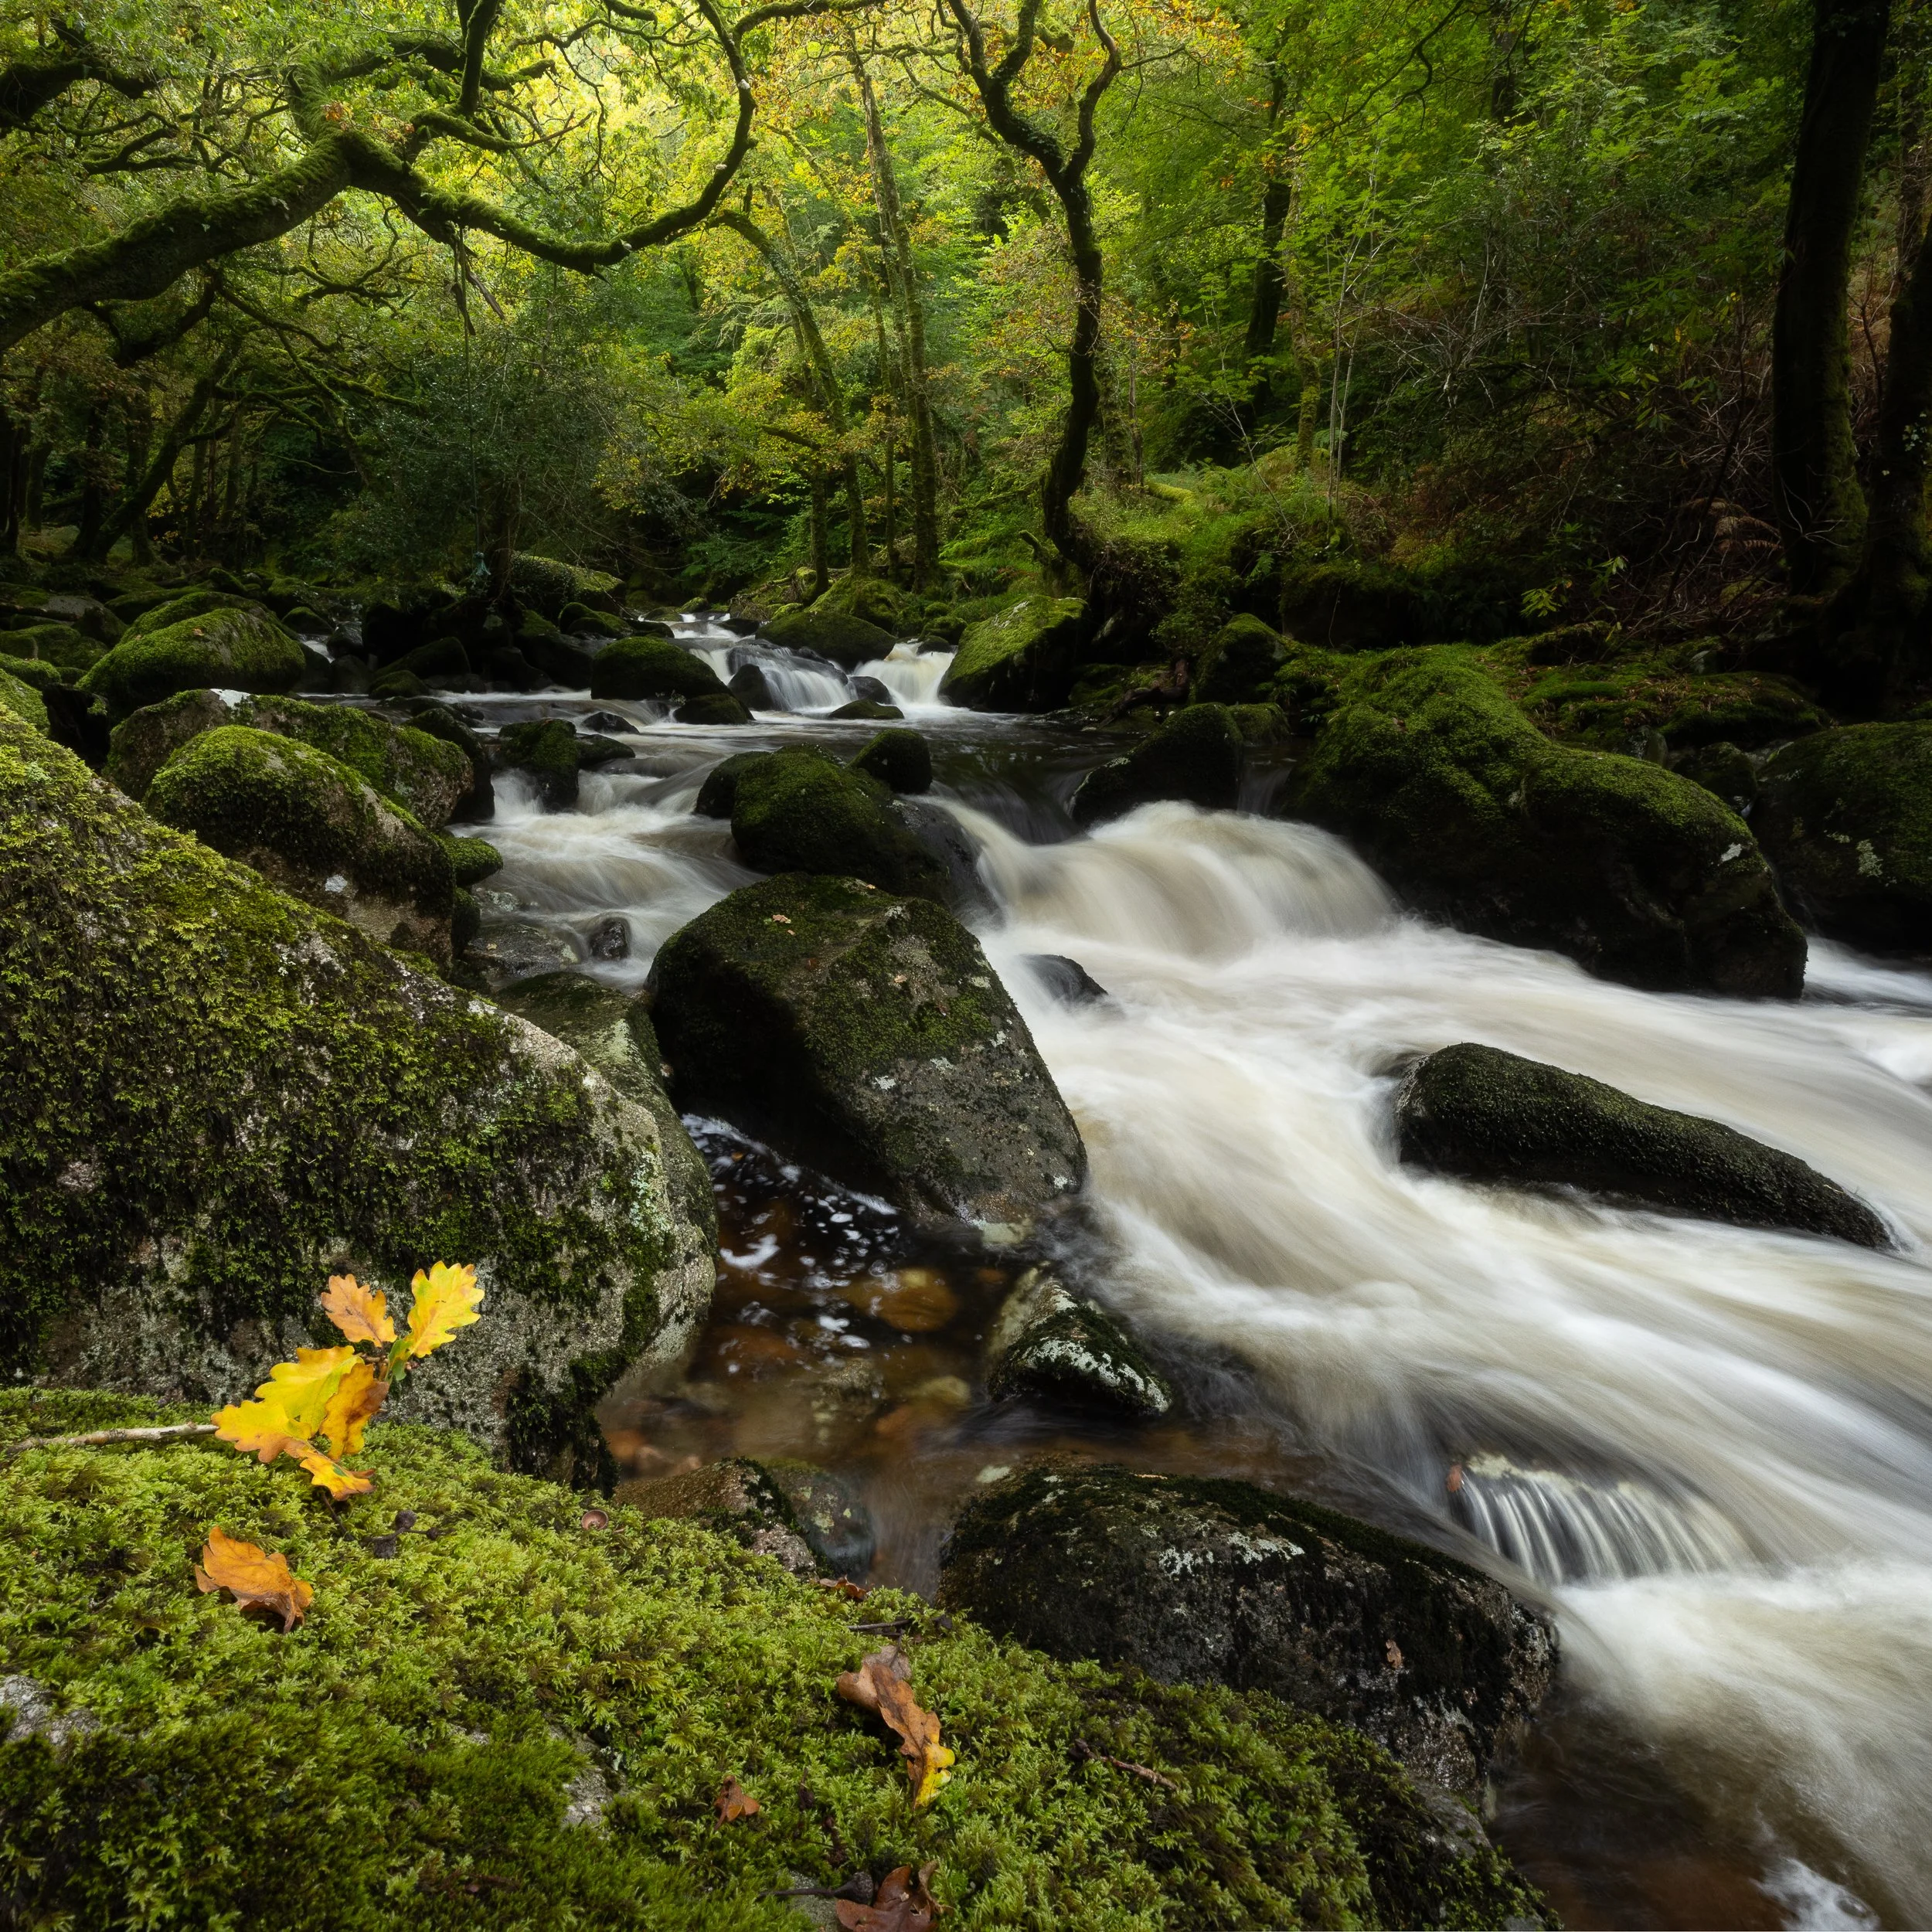
Hint of Autumn. Polarizer is essential in these conditions
I love rain in summer woodland because of the texture and colour it produces.
Autumn is slightly different.
Dry conditions can be wonderful, frost can transform the forest floor, but rain still has enormous photographic potential.
It also creates a problem:
Reflections. These highlights will distract the viewer from your intended subject.
Wet leaves and bark can produce small bright highlights that reduce colour saturation and distract from your subject.
A circular polariser allows you to control those reflections and reveal the richness underneath.
This becomes particularly useful on the autumn forest floor, where layers of brown, red and orange leaves can otherwise become dark, shiny and visually confused.
For this reason I probably find a polariser even more useful in autumn than in summer.
But don't automatically rotate it to maximum.
Remove every reflection and the woodland can start looking strangely flat.
I normally rotate the filter until the distracting glare disappears while retaining enough reflection to give the leaves and bark some three-dimensional form.
Save money with step-down rings
Buy a good polariser.
There is little point spending hundreds or thousands of pounds on lenses and then putting poor-quality glass in front of them.
One simple trick is to buy a high-quality filter for the largest filter diameter you own — 82mm in my case — and then use inexpensive step-down rings for smaller lenses.
One good polariser can then serve several lenses.
6. Woodlands Weather: choose the conditions before the location
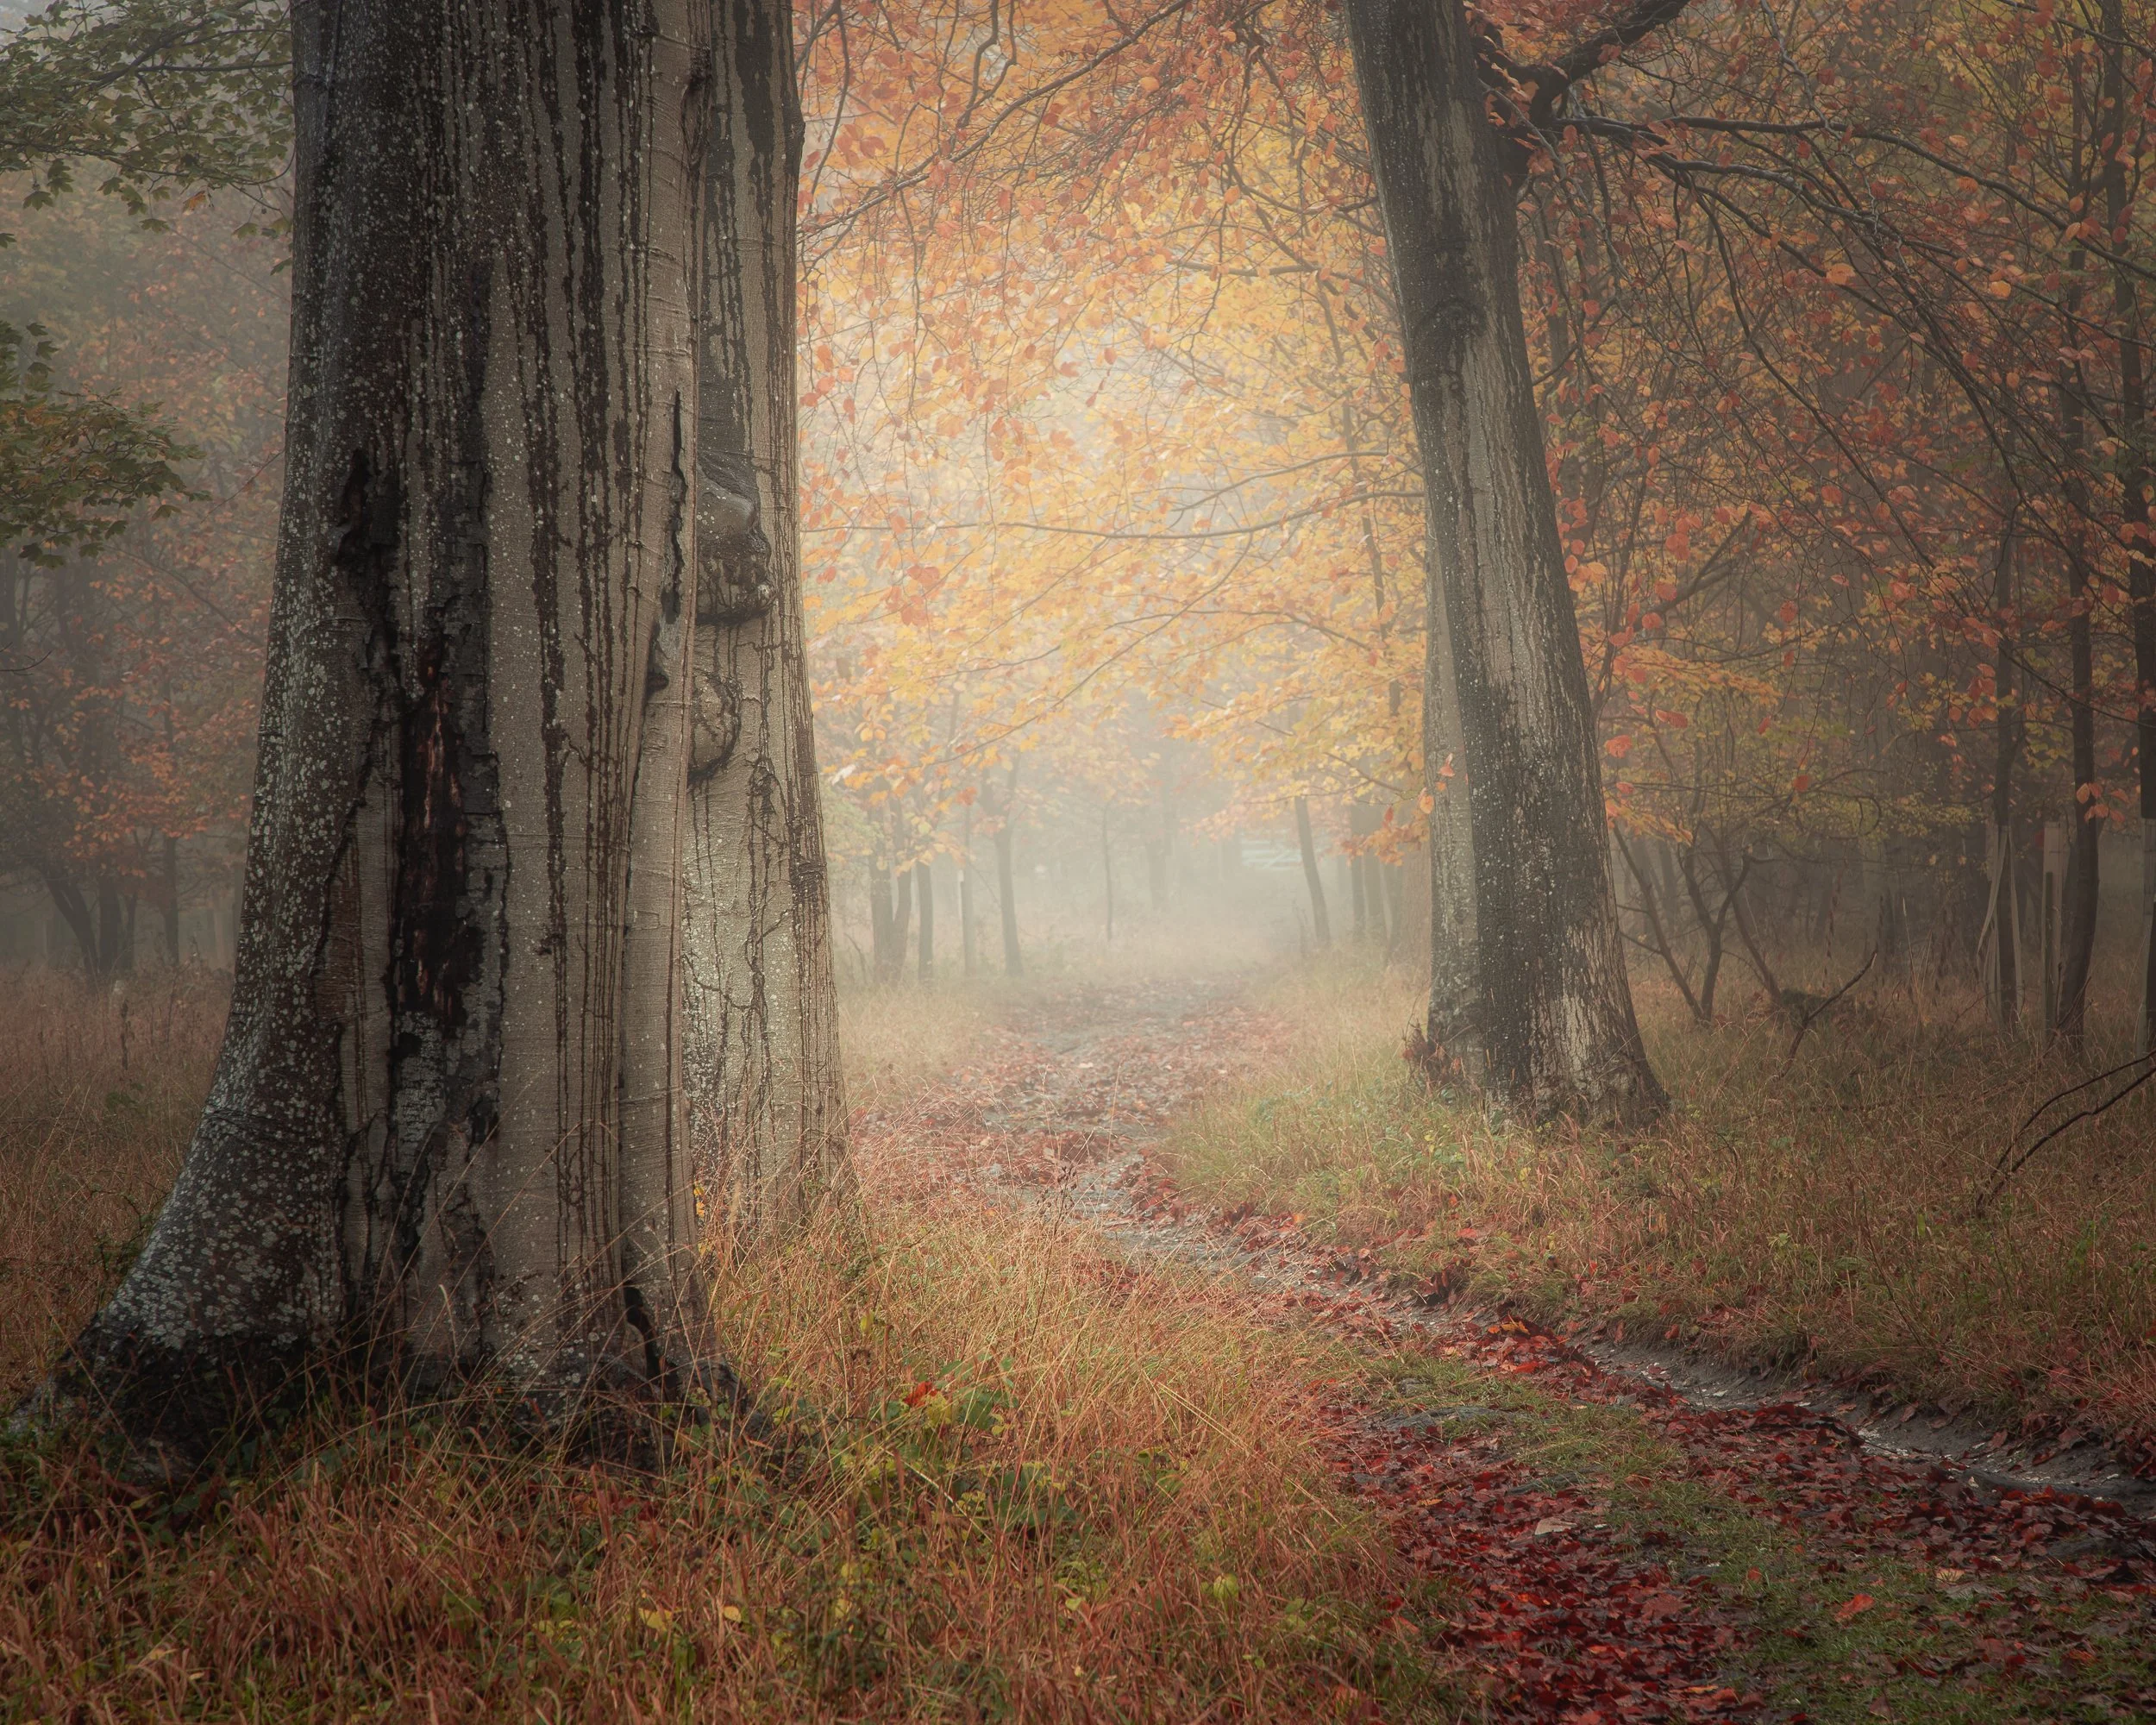
Water dripping down the trunks and mist in the hills.
The holy grail of autumn woodland photography is probably fog.
Fog almost does the job of separation for you.
Trees close to the camera remain strong and defined while successive layers gradually disappear into the distance.
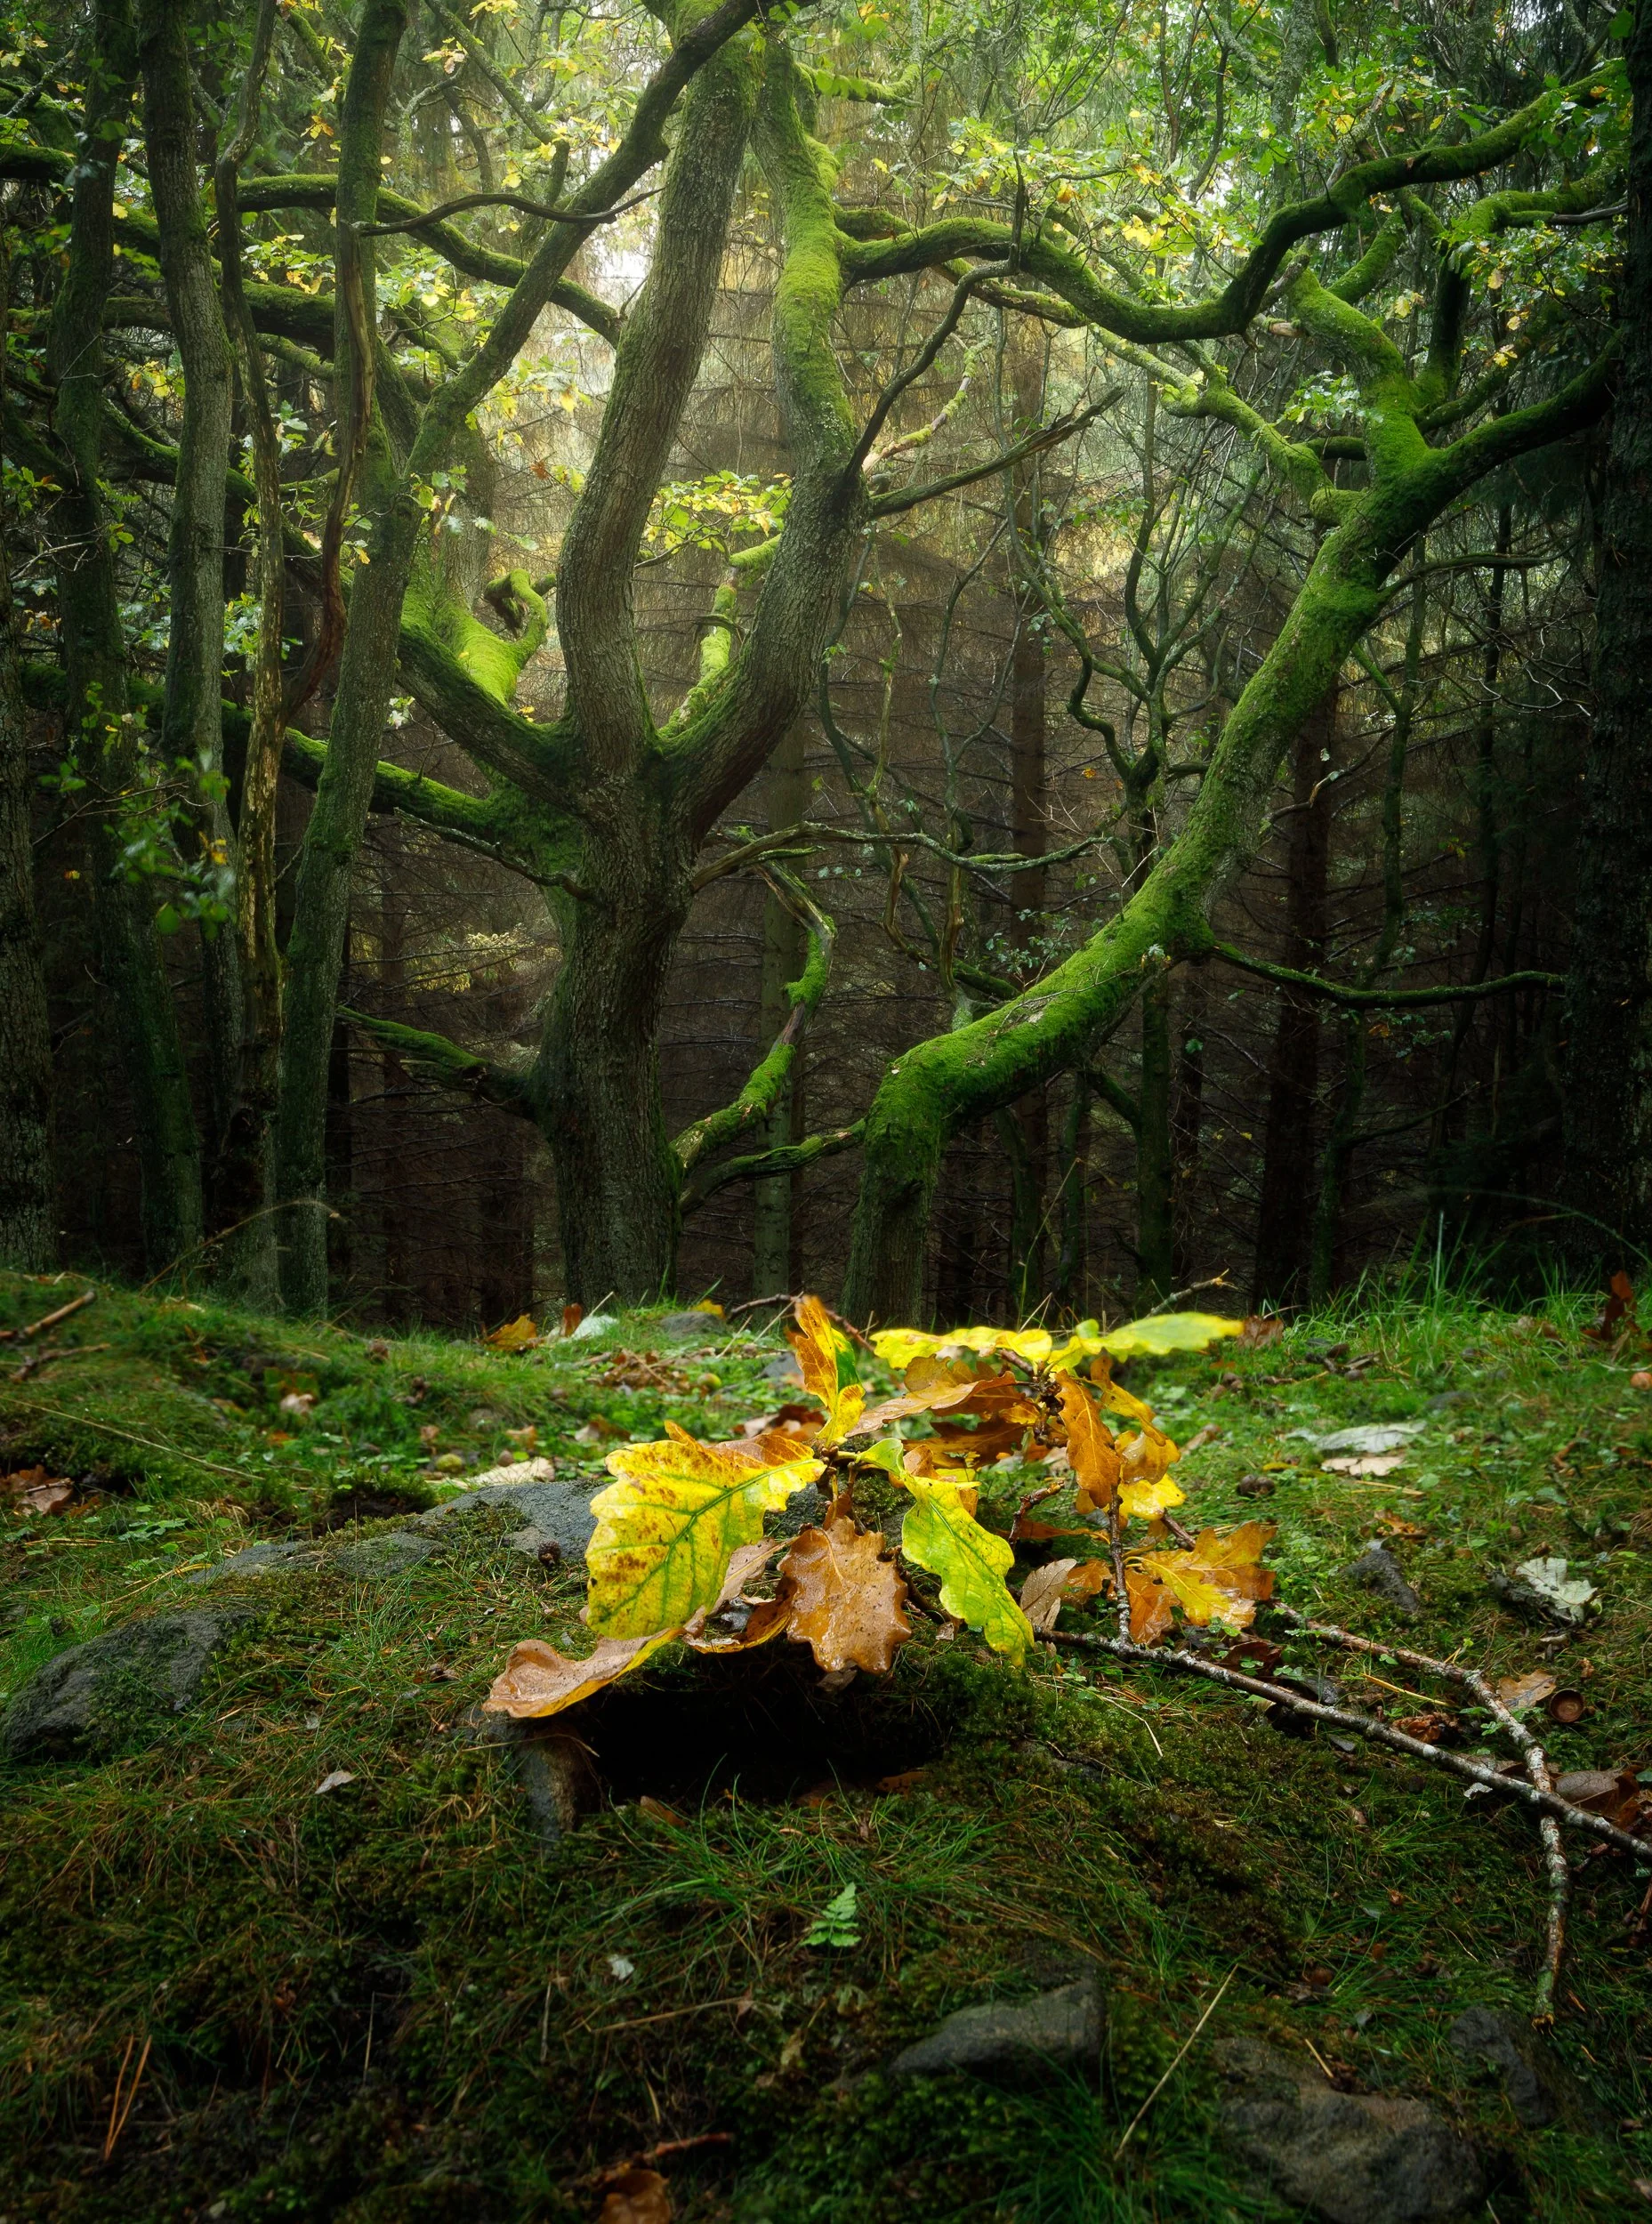
Rain has saturated the colours in the Peak District, UK
Unfortunately, fog is not common enough to build your photography around it.
That is why I often think about woodlands weather before deciding exactly where I am going to shoot.
Bright sunshine can create harsh highlights, deep shadows and a jumble of contrast.
Rain, mist and soft overcast conditions often make woodland much easier to organise.
Mist creates separation. We need separation to refine our image.
Rain works differently. It enriches colour, darkens trunks and reduces background contrast. Wet paths, exposed roots and fallen leaves can also become much stronger compositional elements.
There is a balance, though.
Very wet autumn leaves can become highly reflective, particularly from their waxy surfaces, while saturated browns on the forest floor can become extremely dark.
Sometimes the ideal moment is when the leaves have started to dry but the trunks still retain moisture. You get the richness and contrast without excessive glare.
What time of day?
Early morning remains my favourite.
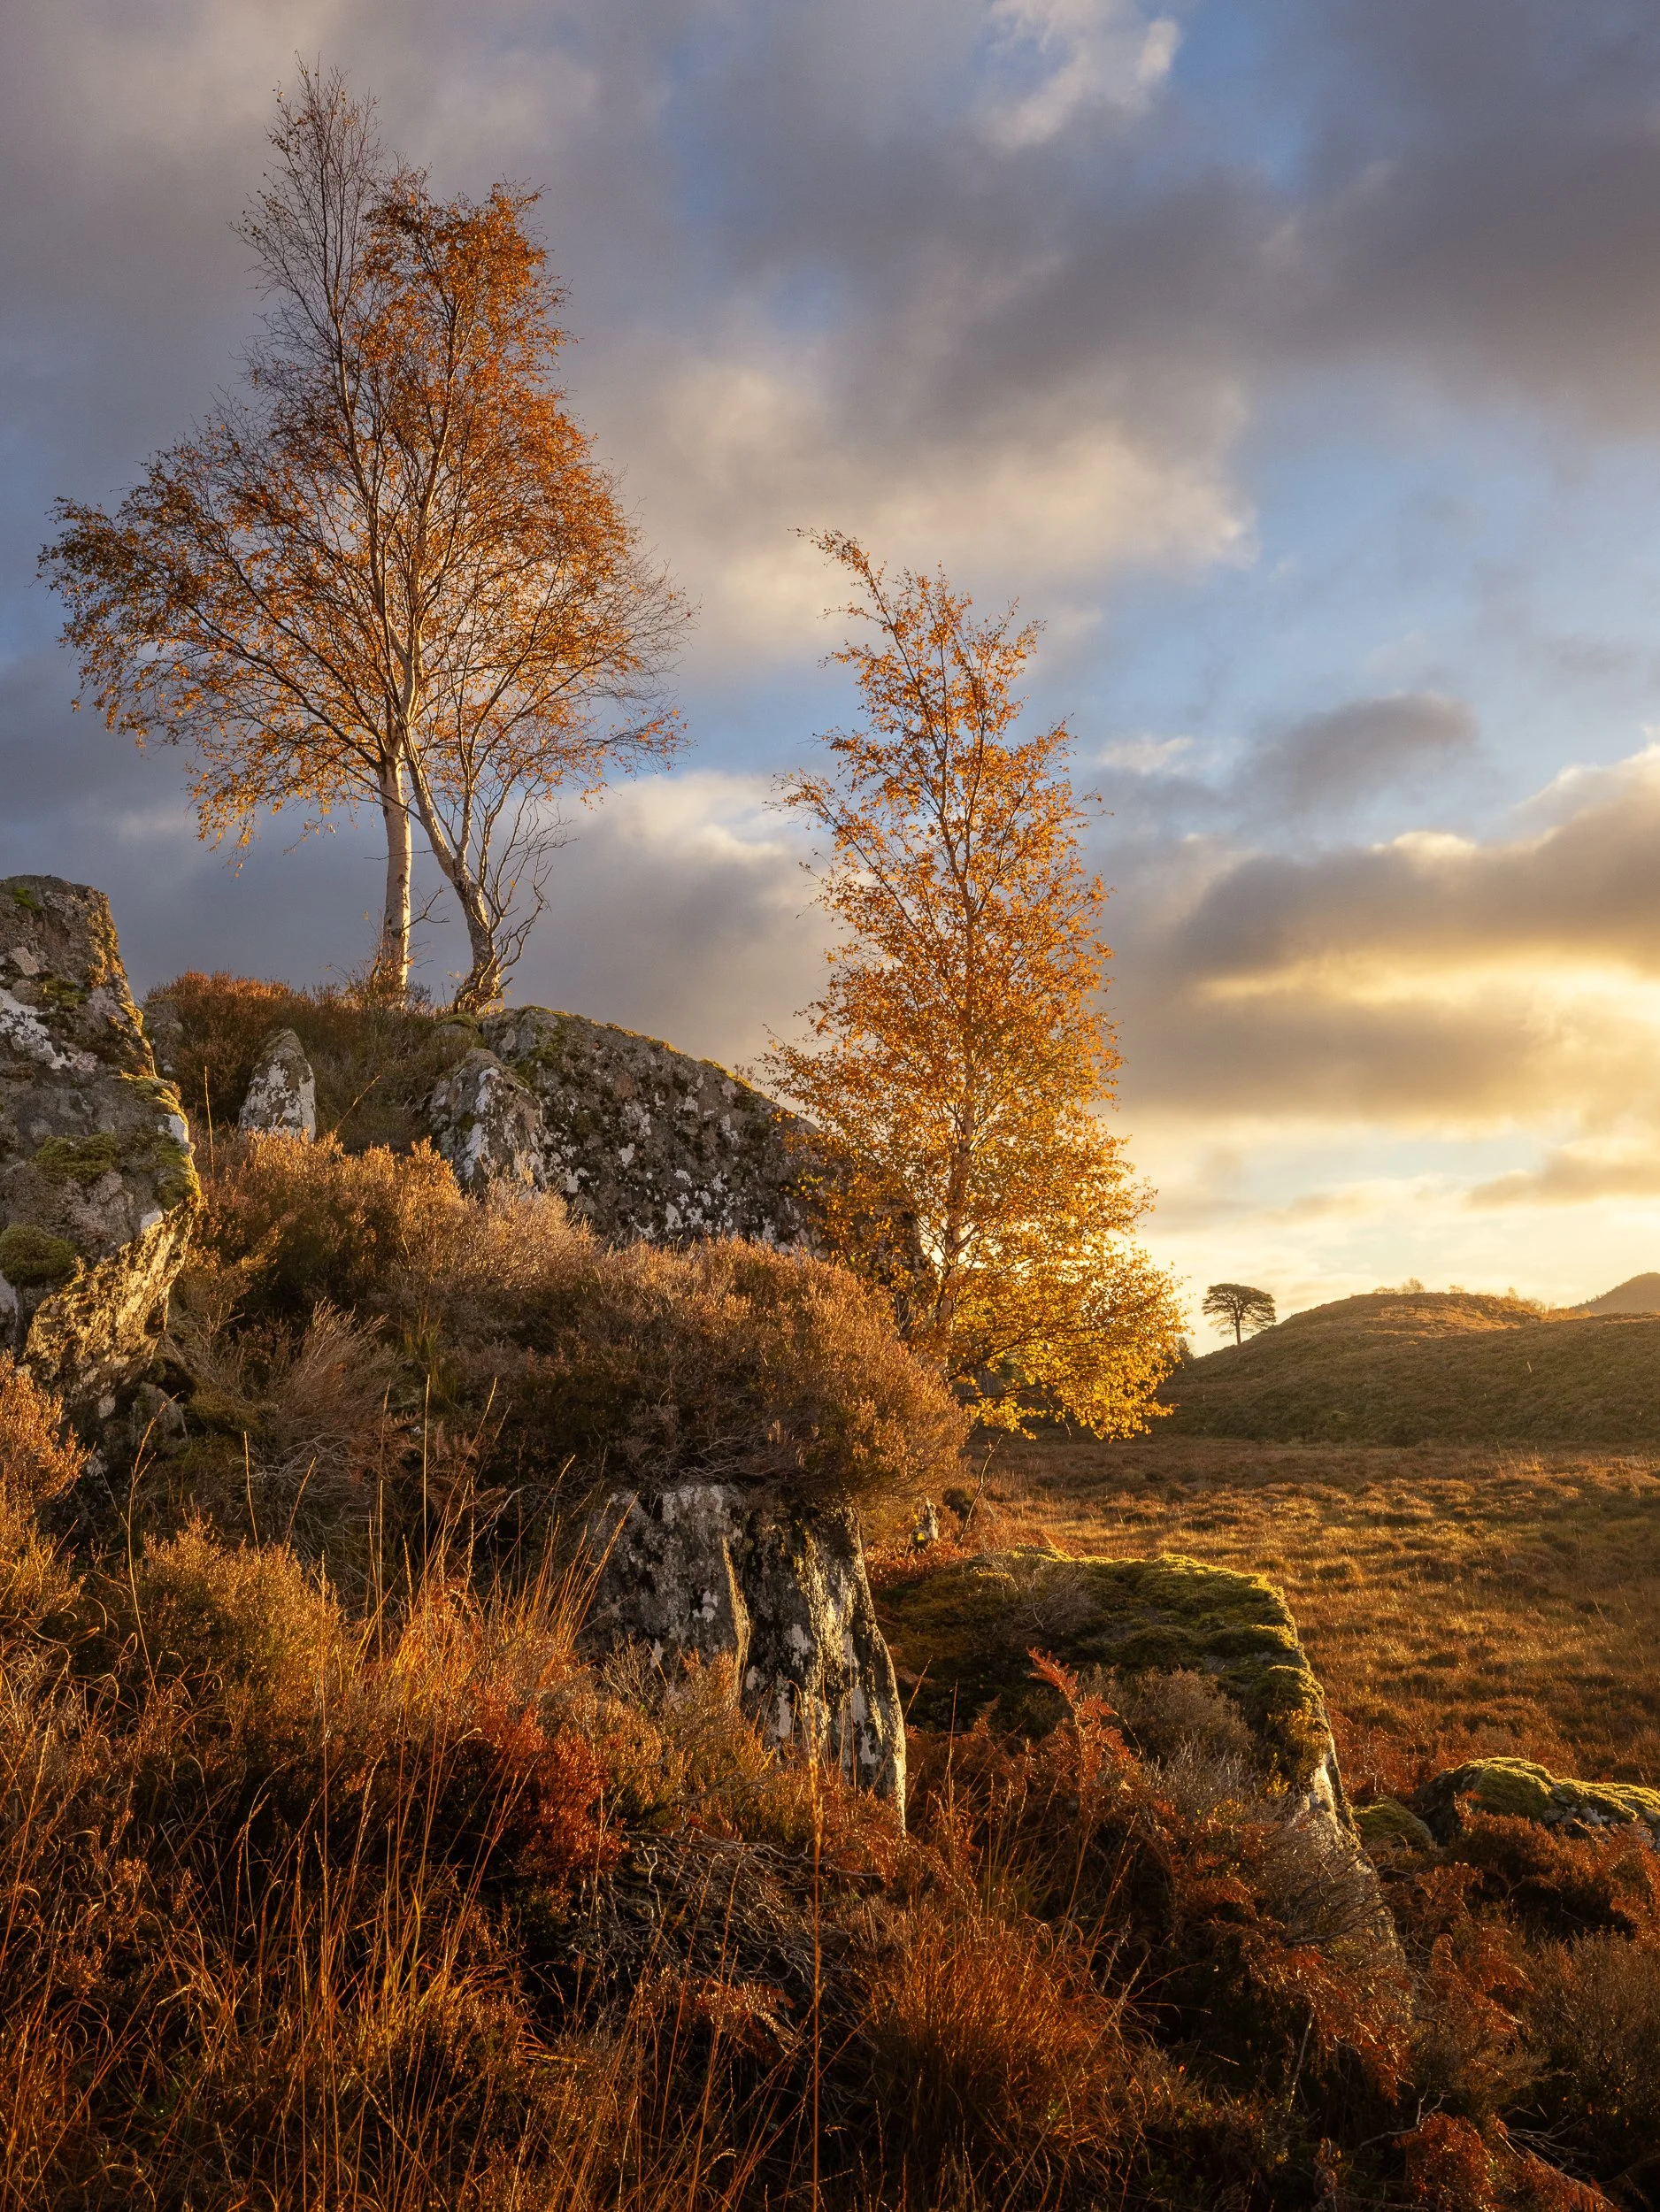
The revival of ancient woodland in Glen Affric, Scotland
The air is often calmer, mist is more likely and the light tends to be softer.
But I would choose a wet, overcast afternoon over a bright sunny morning if the conditions better suited the woodland.
The question I continually ask myself is:
What is the weather adding to the photograph?
Is it giving me separation, texture, colour or mood?
If it isn't there and then, there could be great rewards by returning when it does.
Learning to read woodlands weather is every bit as important as learning your camera settings.
7. Know your trees in autumn — and don't assume everywhere turns at once
Understanding which trees you are looking at can make a significant difference to autumn photography.
Different species change colour at different times and produce very different palettes, so there isn't really one perfect 'autumn weekend'.
Birch is often amongst the earlier trees to change and produces bright, clean yellows against beautiful pale bark. A mass of small yellow birch leaves can create an almost impressionistic texture.
Beech generally follows with richer yellows, oranges and eventually wonderful copper tones.
Oak often holds its leaves later, producing a more restrained mixture of yellow, brown and russet.
And don't overlook larch.
Although it is a conifer, it is deciduous. Its needles turn an extraordinary golden yellow before falling and can look particularly spectacular when combined with early frost or snow.
Mixed woodland is especially useful
A single yellow or orange deciduous tree surrounded by green can immediately become the subject.
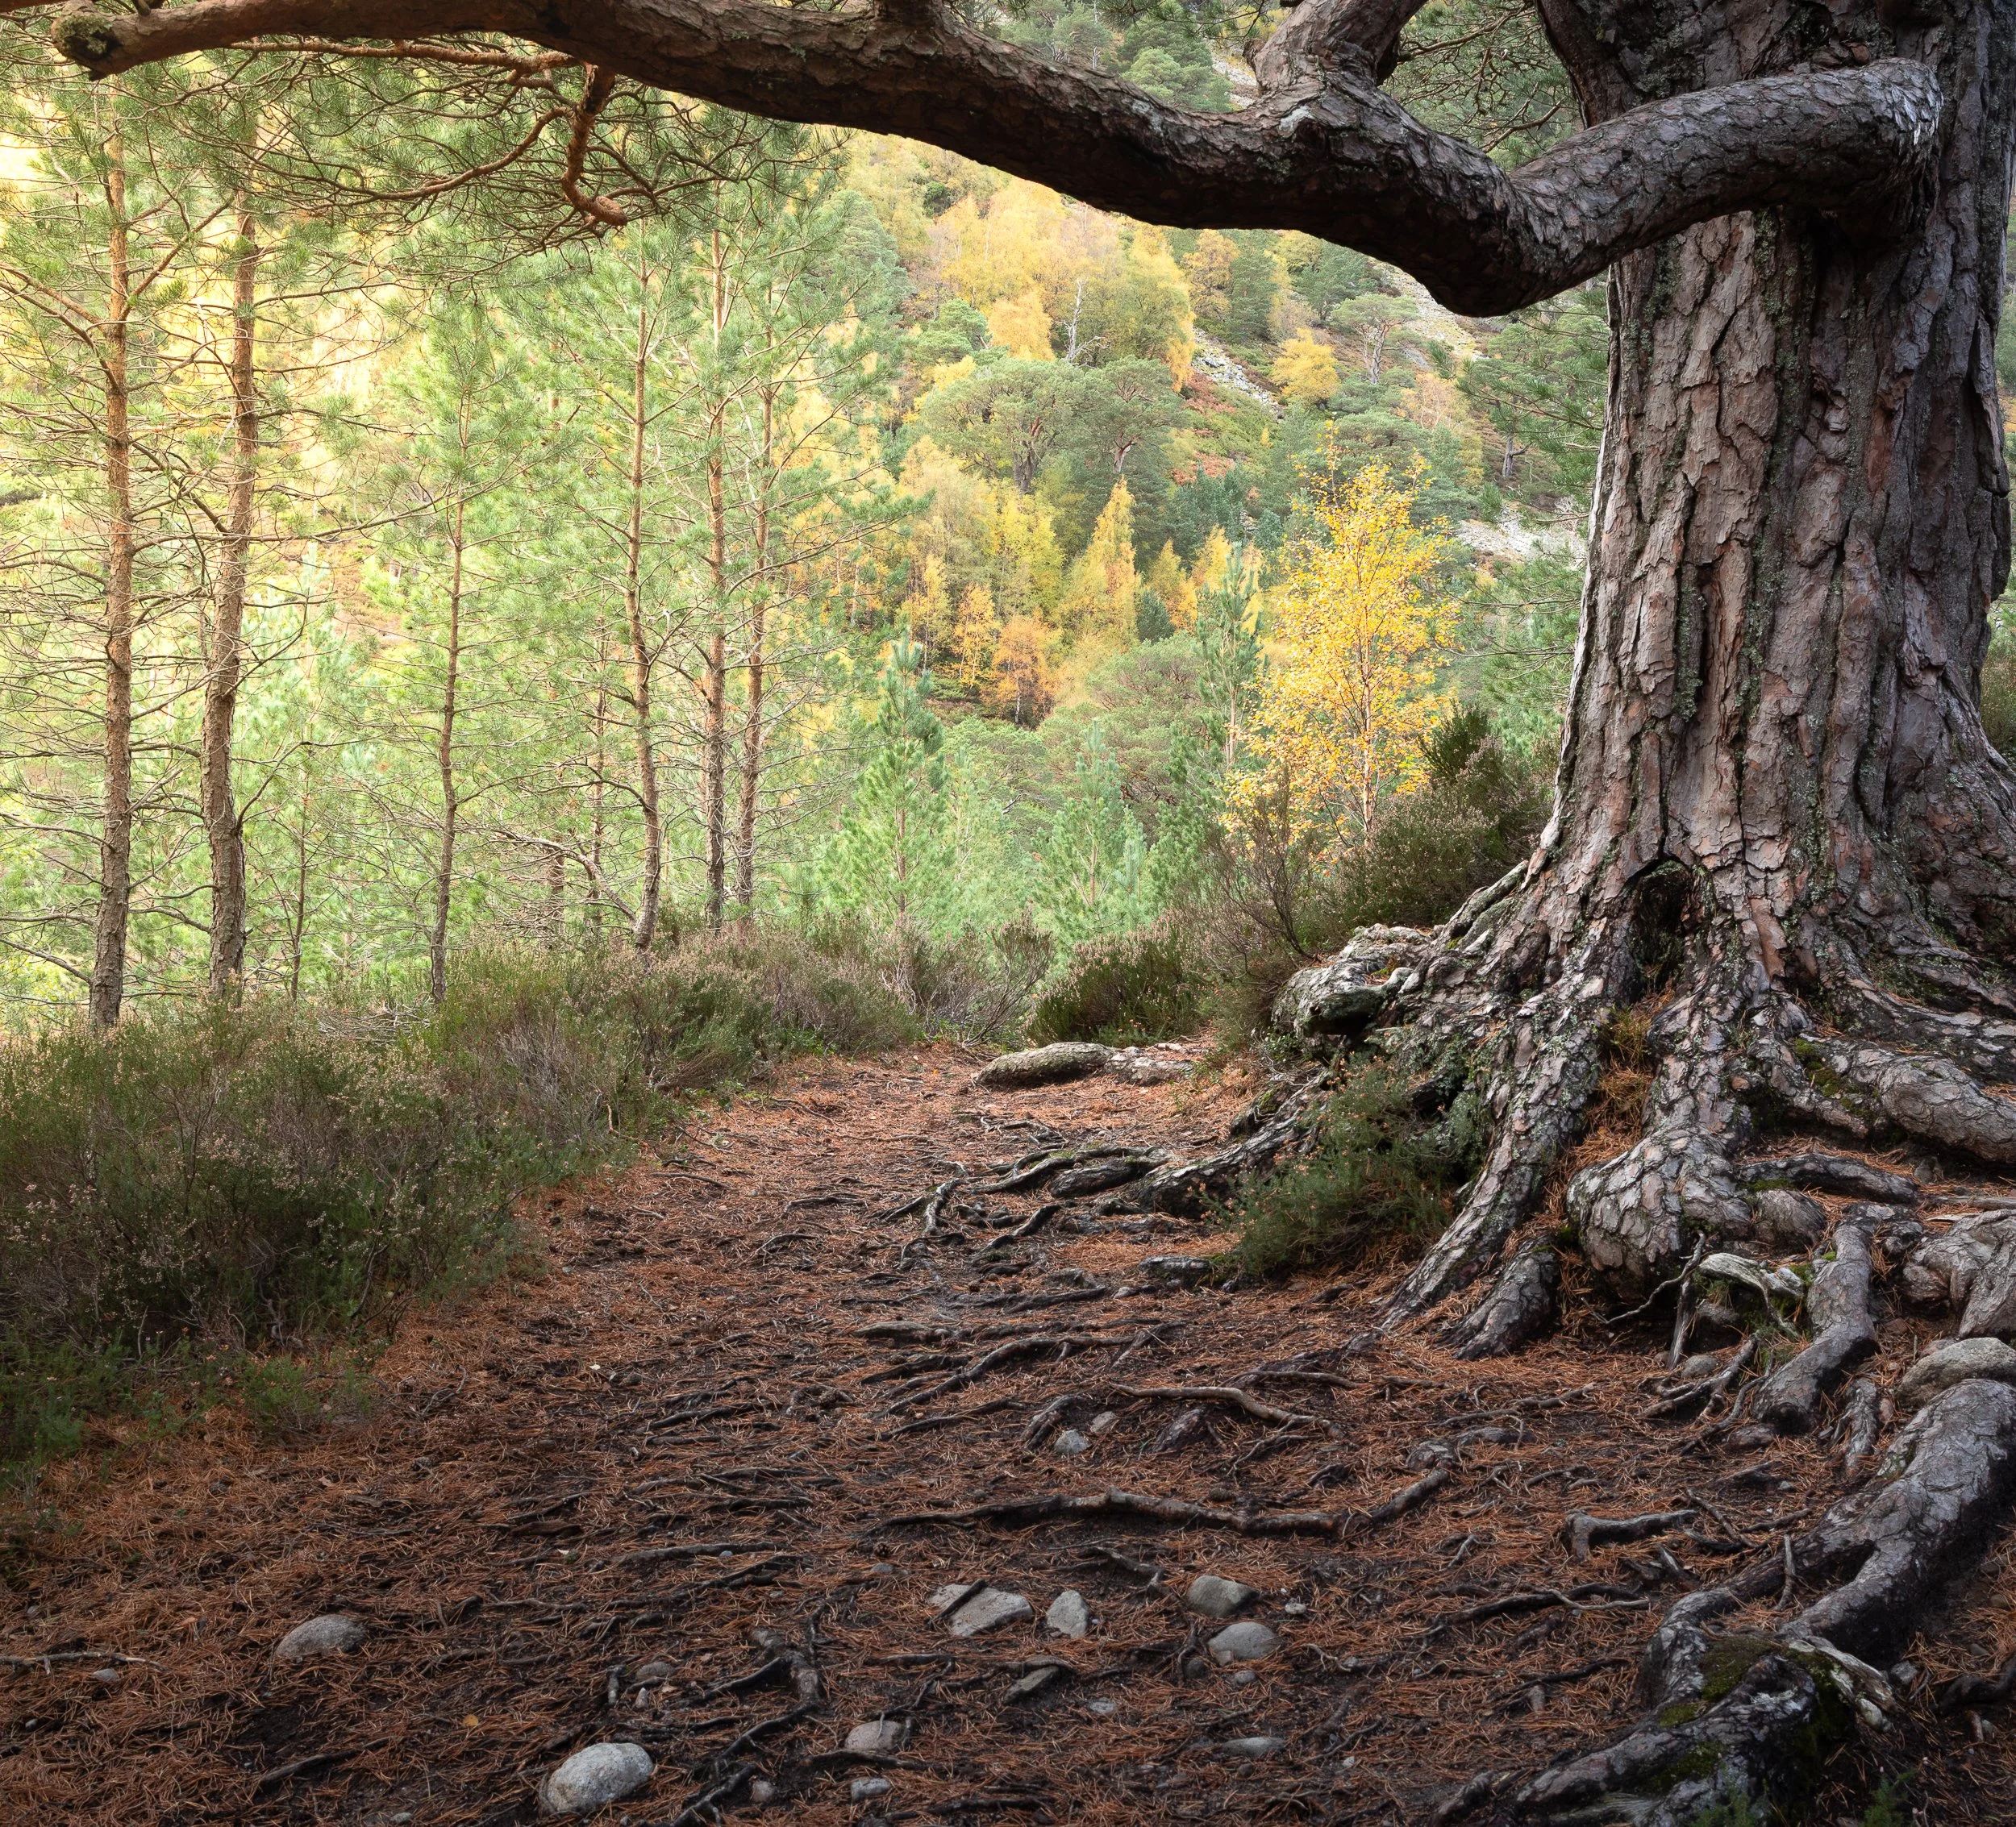
A mix of Caledonian pine and birch trees in the Cairngorms, Scotland
This is something I discuss in Order in the Chaos: colour doesn't need to fill the frame to be effective.
Sometimes one relatively small patch of colour is enough to hold the entire composition together.
Conifers can be particularly useful because their darker evergreen foliage provides a natural background against which yellow beech, birch or larch separates beautifully.
I often investigate the boundaries between coniferous and deciduous woodland for exactly this reason.
Follow autumn around the country
The timing of trees in autumn changes enormously with latitude, altitude, exposure, recent rainfall, temperature and species.
Even within the same woodland, one area can be considerably further advanced than another.
A birch stand may already be approaching peak colour while nearby beech remains largely green.
Higher or more exposed woodland may also be much further advanced than a sheltered valley only a few miles away.
I will shortly be travelling north to Scotland, where autumn generally advances earlier, before gradually making my way south again towards the end of October.
Done well, moving geographically can extend your photographic autumn by several weeks.
So don't think of autumn as one brief event.
Treat it as a progression.
Revisit local woods, learn which species turn first and which hold their leaves longest, and you can photograph autumn developing rather than trying to predict one perfect weekend.
8. Look down as well as up: fungi, leaves and the forest floor
Autumn woodland photography isn't only about colourful trees.
As the leaves begin to fall, the forest floor can become every bit as interesting as the canopy above it.
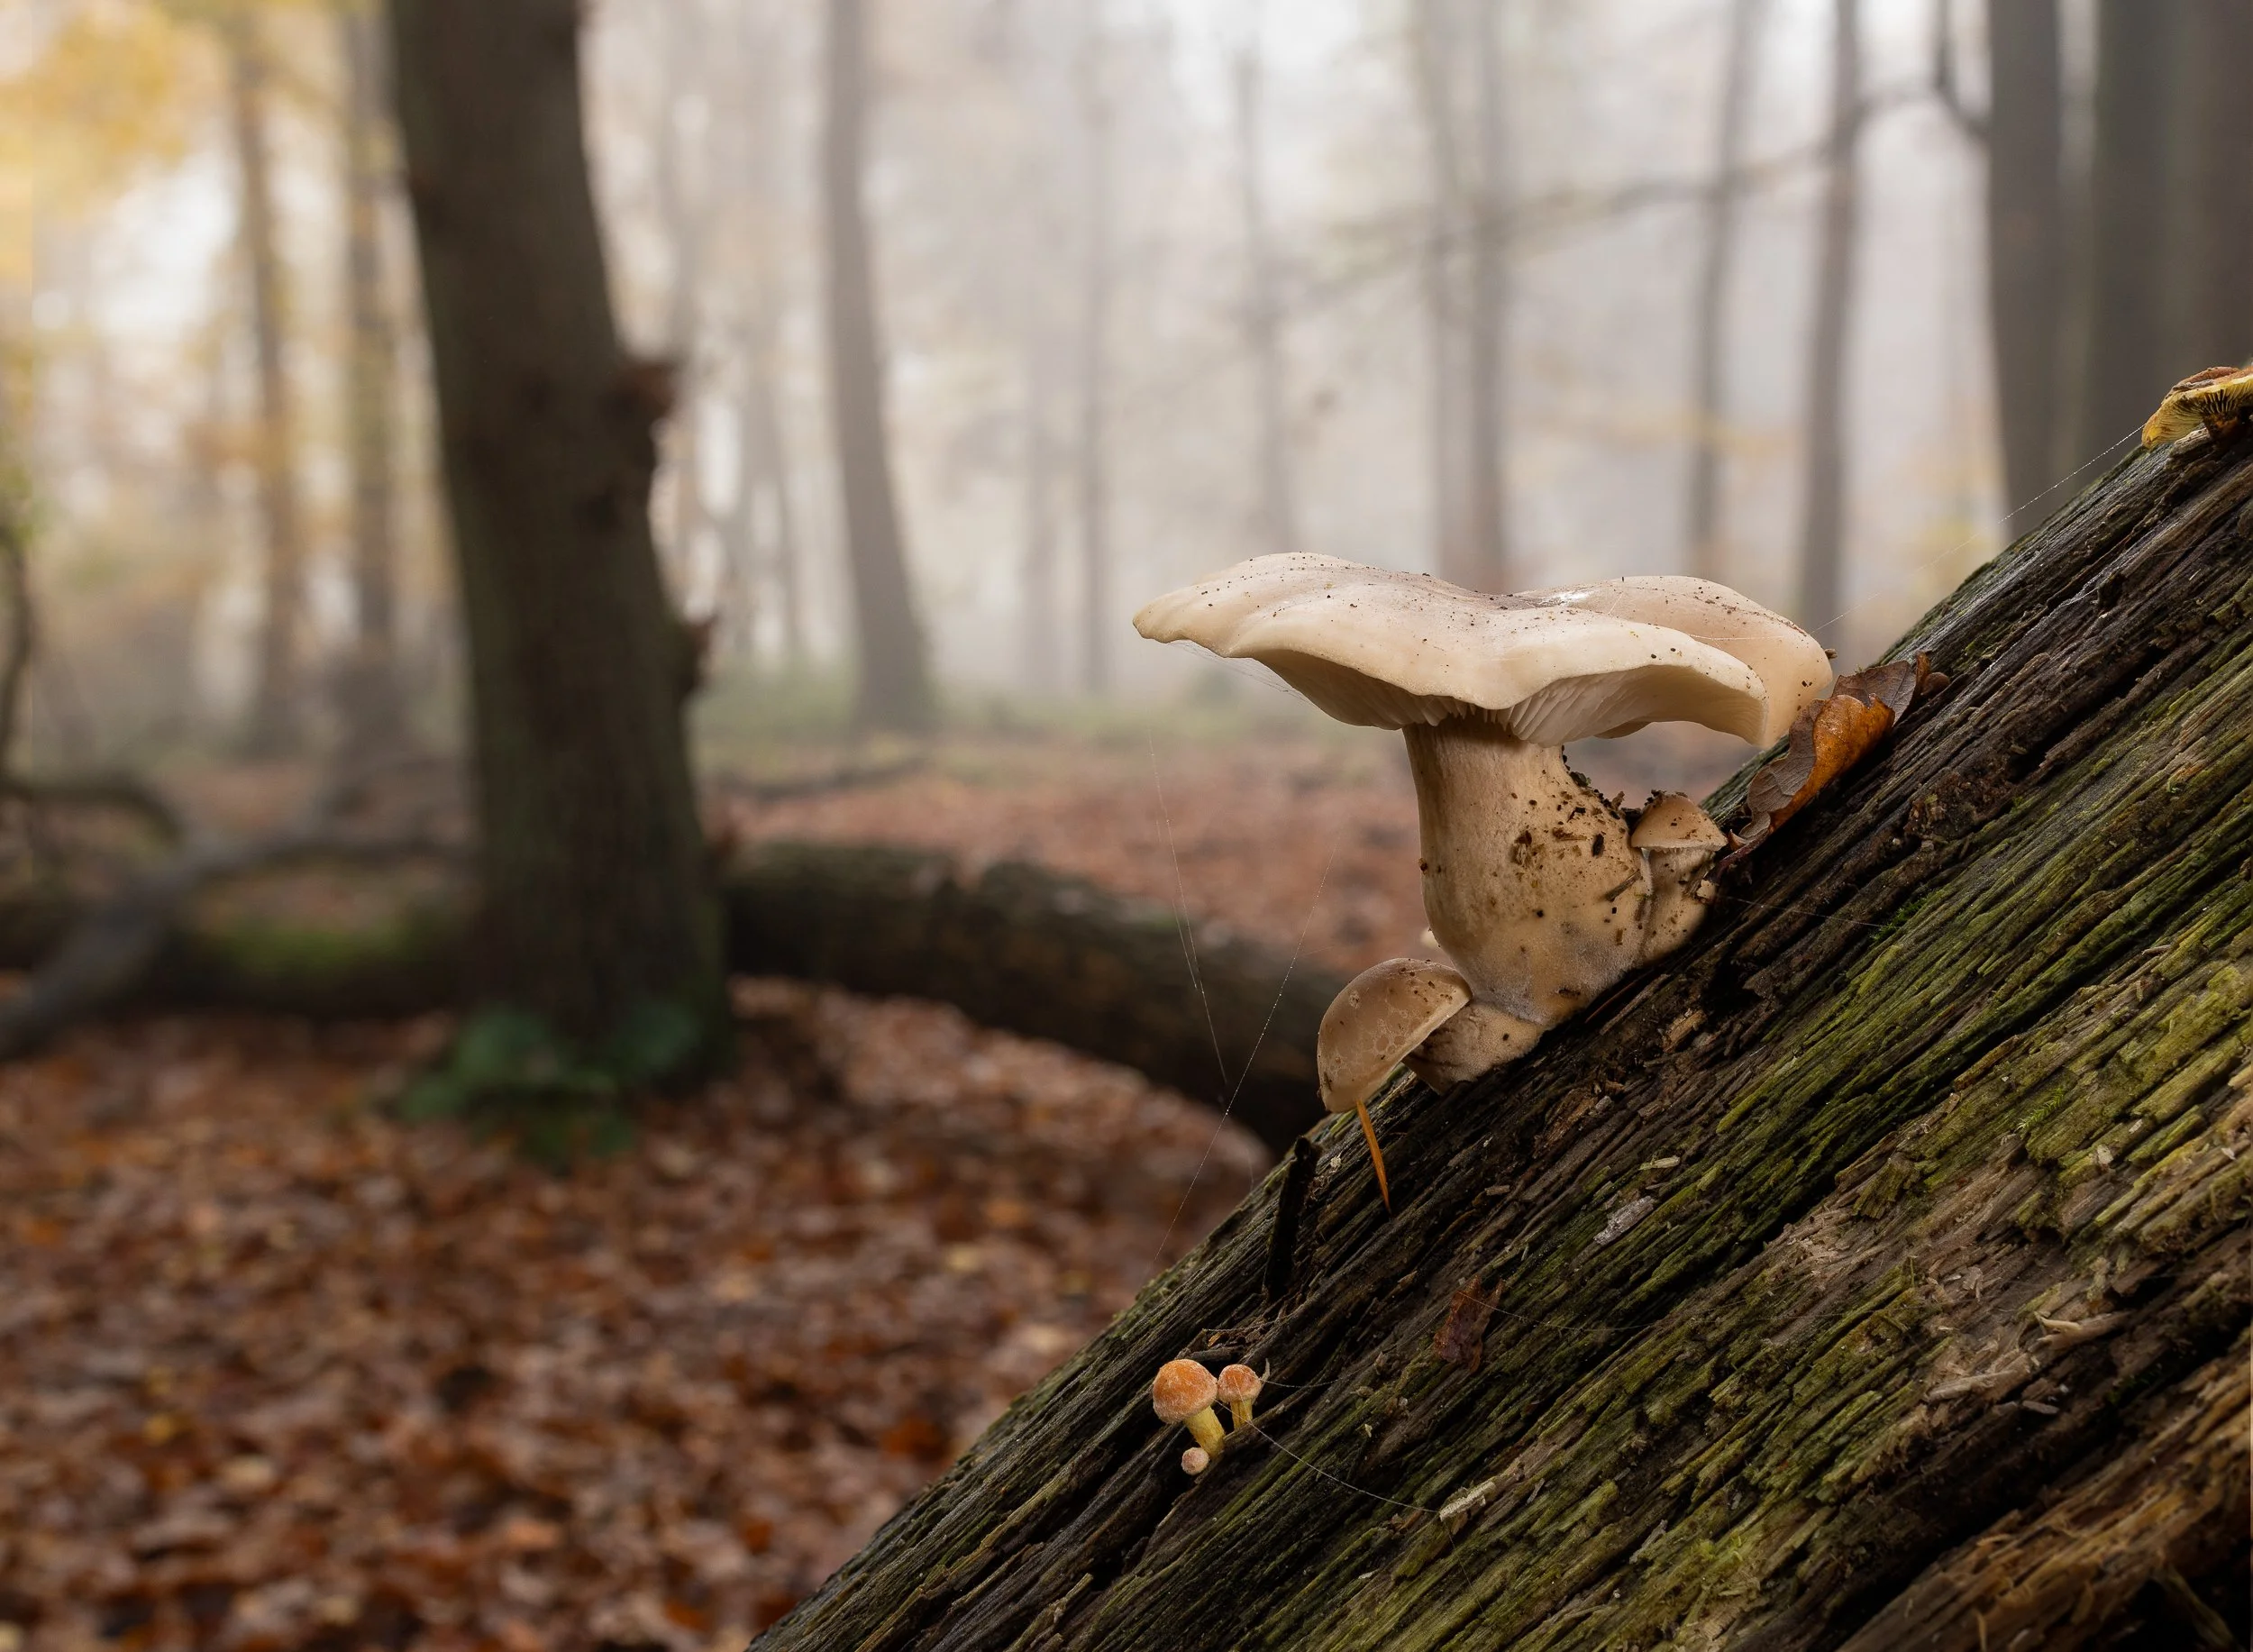
Low level shots. Dealing with the sky highlights using a wide aperture and shallow depth of field to give a smooth transition to the background.
Look for fungi, fallen leaves, exposed roots, bracken, bark, dead wood and small pools.
After rain, wet leaves and roots can also form lines through the image and lead the viewer towards a stronger subject.
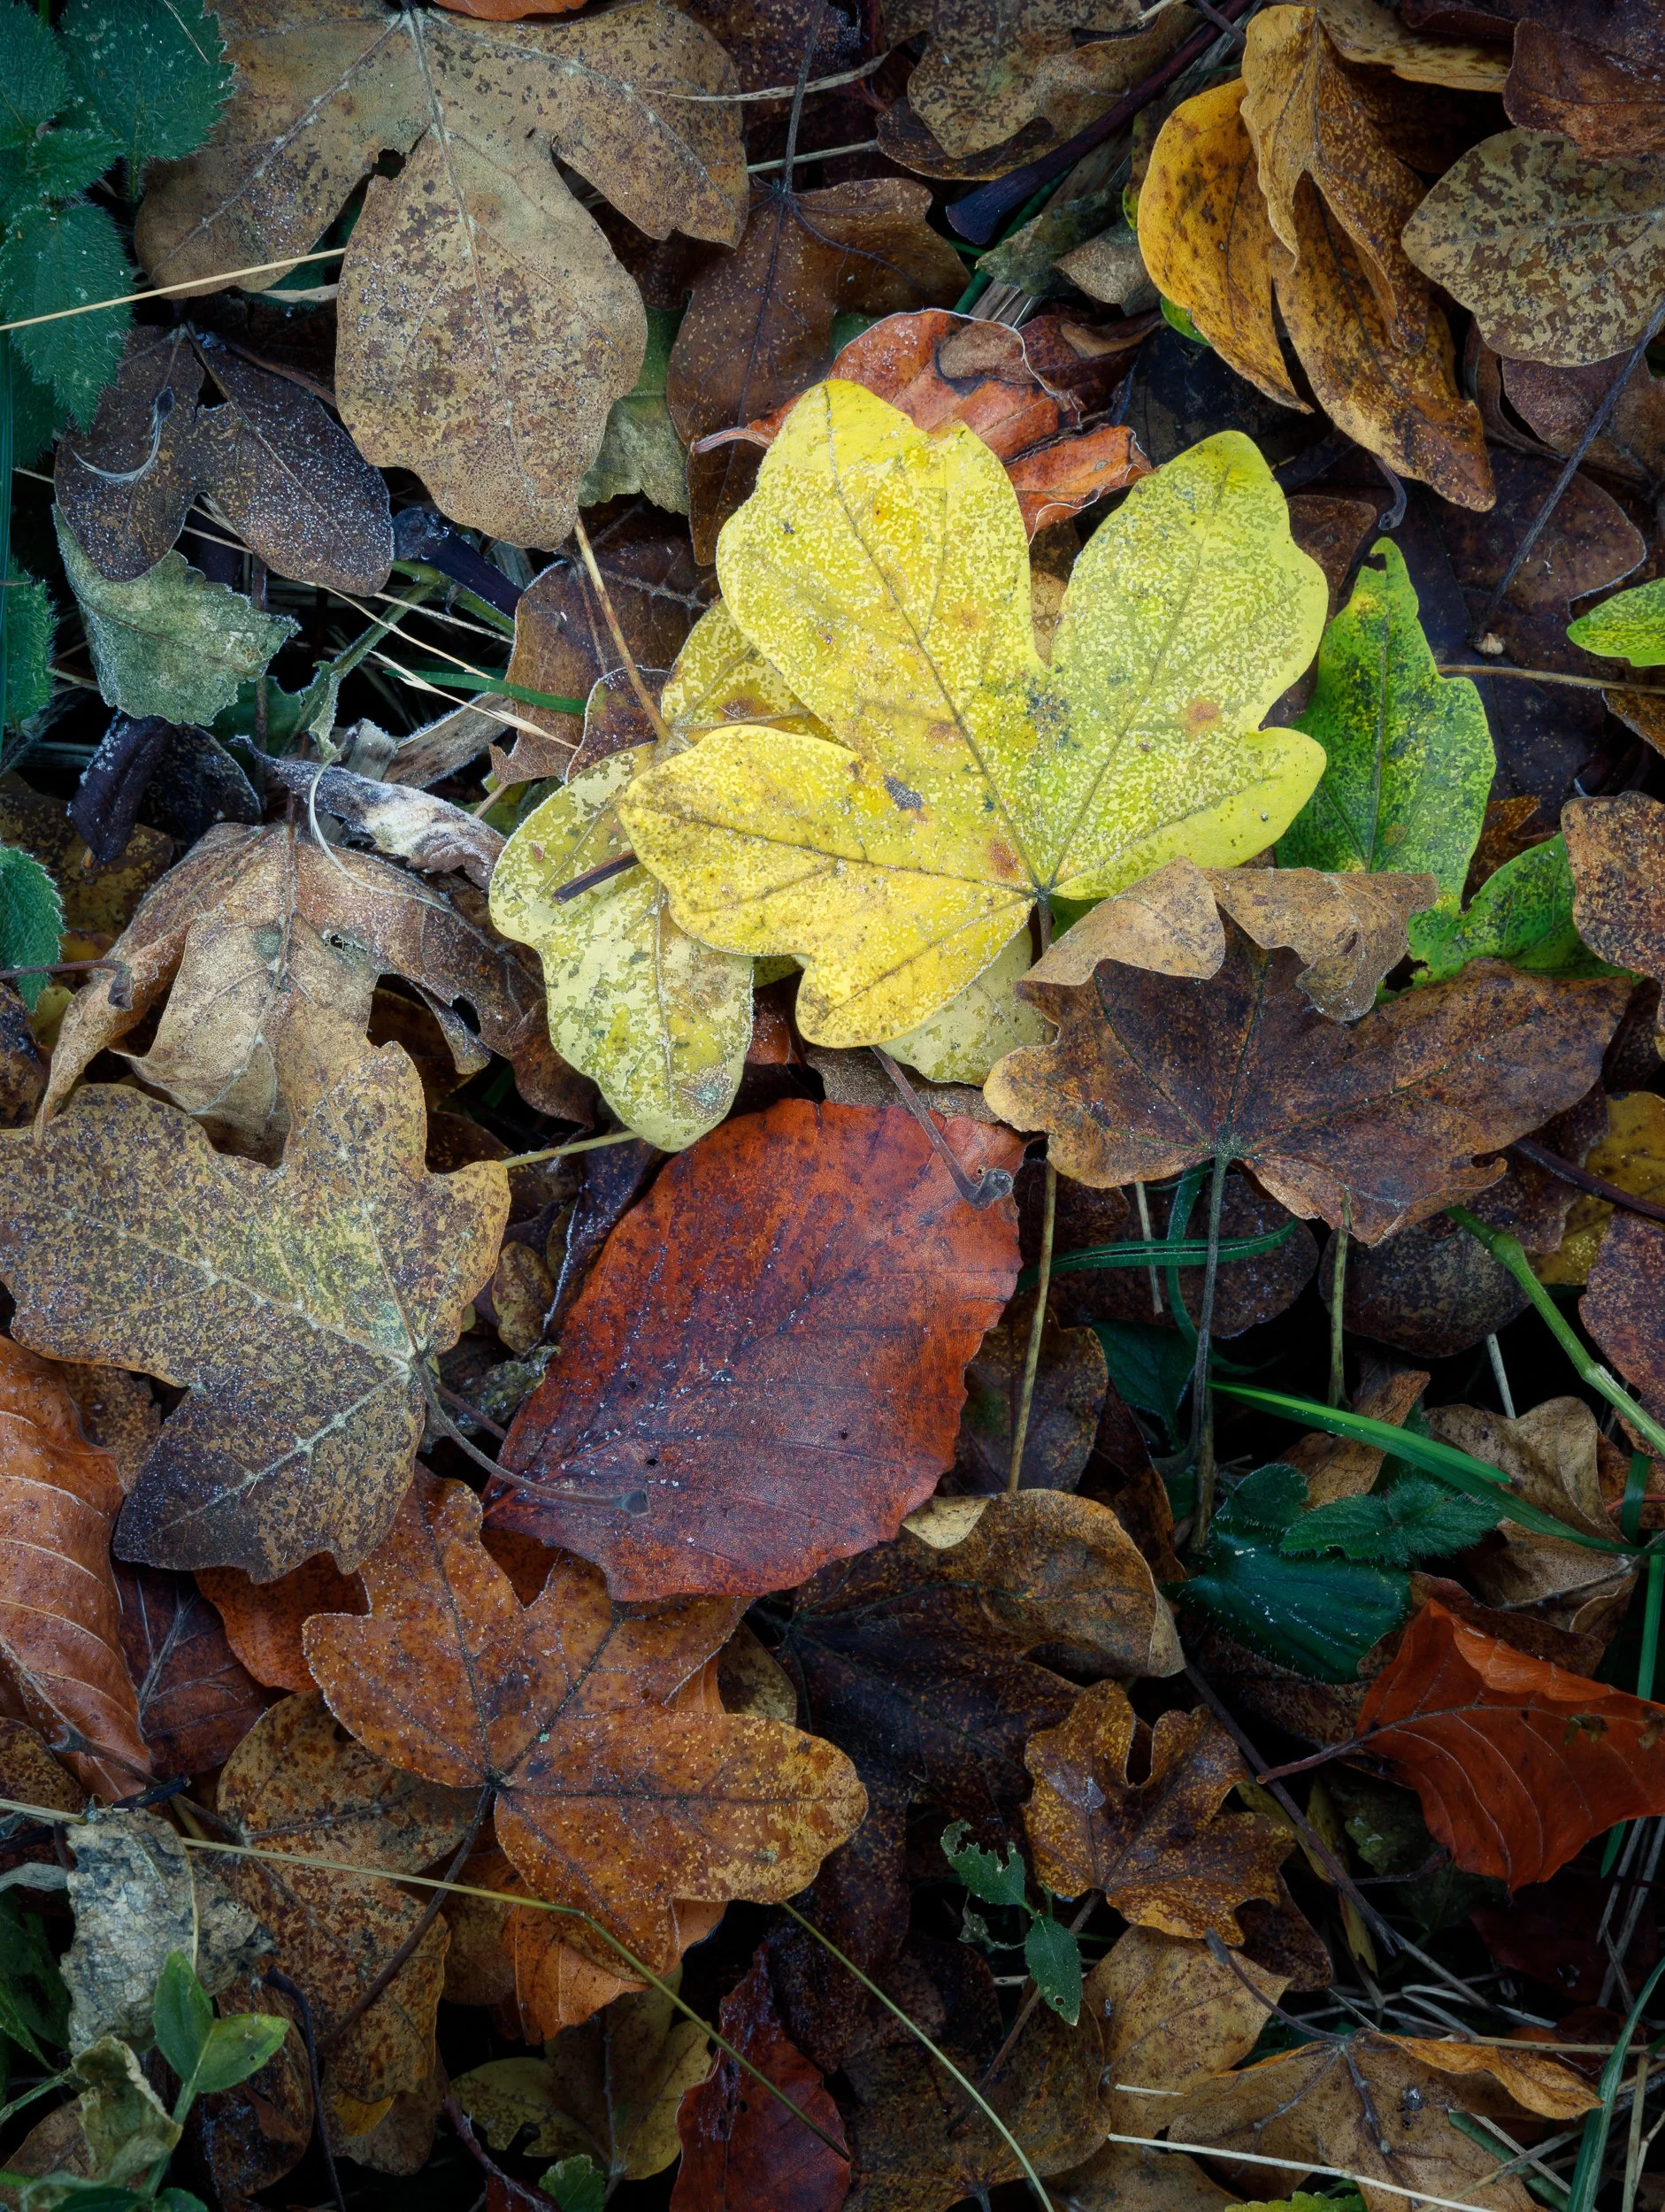
Leaves in the Chiltern Hills, Oxfordshire. An easy win.
This is also a good time to start thinking smaller.
Woodland photography doesn't always need to involve a grand scene.
A single mushroom, twisted root, red leaf against dark earth or fallen branch can contain much more structure than trying to photograph the entire wood.
When the woodland becomes chaotic, I often stop looking for a finished landscape and search for one small story instead:
One colour relationship, one shape or one patch of light.
Quite often, that is where the photograph begins.
9. Use water to organise the woodland
Water is a wonderful way of bringing order to a complicated woodland scene.
Streams, pools and flooded areas can create leading lines, reflections and darker areas that give the viewer's eye somewhere to rest.
In autumn, the possibilities become even better.
The classic image might be one beautifully positioned red or brown leaf sitting on a mossy green rock beside a stream or waterfall.
Remember the colour wheel from earlier: a warm red-brown leaf against green moss, combined with either dark water or bright moving water, can give you a remarkably strong mixture of tonal and colour contrasts.
Look for:
reflections of autumn colour;
fallen leaves floating on still water;
streams acting as natural leading lines;
dark water contrasting with bright foliage;
slower shutter speeds introducing movement into running water.
Water doesn't need to dominate the photograph.
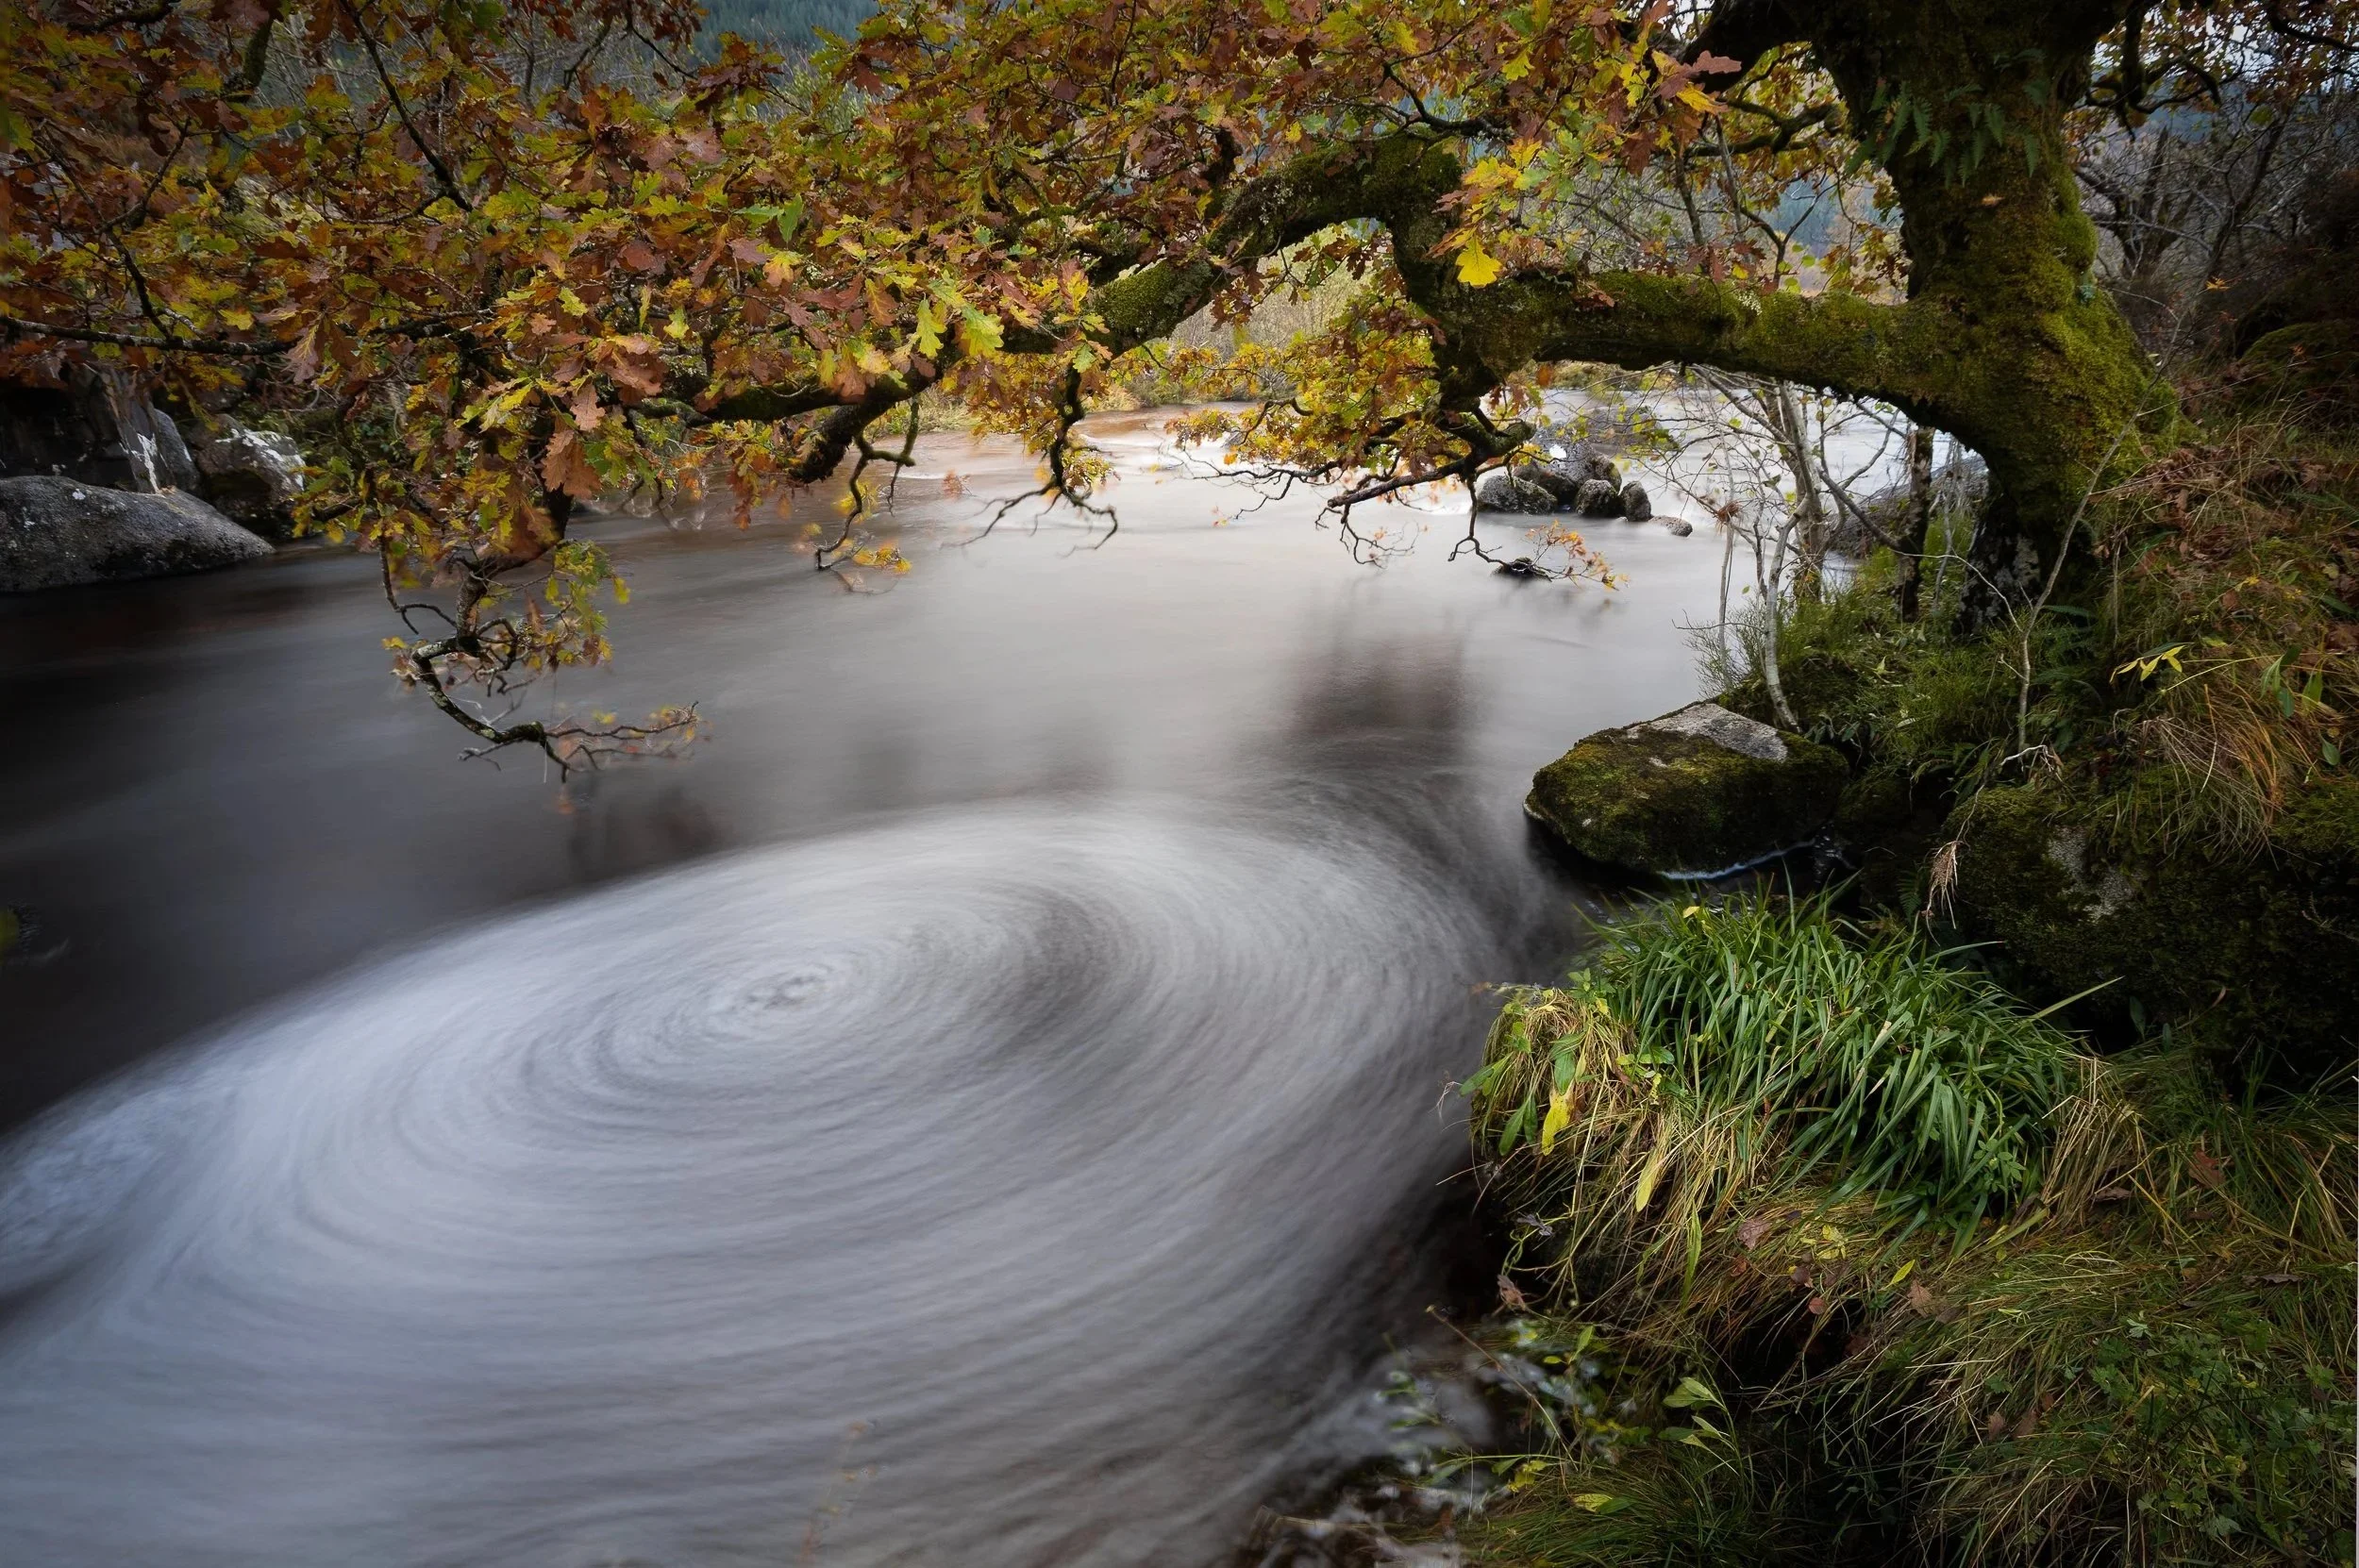
Long exposure reveals a hidden whirlpool in Ardnamurchan, Scotland.
Sometimes a narrow stream or small reflective pool is enough to simplify the foreground and hold the rest of the woodland together.
10. Dress for the photograph: waterproofs, boots and an umbrella
In autumn woodland, keeping water out is often more important than keeping warm.
I normally wear waterproof ankle boots, but waterproof boots are only useful if you prevent water entering from above.
Walk through long wet grass, bracken and undergrowth in ordinary trousers and the material soon becomes saturated.
Eventually that water runs down your leg, into the top of the boot and straight into your socks.
Waterproof trousers covering the top of the boot make an enormous difference.
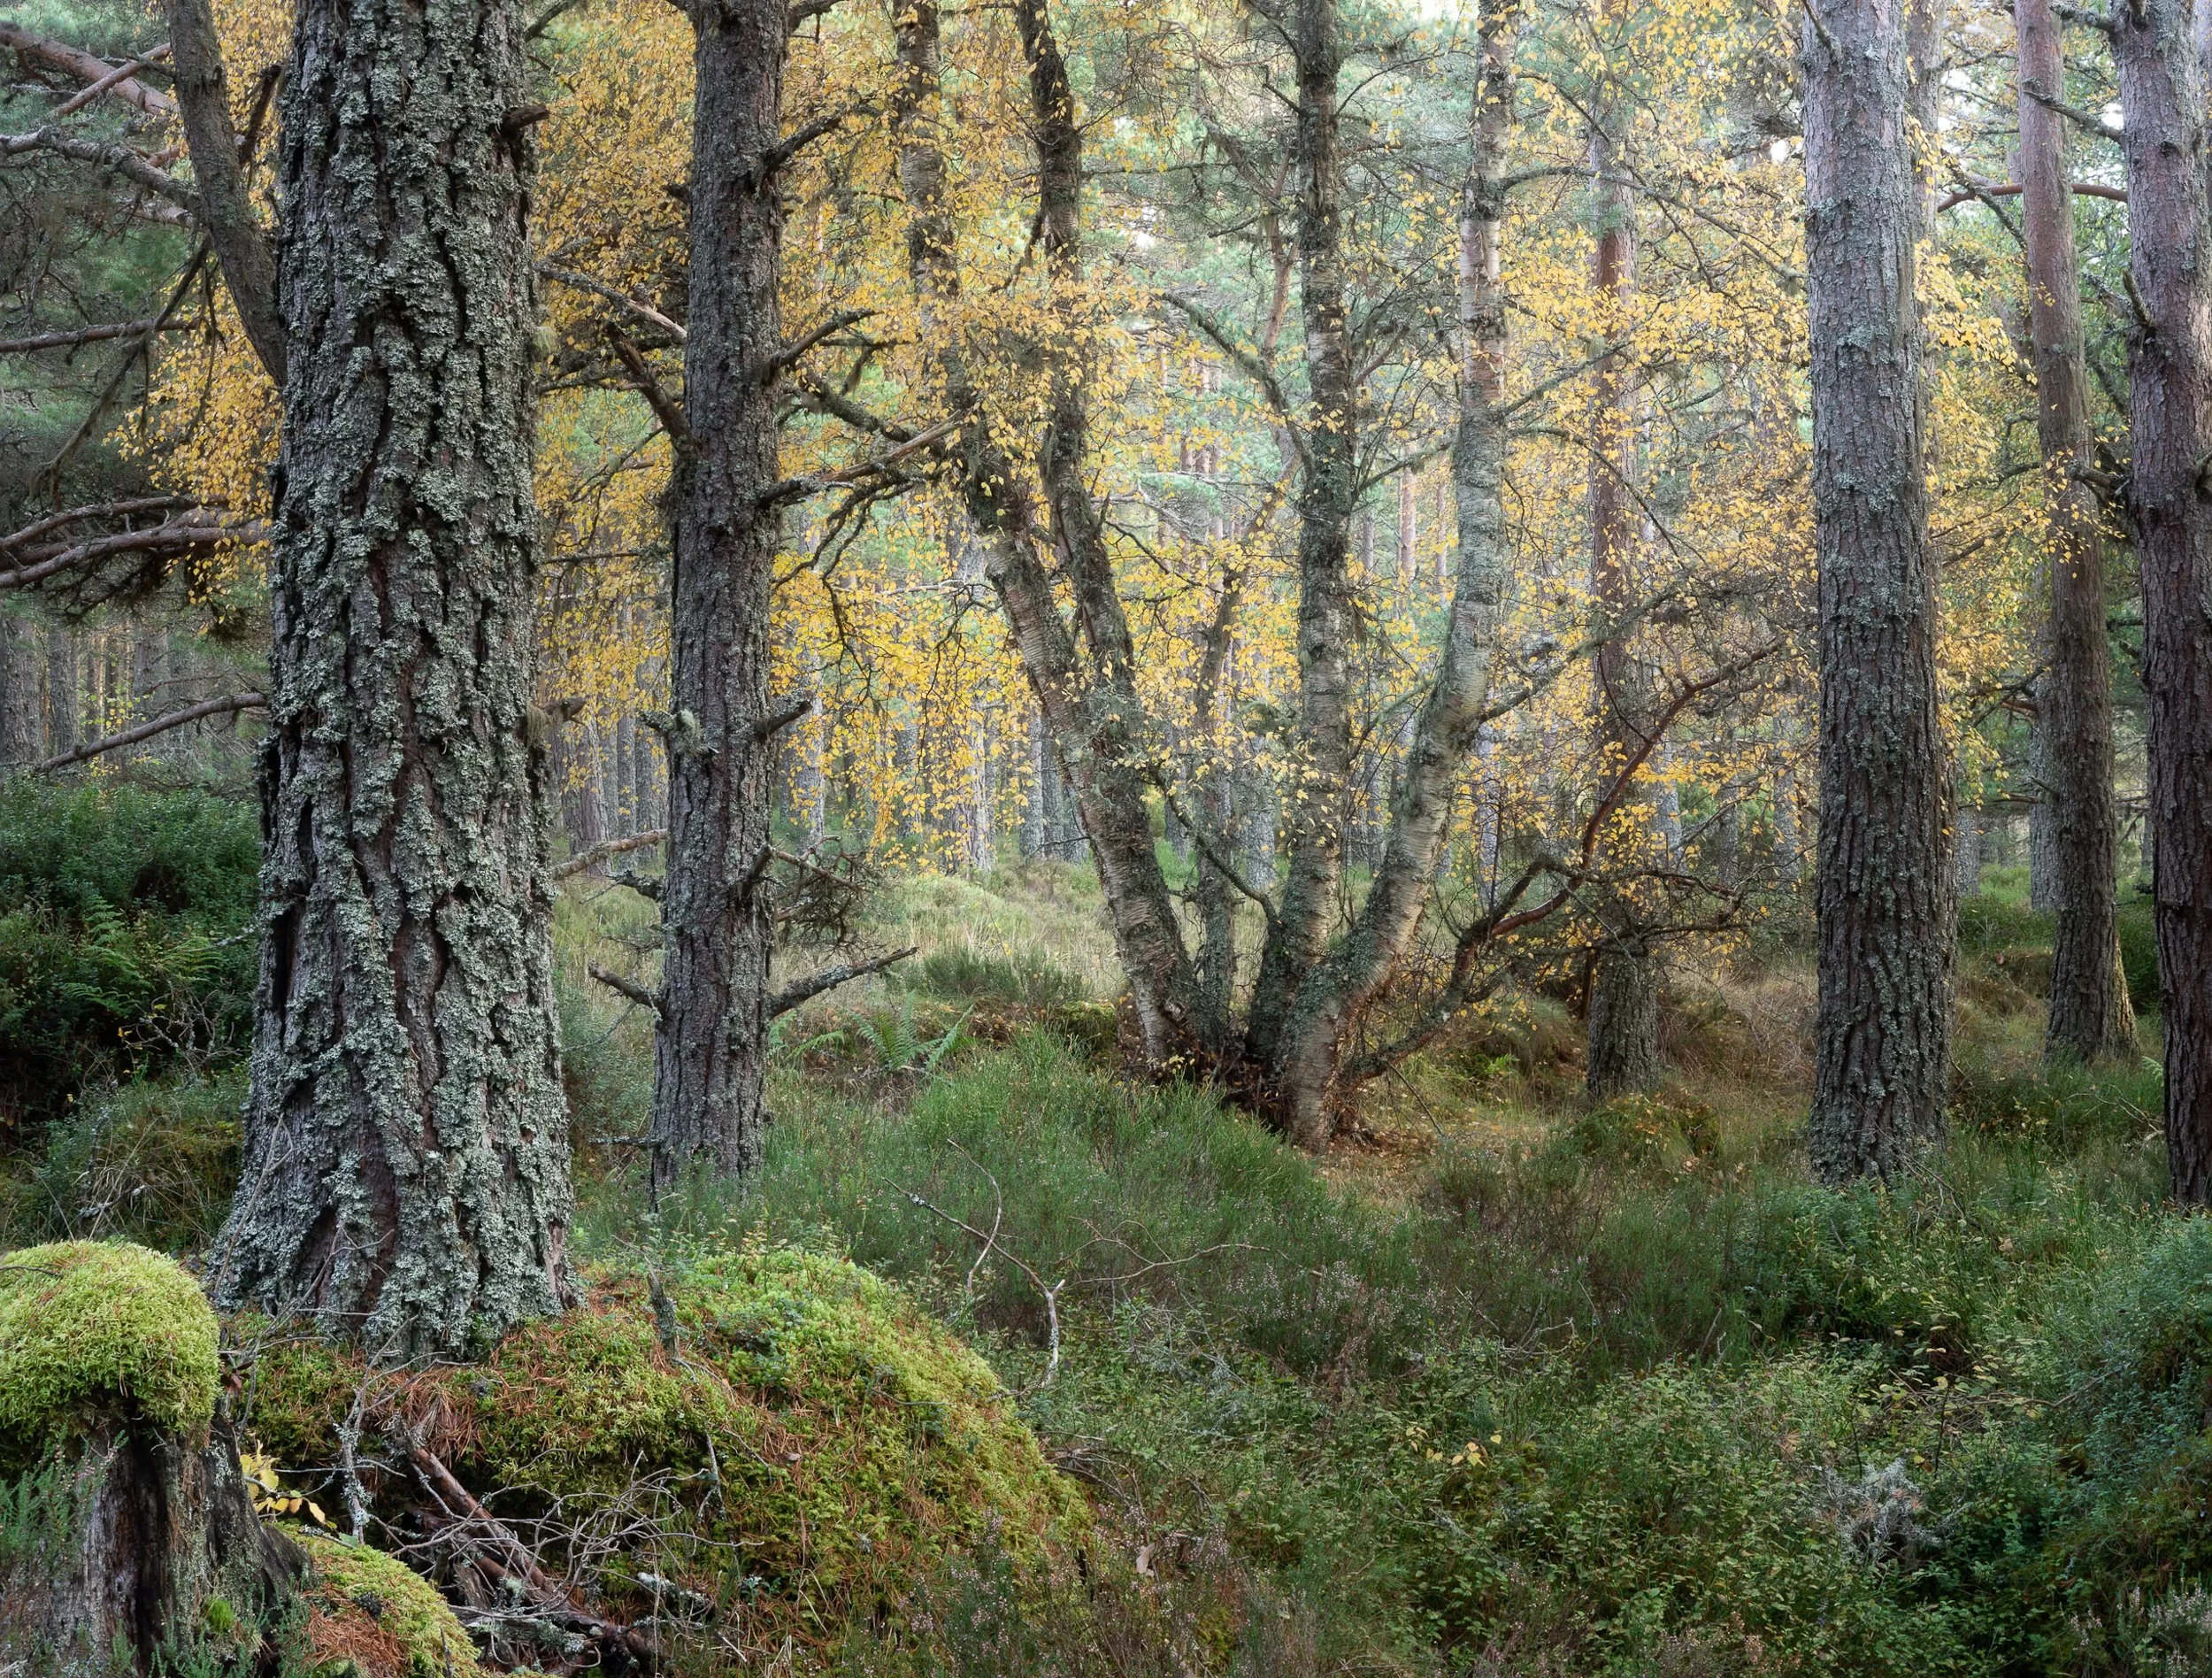
Birch trees in autumn can seem like impressionist paintings in style when their tiny leaves turn, Scotland. Birch with Caledonian pines
Wet feet are also one of the most demoralising things to deal with when you still have several hours outside or a long walk back.
If temperatures drop, cold and saturated feet become far more than simply an inconvenience.
Woodland is tough on clothing too.
Brambles, thorns and rough ground will quickly damage lightweight trousers, so I favour something reasonably robust rather than ultralight.
Autumn isn't necessarily particularly cold, which is why layers work better for me than one huge insulated jacket.
A decent waterproof outer shell with lighter layers underneath lets you adjust as conditions change.
Carry an umbrella
I almost always carry an umbrella into wet woodland.
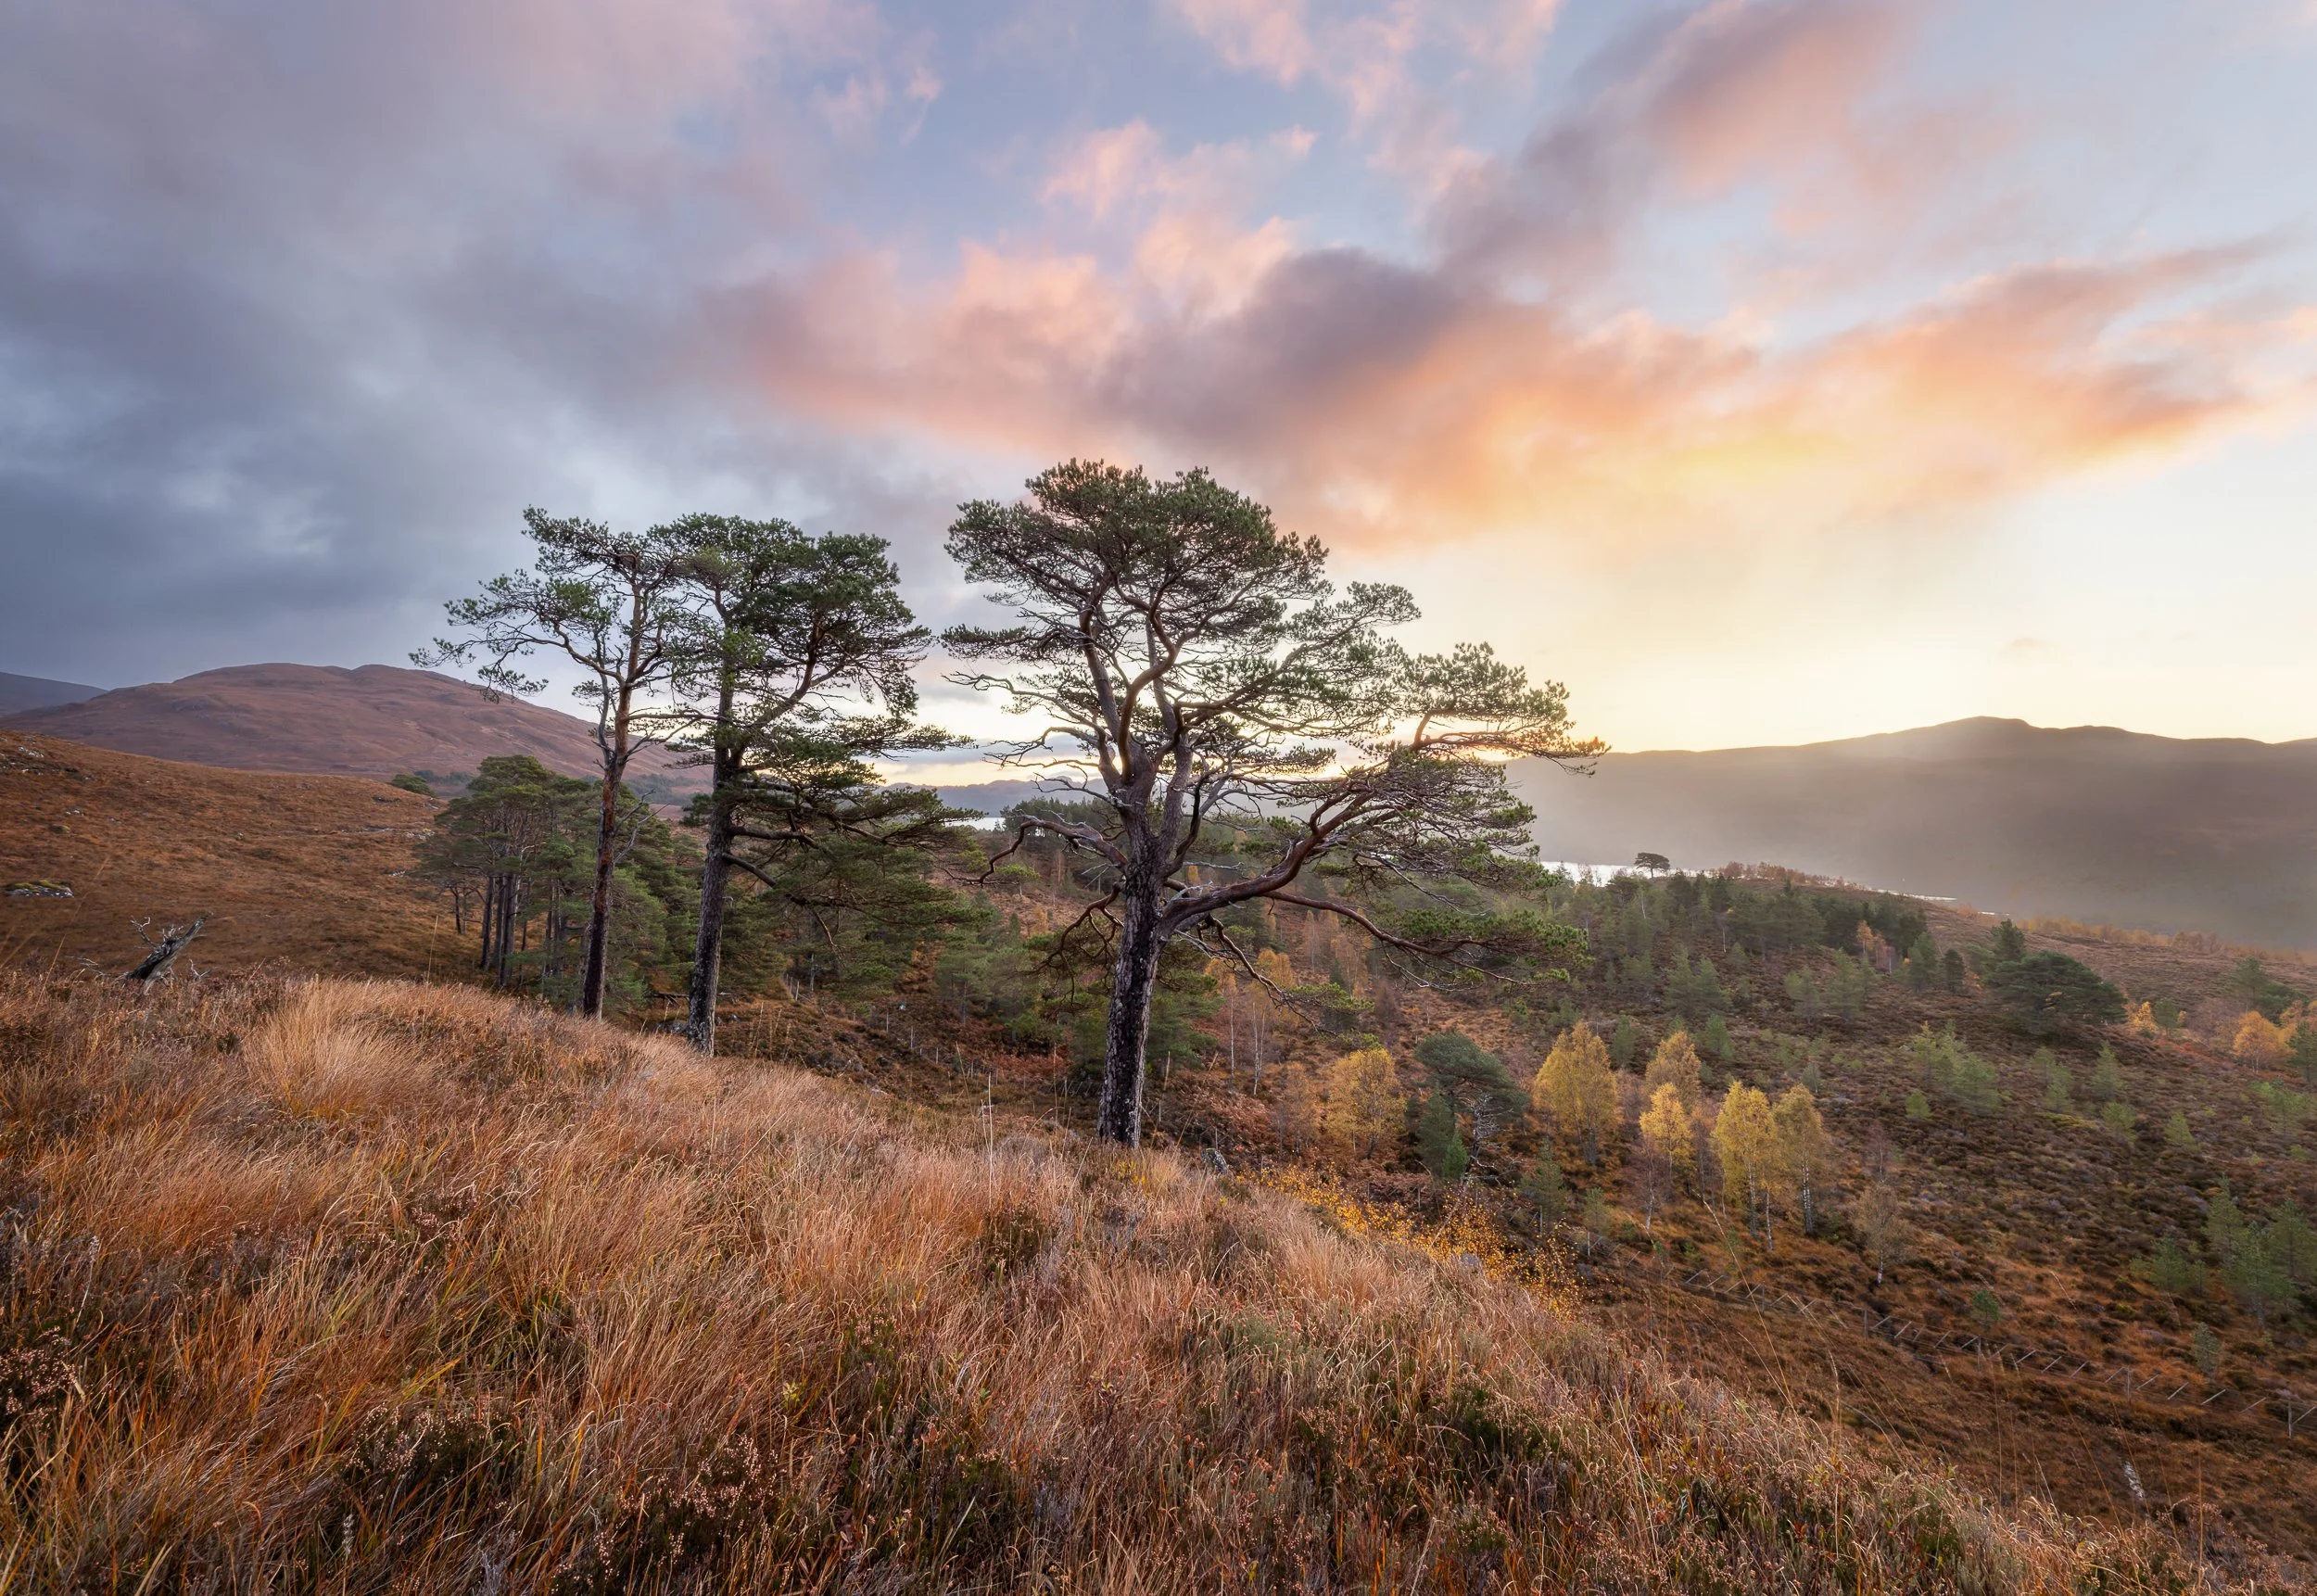
Although warm, on the first day I was defeated by horrendous rain. Success on the second day at the same location. Glyn Affric, Scotland.
It sounds ridiculously simple, but it is one of the most useful pieces of photographic equipment I own.
Stand beneath a good umbrella and you can work for hours while remaining remarkably dry.
More importantly, the camera remains dry too.
You can compose, operate the controls and wait for changing conditions without water continually running across the camera and front element.
It also gives you a reasonably dry place to change lenses.
Rain frequently produces some of the best woodland conditions.
An umbrella means you don't have to stop photographing simply because it has started raining.
Don't forget navigation
Finally, make sure your phone has reliable GPS mapping. Pre-download your map for offline use. You may well not get a phone signal in your location.
Mist, rain and unfamiliar woodland can make paths surprisingly difficult to recognise, particularly as the light starts disappearing.
It is very easy to become disorientated amongst trees.
Having an offline map and GPS position on your phone can quite literally get you safely back out again.
Final thoughts
Trees in autumn can be spectacular, but don't let the colour tempt you into photographing everything.
The principles remain exactly the same as at any other time of year:
Find the subject. Simplify the surroundings. Create separation. Check the edges.
Colour, rain, mist, fungi and changing foliage simply give us a fresh set of tools with which to do it.
And perhaps most importantly, keep returning.
Some of the best photographs of autumn woodlands rarely come from turning up once on the supposedly perfect weekend.
Learn a few local woods. Watch how individual species change. Pay attention to woodlands weather. Learn which locations work after rain, which catch mist and which trees hold their colour longest.
Eventually you begin to anticipate when a woodland is likely to work rather than simply hoping that it does.
If you want to explore this approach in much greater depth, click here for my ebook Order in the Chaos – Demystifying Woodland Photography looks at composition, colour, weather, separation and the process I use to find photographs in complicated woodland.