
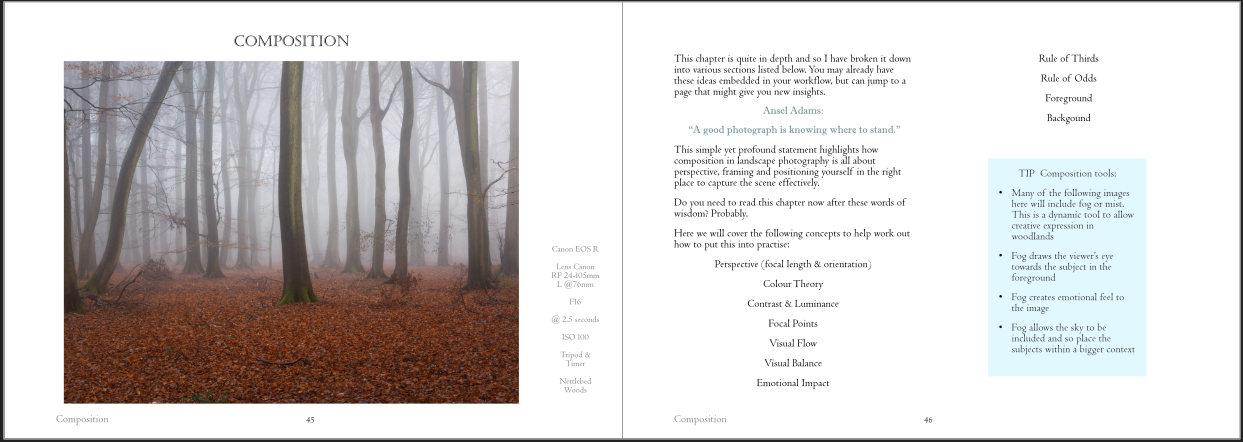
Woodland Photography: Winter and Spring Photography Tips
The truth is: winter woods are the best training ground you can give yourself as a woodland photographer.
No lush greens. No easy colour. Just structure, light, atmosphere and composition. Those summer lush greens and colours can overly complicate your scenes.
As we now move into Spring (still not arrived yet!) I will show you how these features can still work for you using both winter photography tips and practical spring photography tips for woodland photography.
I have produced a 144-page eBook for £9.99, which covers much more than this brief blog post on woodland photography. (More on that later)
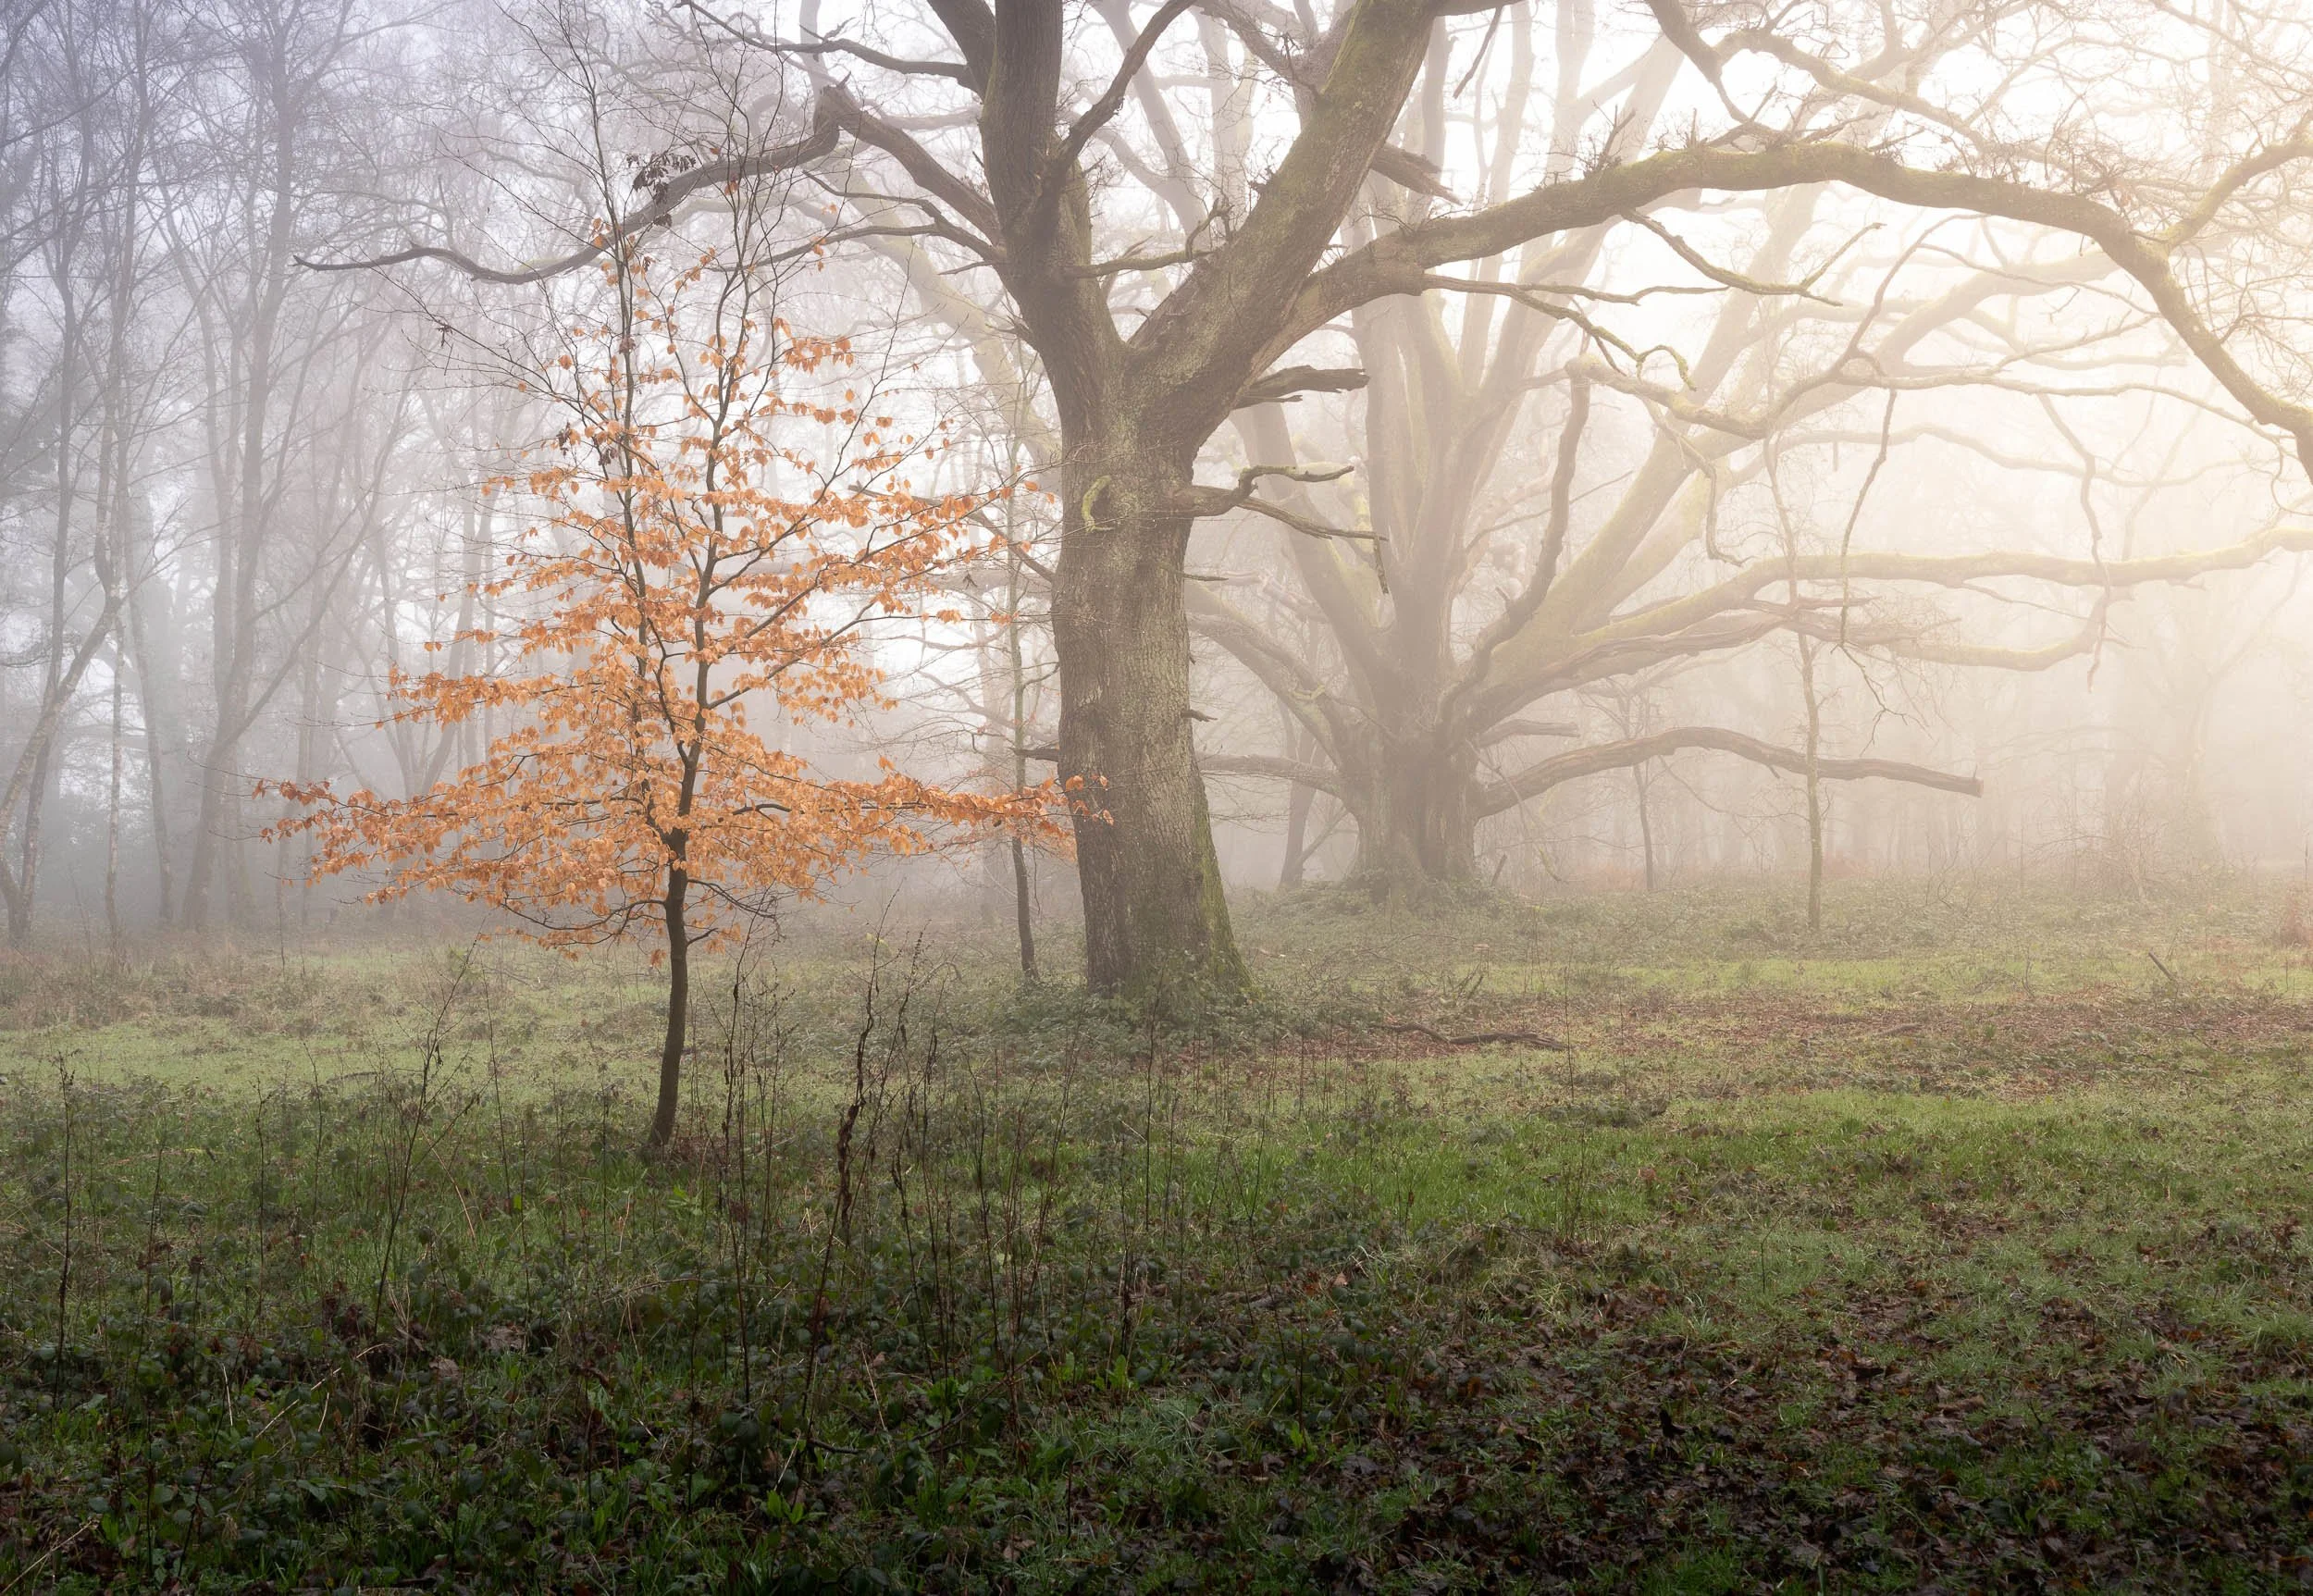
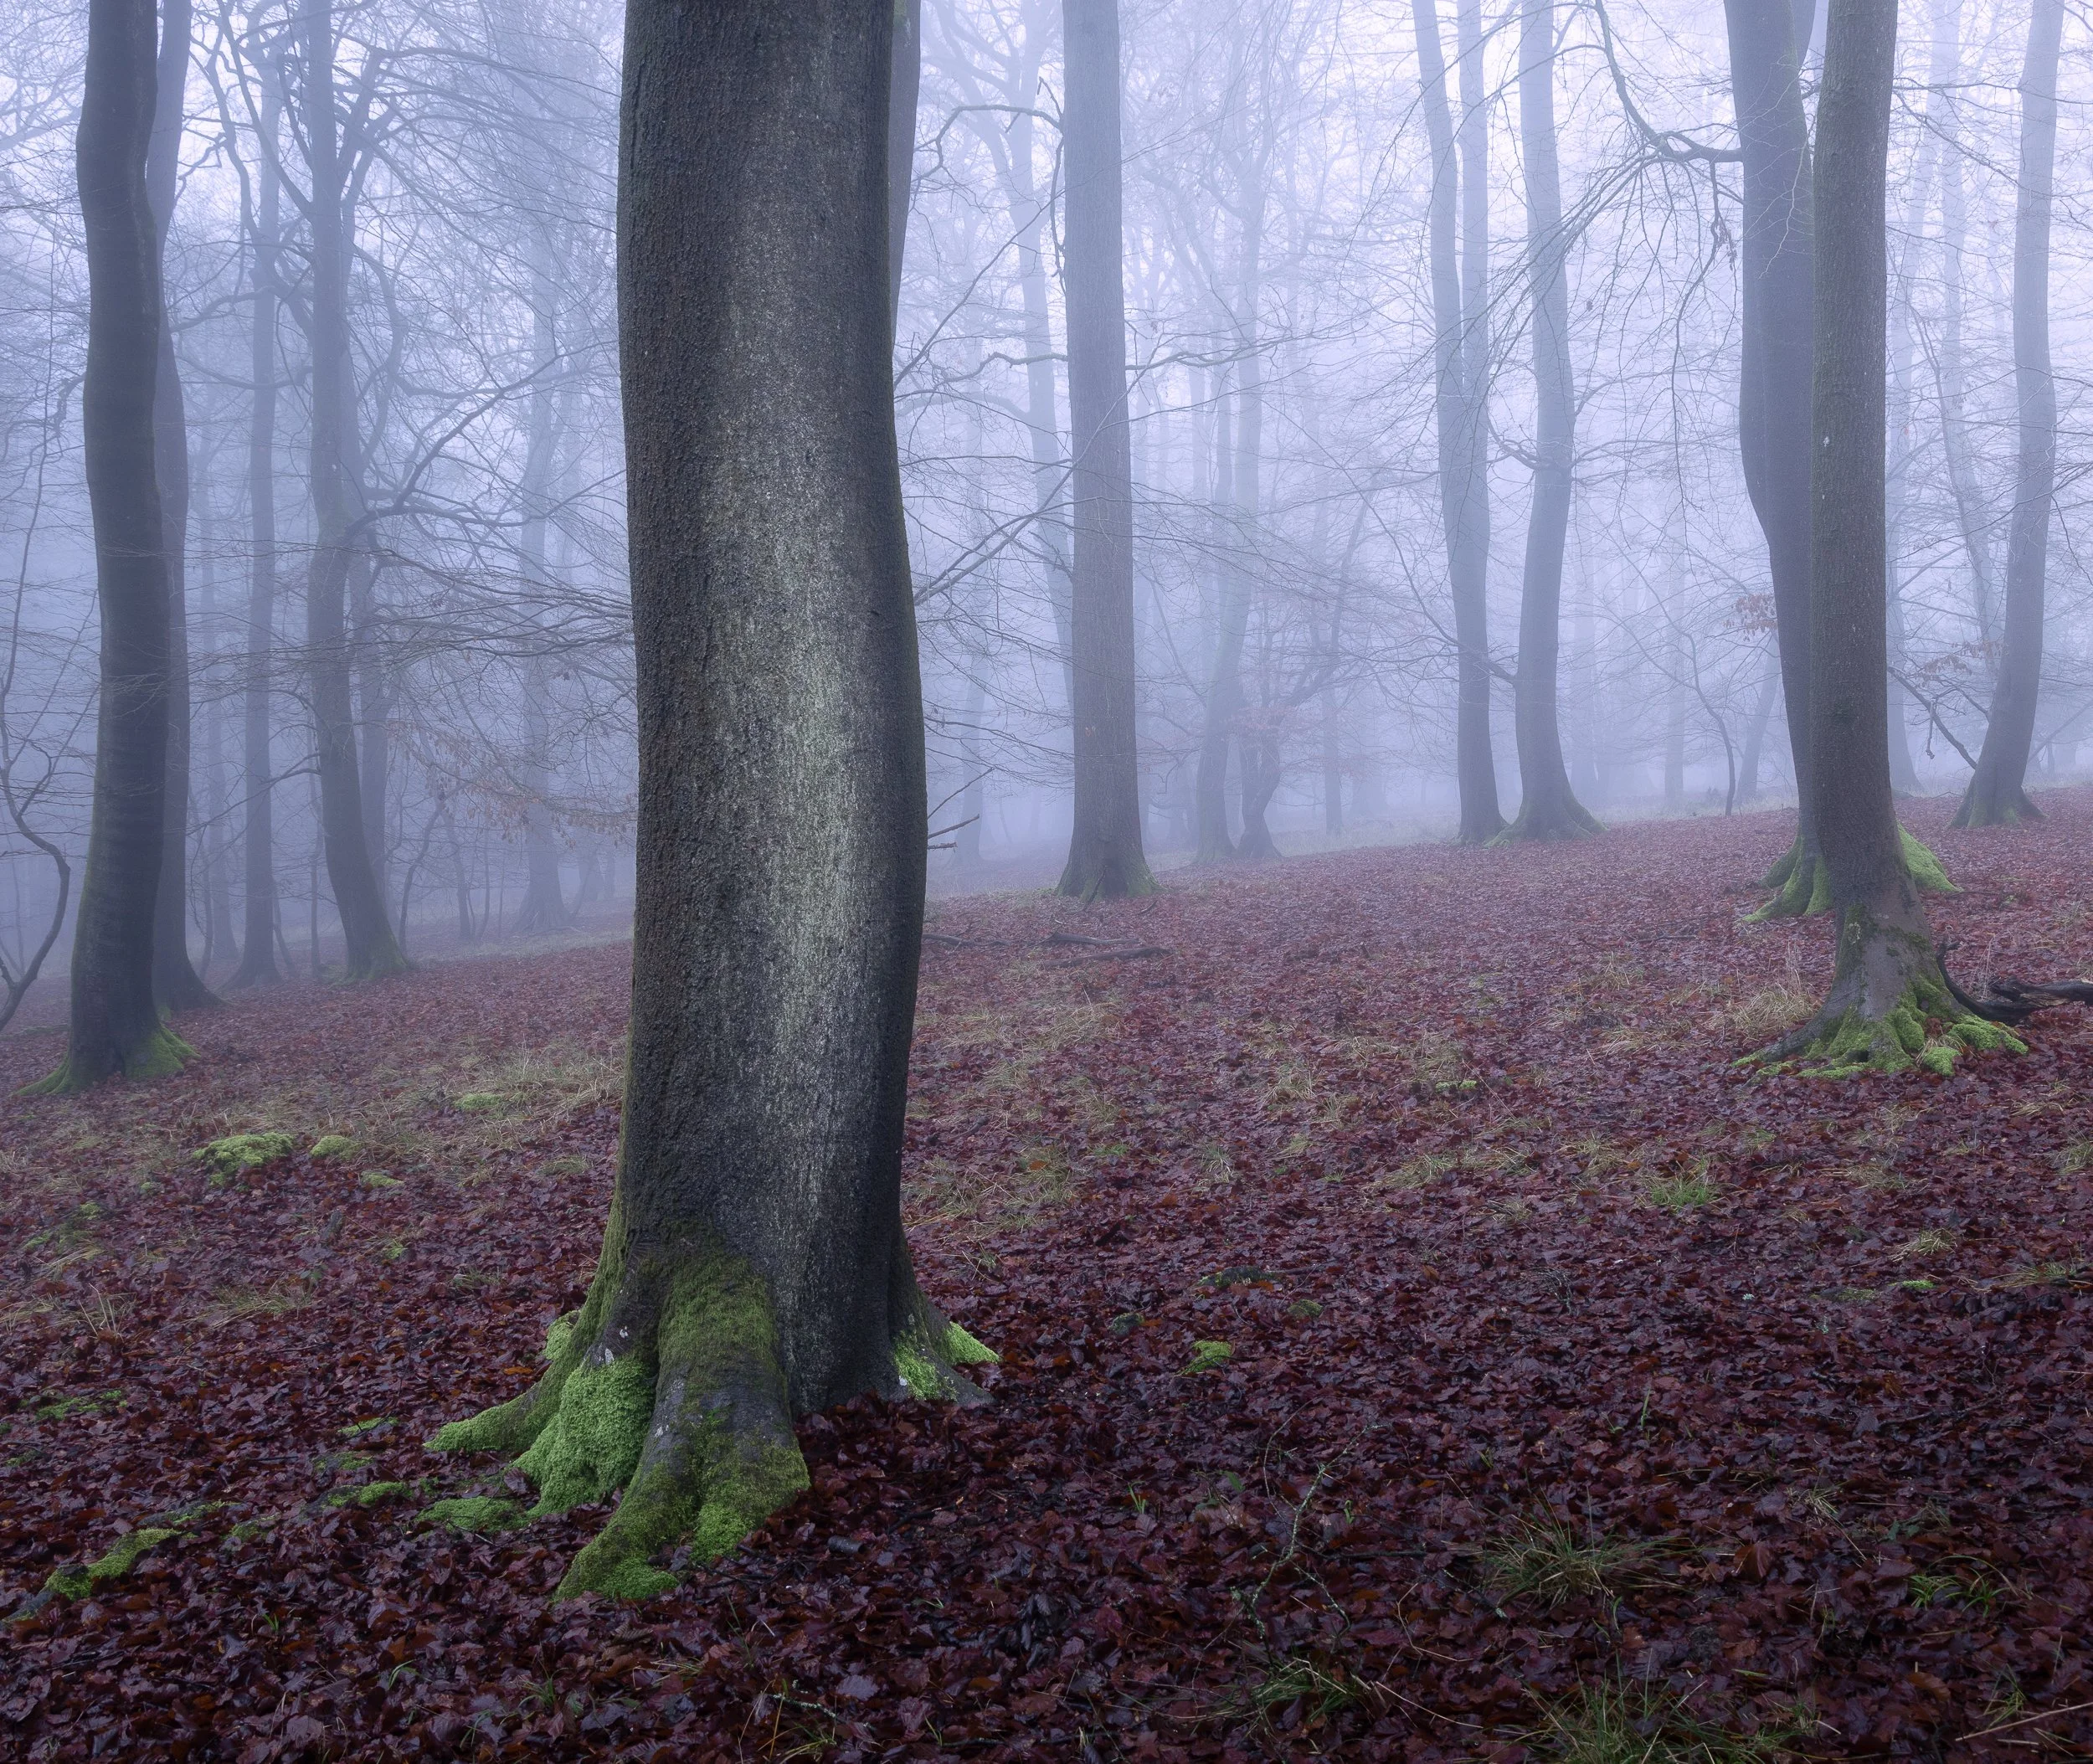
Winter Oak with a young beech tree near my home in the Chiltern Hills.
Why winter woodland photography is hard (and why it’s worth it)
In winter, the woodland can look like a tangle of lines with no subject. Everything overlaps. Branches merge. Your frame can become visual noise and distracting. Worse still, the ground is barren and often looks like brown leaf mulch.
But winter is also when you can learn to simplify your compositions, which is one of the most important winter photography tips for woodland photography — because you’re forced to:
Oaks allow great frames with frames
• choose a subject clearly
• use layering and separation
• work with light direction (or atmosphere)
• make small camera movements that change everything
And those skills transfer directly into spring, when leaves and greens make composition even harder, which is where strong spring photography tips become essential. In winter, you can learn the essentials and then build on this new understanding in spring and summer.
In spring for example, Beech trees will ditch the copper lower leaves for the first greens near the forest floor.
I hope to show you here how to make your woodland mono-tones of the winter woodlands pop against their bleak and almost barren habitat. This is where woodland photography becomes about structure first, colour second. Then you can enjoy building on this in the spring
Here I am going to look at two types of forests here in Britain. We have essentially Oak and Beech forests that we will discuss here. I will also touch briefly on the third, which is Birch trees. These are the three main tree types that I love to shoot and that I think are the most photogenic for woodland photography.
This blog runs alongside two YouTube videos that I have created on the subject of woodland photography in winter and spring.
The underlying importance of the type of weather you need to shoot these beautiful trees in cannot be understated. It is winter but you need particular conditions and hardly any of my suggestions involve sunshine — sounds ideal for British woodland photography in winter and spring, don’t you think?!
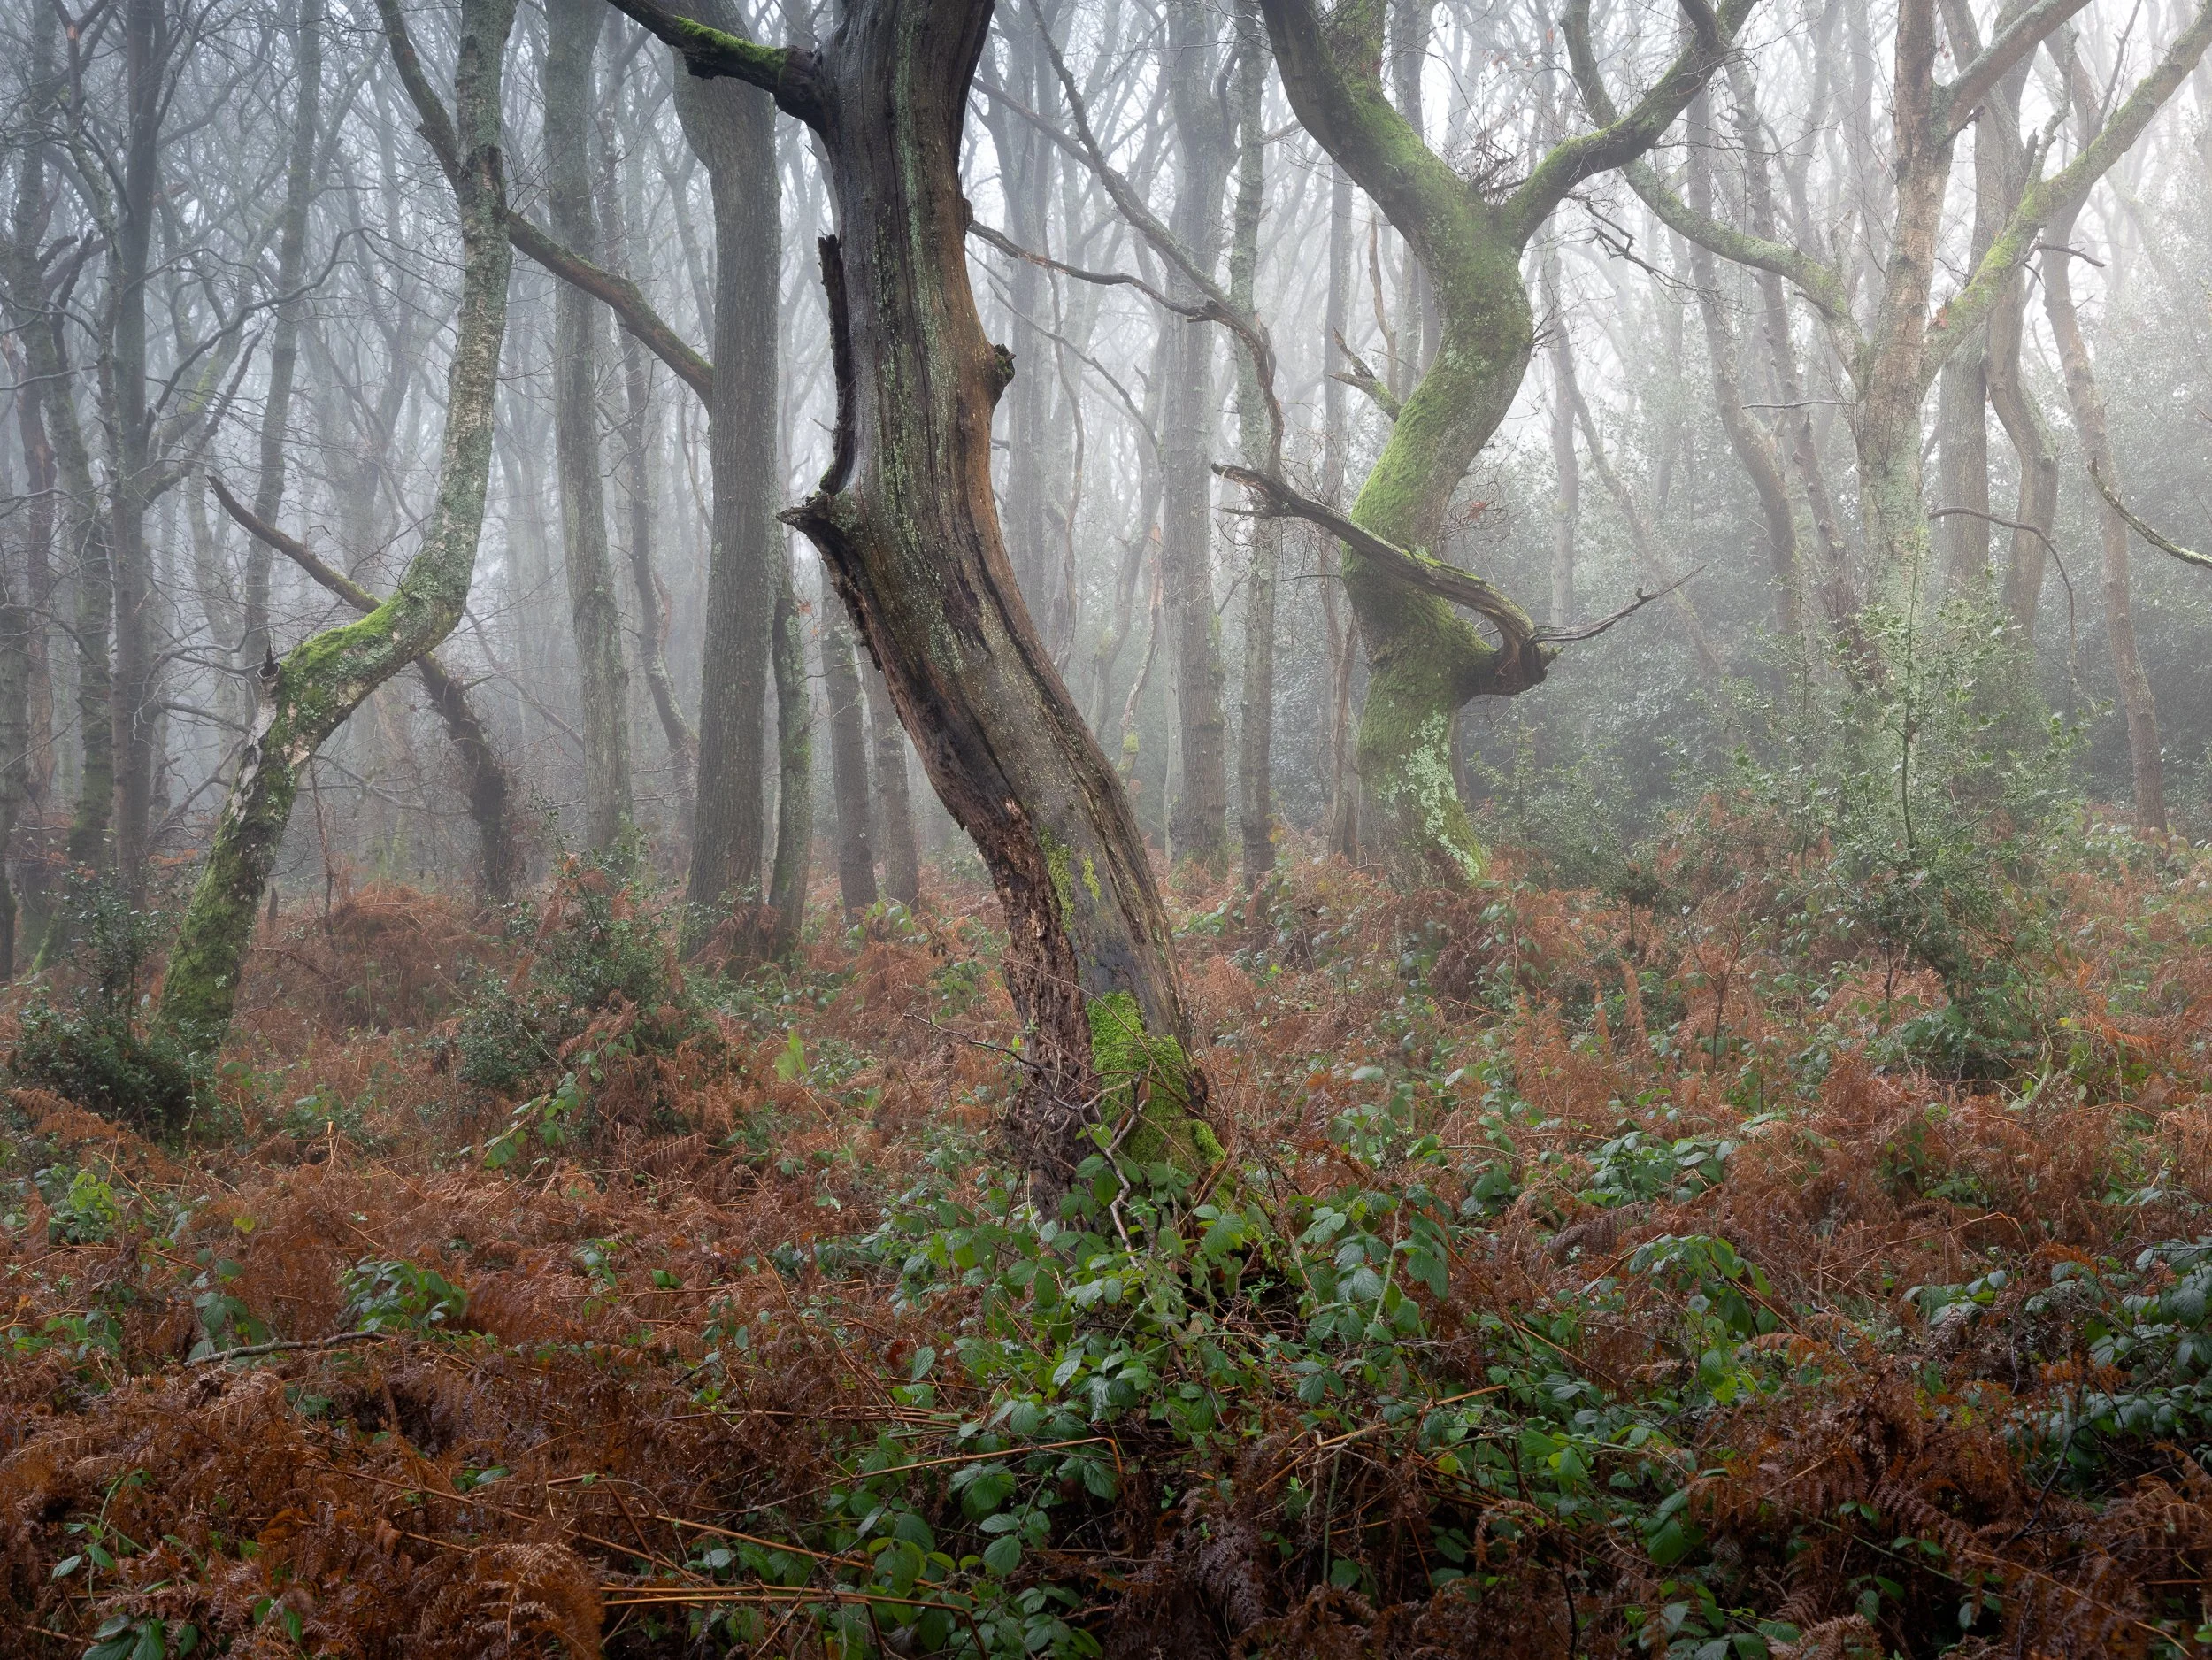
Part 1: Gnarly oak woodlands
Fog turns chaos into structure
Gnarly oak woods are beautiful, but they’re difficult to photograph in normal, clear conditions. The branches twist in every direction, and without separation, everything blends into one.
That’s why mist and fog are the best conditions for oak woodland photography. Finding this atmosphere is one of the strongest winter photography tips I can give you.
Fog is your friend when it comes to choosing a subject (tree) and making it pop for the viewer.
The ideal composition for oak trees is to often choose a group of two or three gnarly oaks and then use your position and the fog to the following effect. Spend some time finding these subjects, but remember the fog/mist will probably be short-lived.
Now think the following process through as you set up your woodland photography composition:
• layering (foreground → midground → background)
• separation between trunks and branches. Try not to let the branches and trunks touch
• simplification of the background. Move forward and backwards to increase or decrease the presence of the forest’s background in the fog
• framing of trees within trees. Gnarly oak trees are fab for this
• mood and atmosphere, you simply don’t get this on a clear sunny morning
If you have the above checklist in your camera bag, you are probably going to be coming away with some productive woodland photography shots.
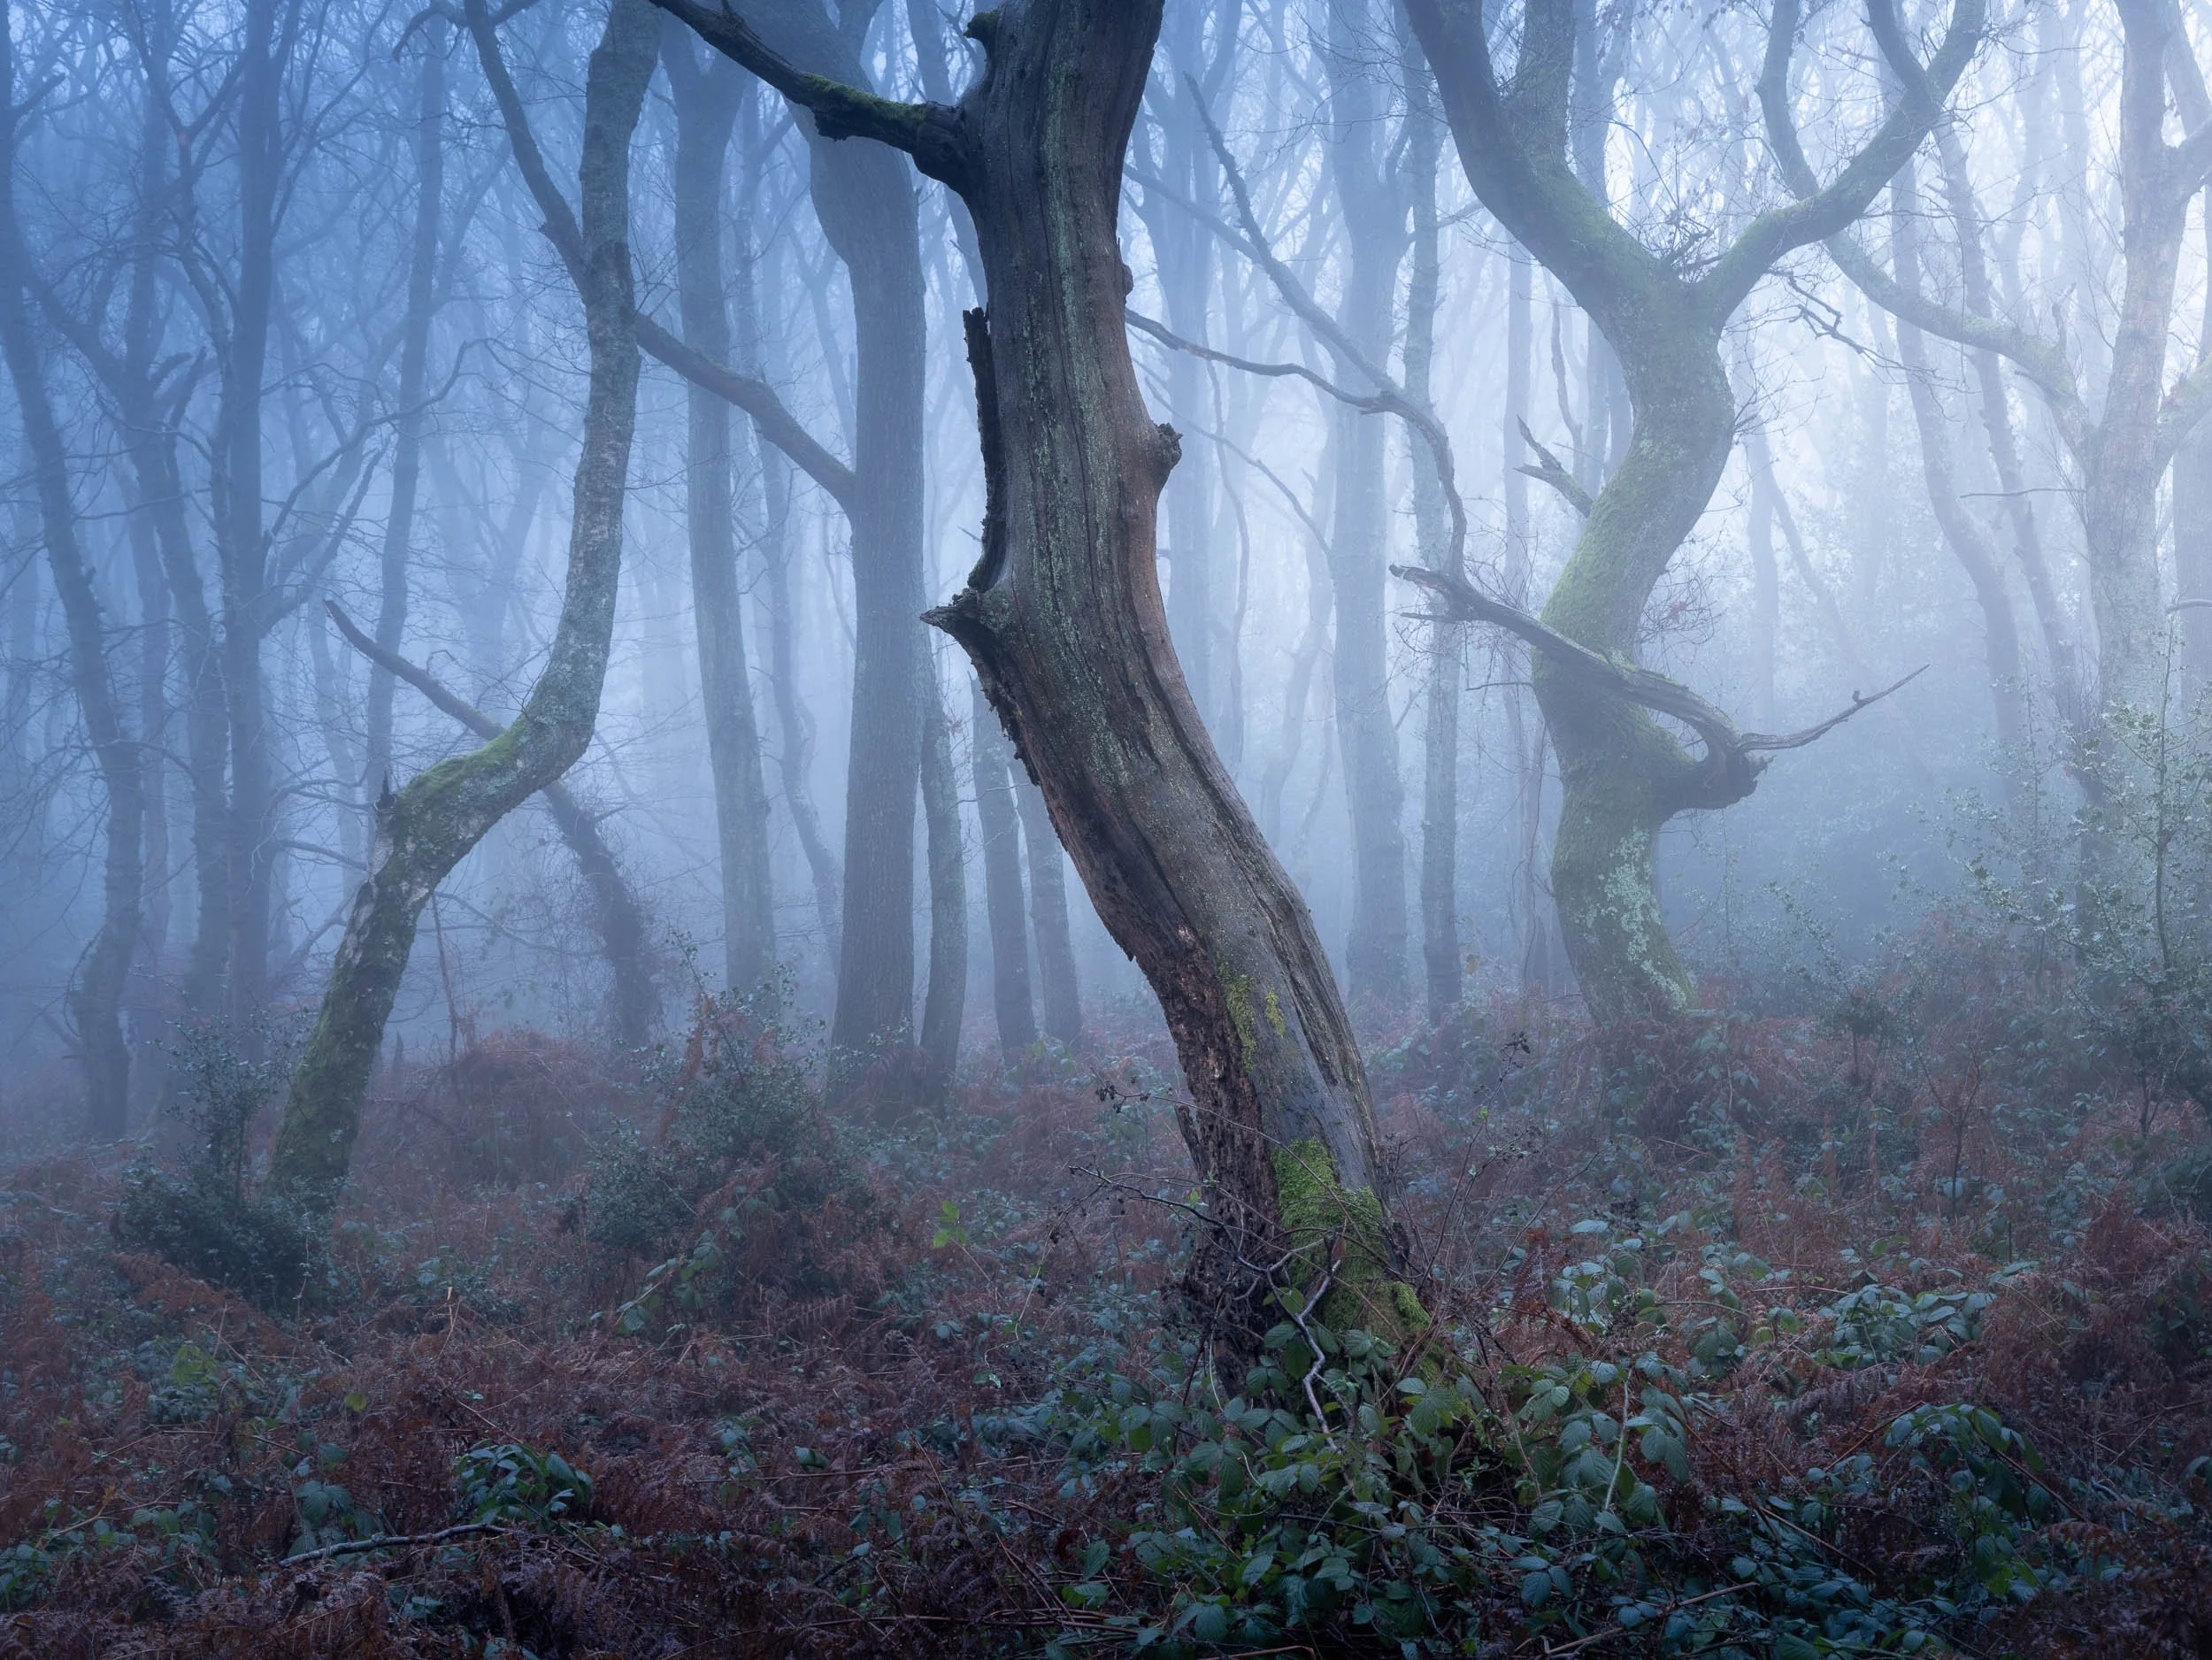
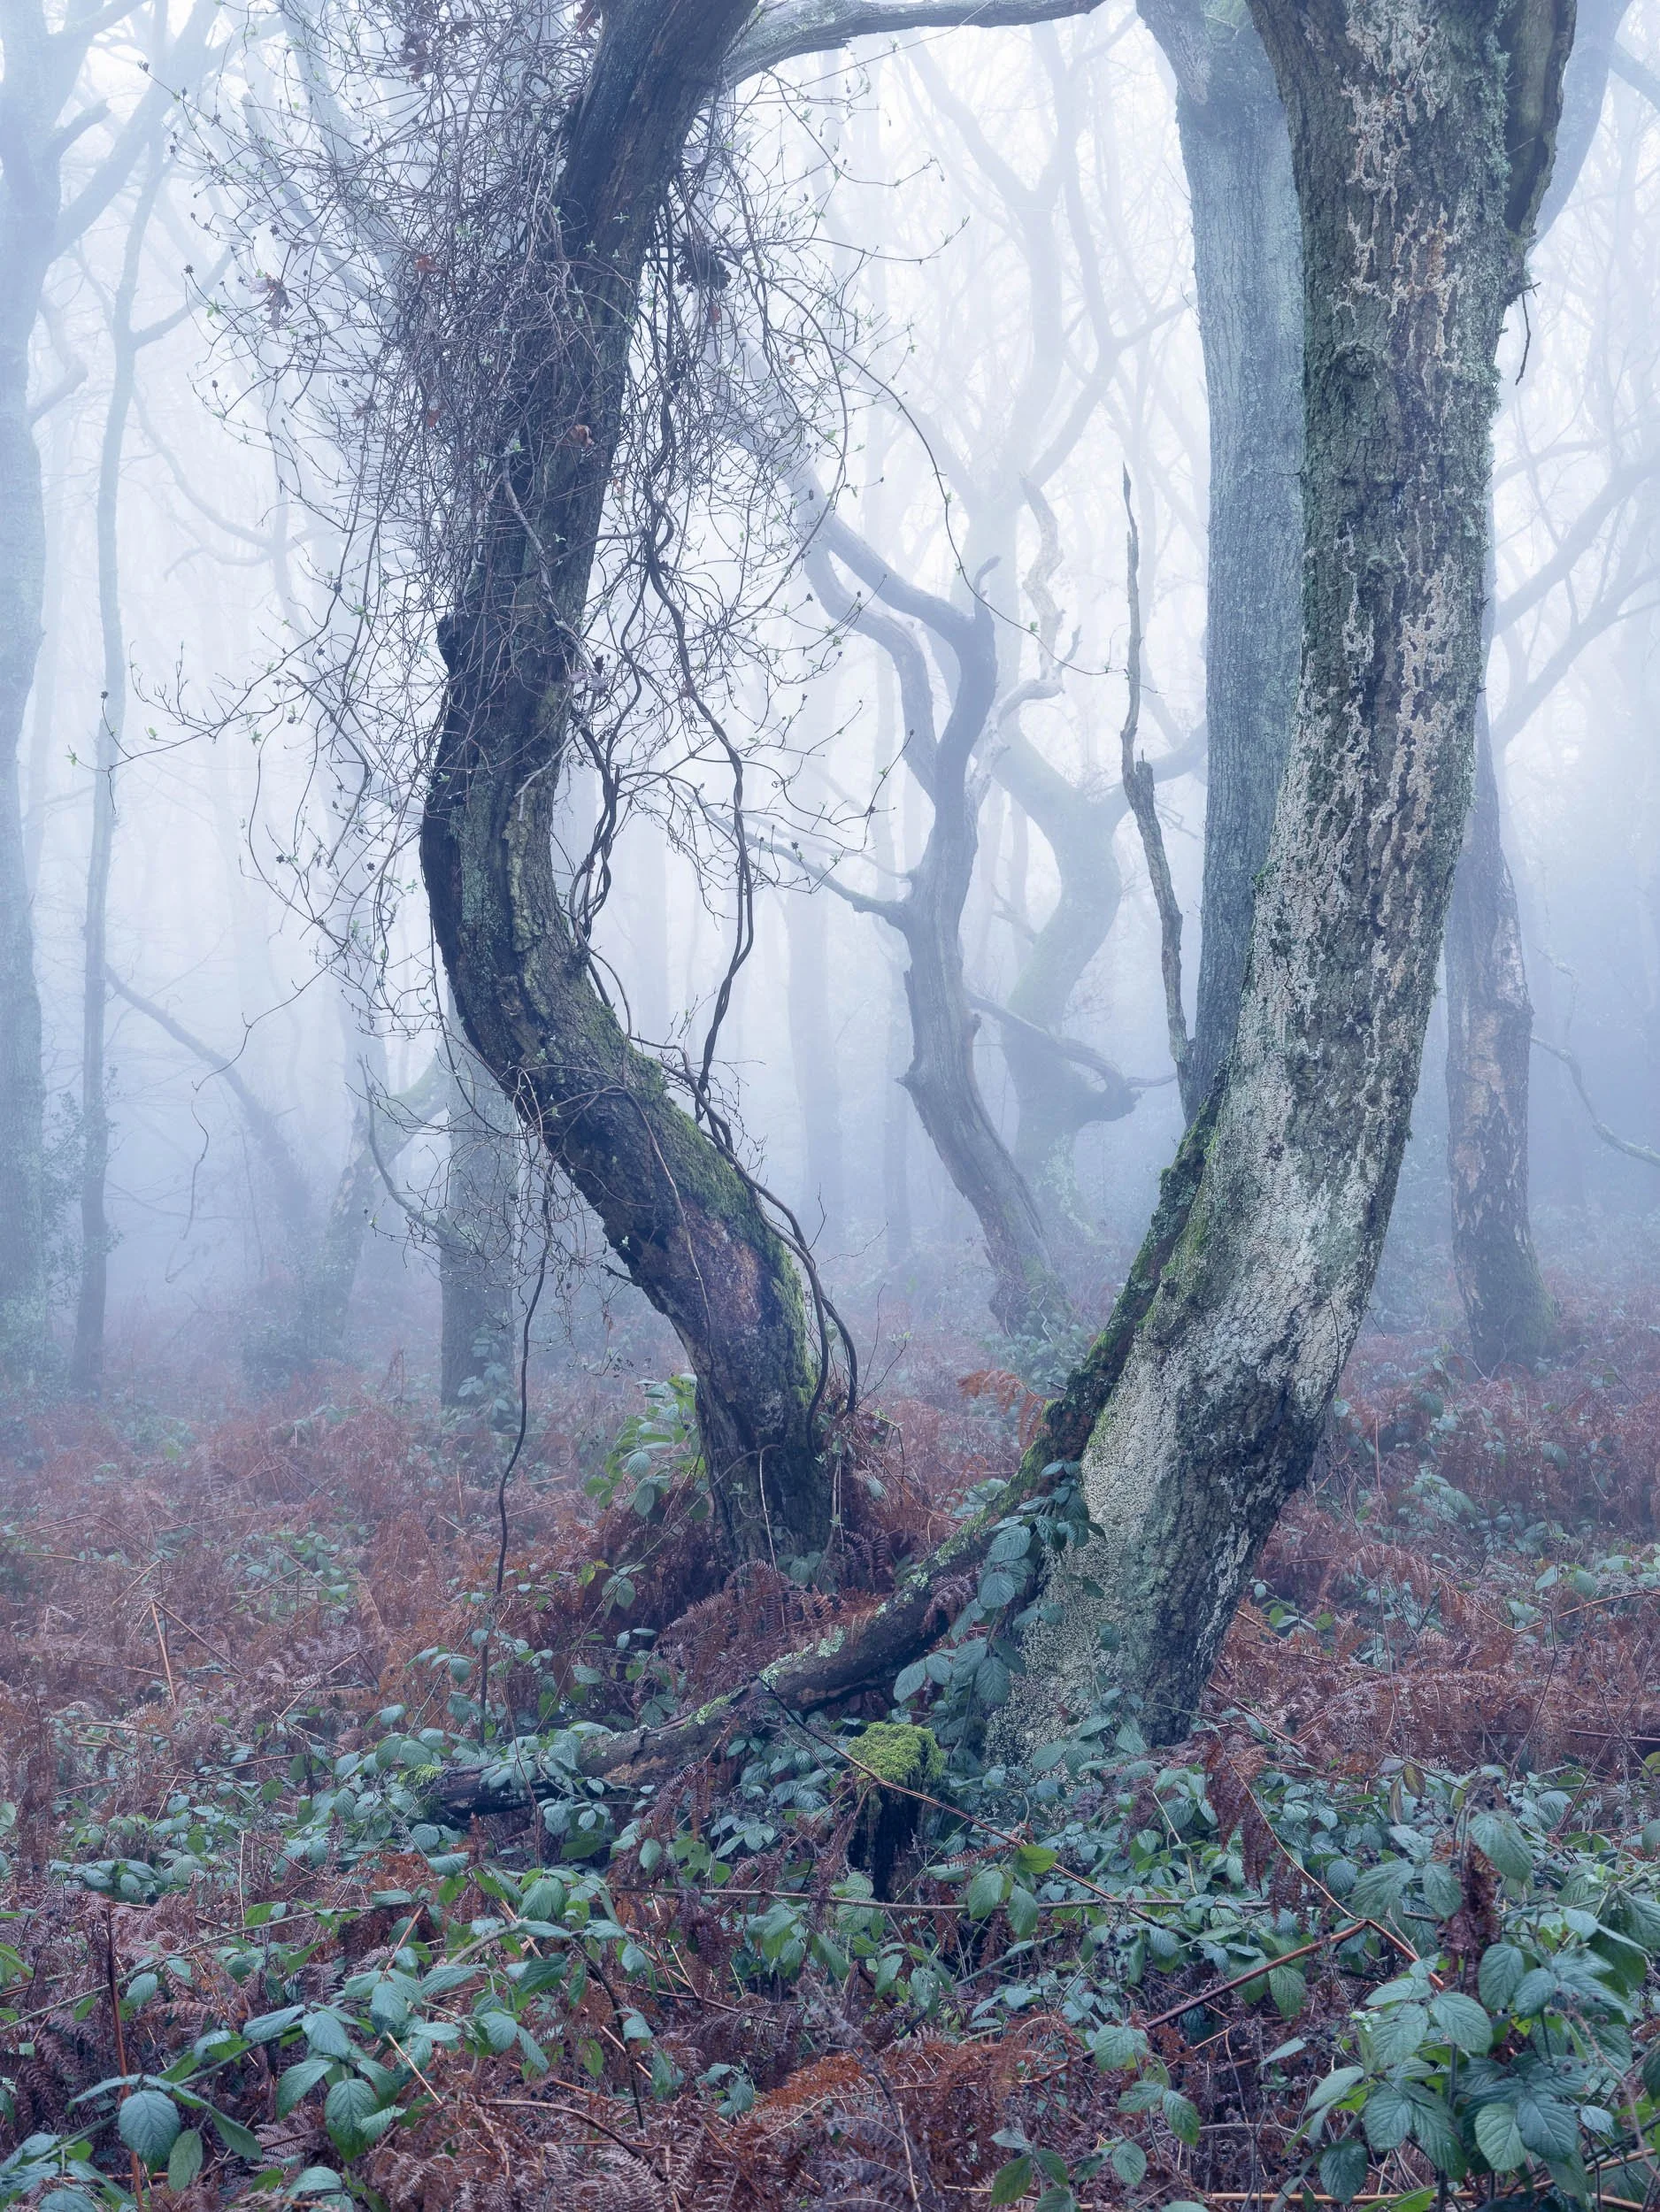
Oaks at pre dawn
The same oaks 30 mins later after sunrise. Which do you prefer?
Arrive early (before sunrise)
These conditions don’t last long. As the day brightens, fog often dissipates quickly and sometimes within half an hour.
And that half hour can completely change the feel of a scene:
• early = muted, eerie, minimal
• later = brighter, higher contrast, more “buoyant”
Neither is right nor wrong. It’s just a different story within your woodland photography journey.
Composition tip: move inches, not metres
In oak woods, tiny changes matter.
When you’ve got a potential subject, shift the camera slightly left or right and watch how:
• trunks overlap
• branches merge or separate
• your subject becomes clearer (or disappears)
This is especially powerful in fog, because the background is already simplified. You’re effectively “tuning” the overlaps, which is one of the most overlooked winter photography tips for woodland photography. Invest in this, or you will kick yourself when you get the images back for editing and see a trunk or large branch pushing out of another main subject trunk and making the scene more confusing than it needed to be.
My woodland photography tutorial eBook is available from my online store. Full of great tips and woodland images.
Practical winter oak settings
Typical approach in those conditions:
• ISO 400 (to be honest, even in summer, I often use ISO 400. My Canon R5 shows little difference in woodlands between ISO 100 and 400)
• long shutter speeds (often 4–15 seconds depending on light)
• tripod + remote release (or timer)
• image stabilisation OFF for long exposures• image stabilisation OFF for long exposures
As it gets later in the morning, using a polariser filter becomes important to make the forest floor darker (Even overcast light can make the old leaves bound distracting highlights that are very difficult to remove in post processing)
And one unglamorous but essential tip: check your lens constantly.
In humid mist, the front element can fog over, and because the whole scene is foggy, you don’t notice until you get home and realise everything is soft.
A simple microfiber cloth saves a woodland photography shoot.
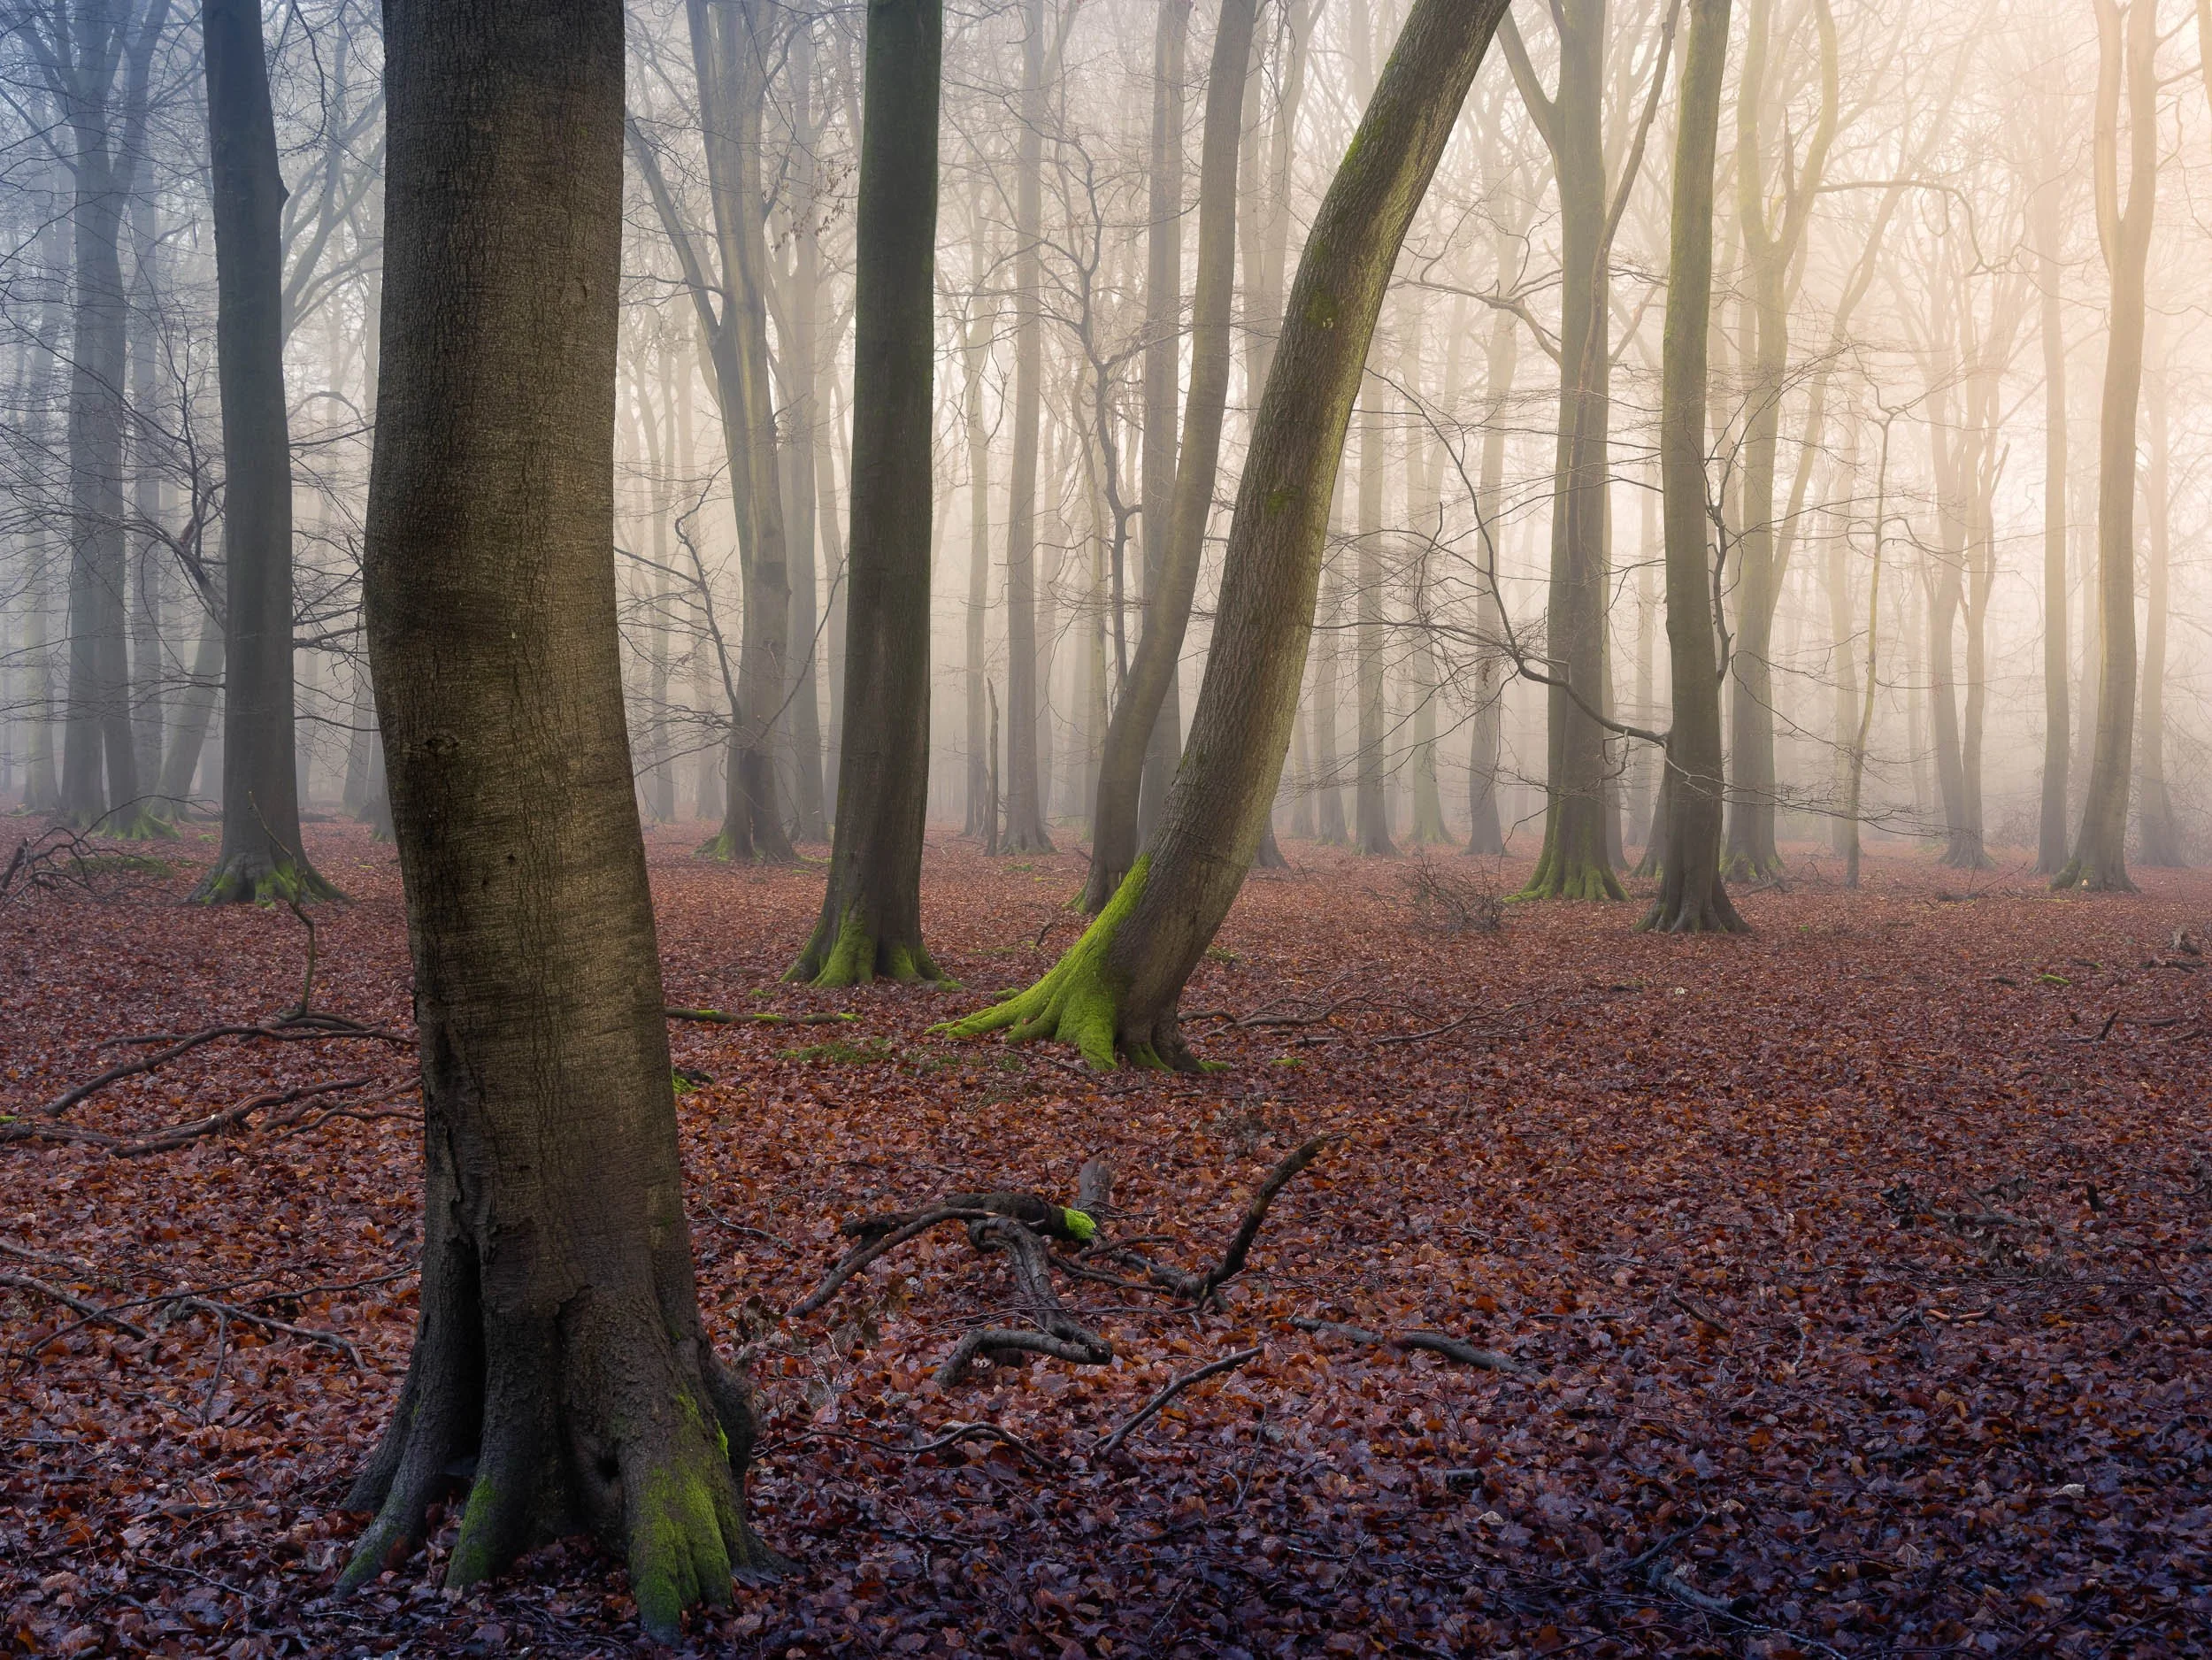
Part 2: Beech woods
Clean structure, texture, and “avenues” into the frame
Beech woods are different. Straight trunks. Gentle curves. More rhythm. It is always best to seek out the trees with the lovely S bends in the lower trunks. The S bend has a particular importance for the human eye and so your viewer will be drawn to this, which is a key compositional idea in woodland photography.
If you’re starting in woodland photography, beech woods are often the best classroom because they naturally lend themselves to simple compositions.
Look for one strong trunk & a repeating background (later move on to interactions with two or three beech trees as foreground subjects).
A basic composition for beech woodlands
This is a similar woodland nearby, however, this image was shot the day before in much more dynamic light. You take what you are given in this game. No two days are the same!
A classic beech woodland photography composition is:
• one beautiful trunk as the subject (texture, tone, markings)
• an avenue of trees receding behind it
• a soft background that supports rather than competes
In mist, this becomes even stronger as the subject pops forward and the background fades away.
And unlike gnarly oaks, you can often get away with beech compositions without fog, especially if you have a touch of early morning or evening side light to help the trunks stand out. Tip: This type of light is very useful both in winter photography and in spring photography.
Texture is your “light”
With beech trees, sometimes the drama isn’t the sunlight, but it’s the way the trees are marked:

Birch trees are slightly more difficult in winter, but as you can see it is about finding a way to simplify the subject, which is the trunks here.
• darker staining where water runs down
• lighter lichen patterns
• subtle colour shifts in the bark
That texture can feel almost ethereal, especially when the background is softened by mist. The result is a timeless woodland photography image. Beech trees excel at this type of texture on the trunks and make them ideal as the main subject in your image
Focal length and aperture rule of thumb
In beech and oak woods, I’ll happily go with a wider aperture as the focal length gets wider.
Don’t forget that the rule of thumb is to exclude the sky in almost all woodland photography to prevent distracting highlights taking away from the subject… but in fog you can allow the sky to feature more as it becomes much more subtle and almost a feature of the composition.
As a result, the focal length is allowed to become wider, and wider means seeing more atmosphere. I hope you see there is a balance to be had here and the fog allows you to start to take liberties. Those liberties = atmosphere in woodland photography.
A rough field guide:
• Wide (around 24mm): often f/13–f/14 is enough depth
• Around 50mm: often f/16
• 70–100mm+: depth gets tricky fast, so you’re choosing a particular plane of focus, or you’re going to have to focus stack if you want it all sharp.
Winters copper beech leave become Springs first glimmer of green. Top tip….re-visit these locations as the leaves are replaced green leaves.
Another reminder: woodland edges matter
Beech compositions also benefit from the edge of the woods, where you can get a hint of directional light and a more controllable tonal range. (remember the morning and evening side light I mentioned before)
Even a subtle shift in contrast can give trunks separation, which is a technique that works equally well in winter woodland photography and in early spring woodland photography.
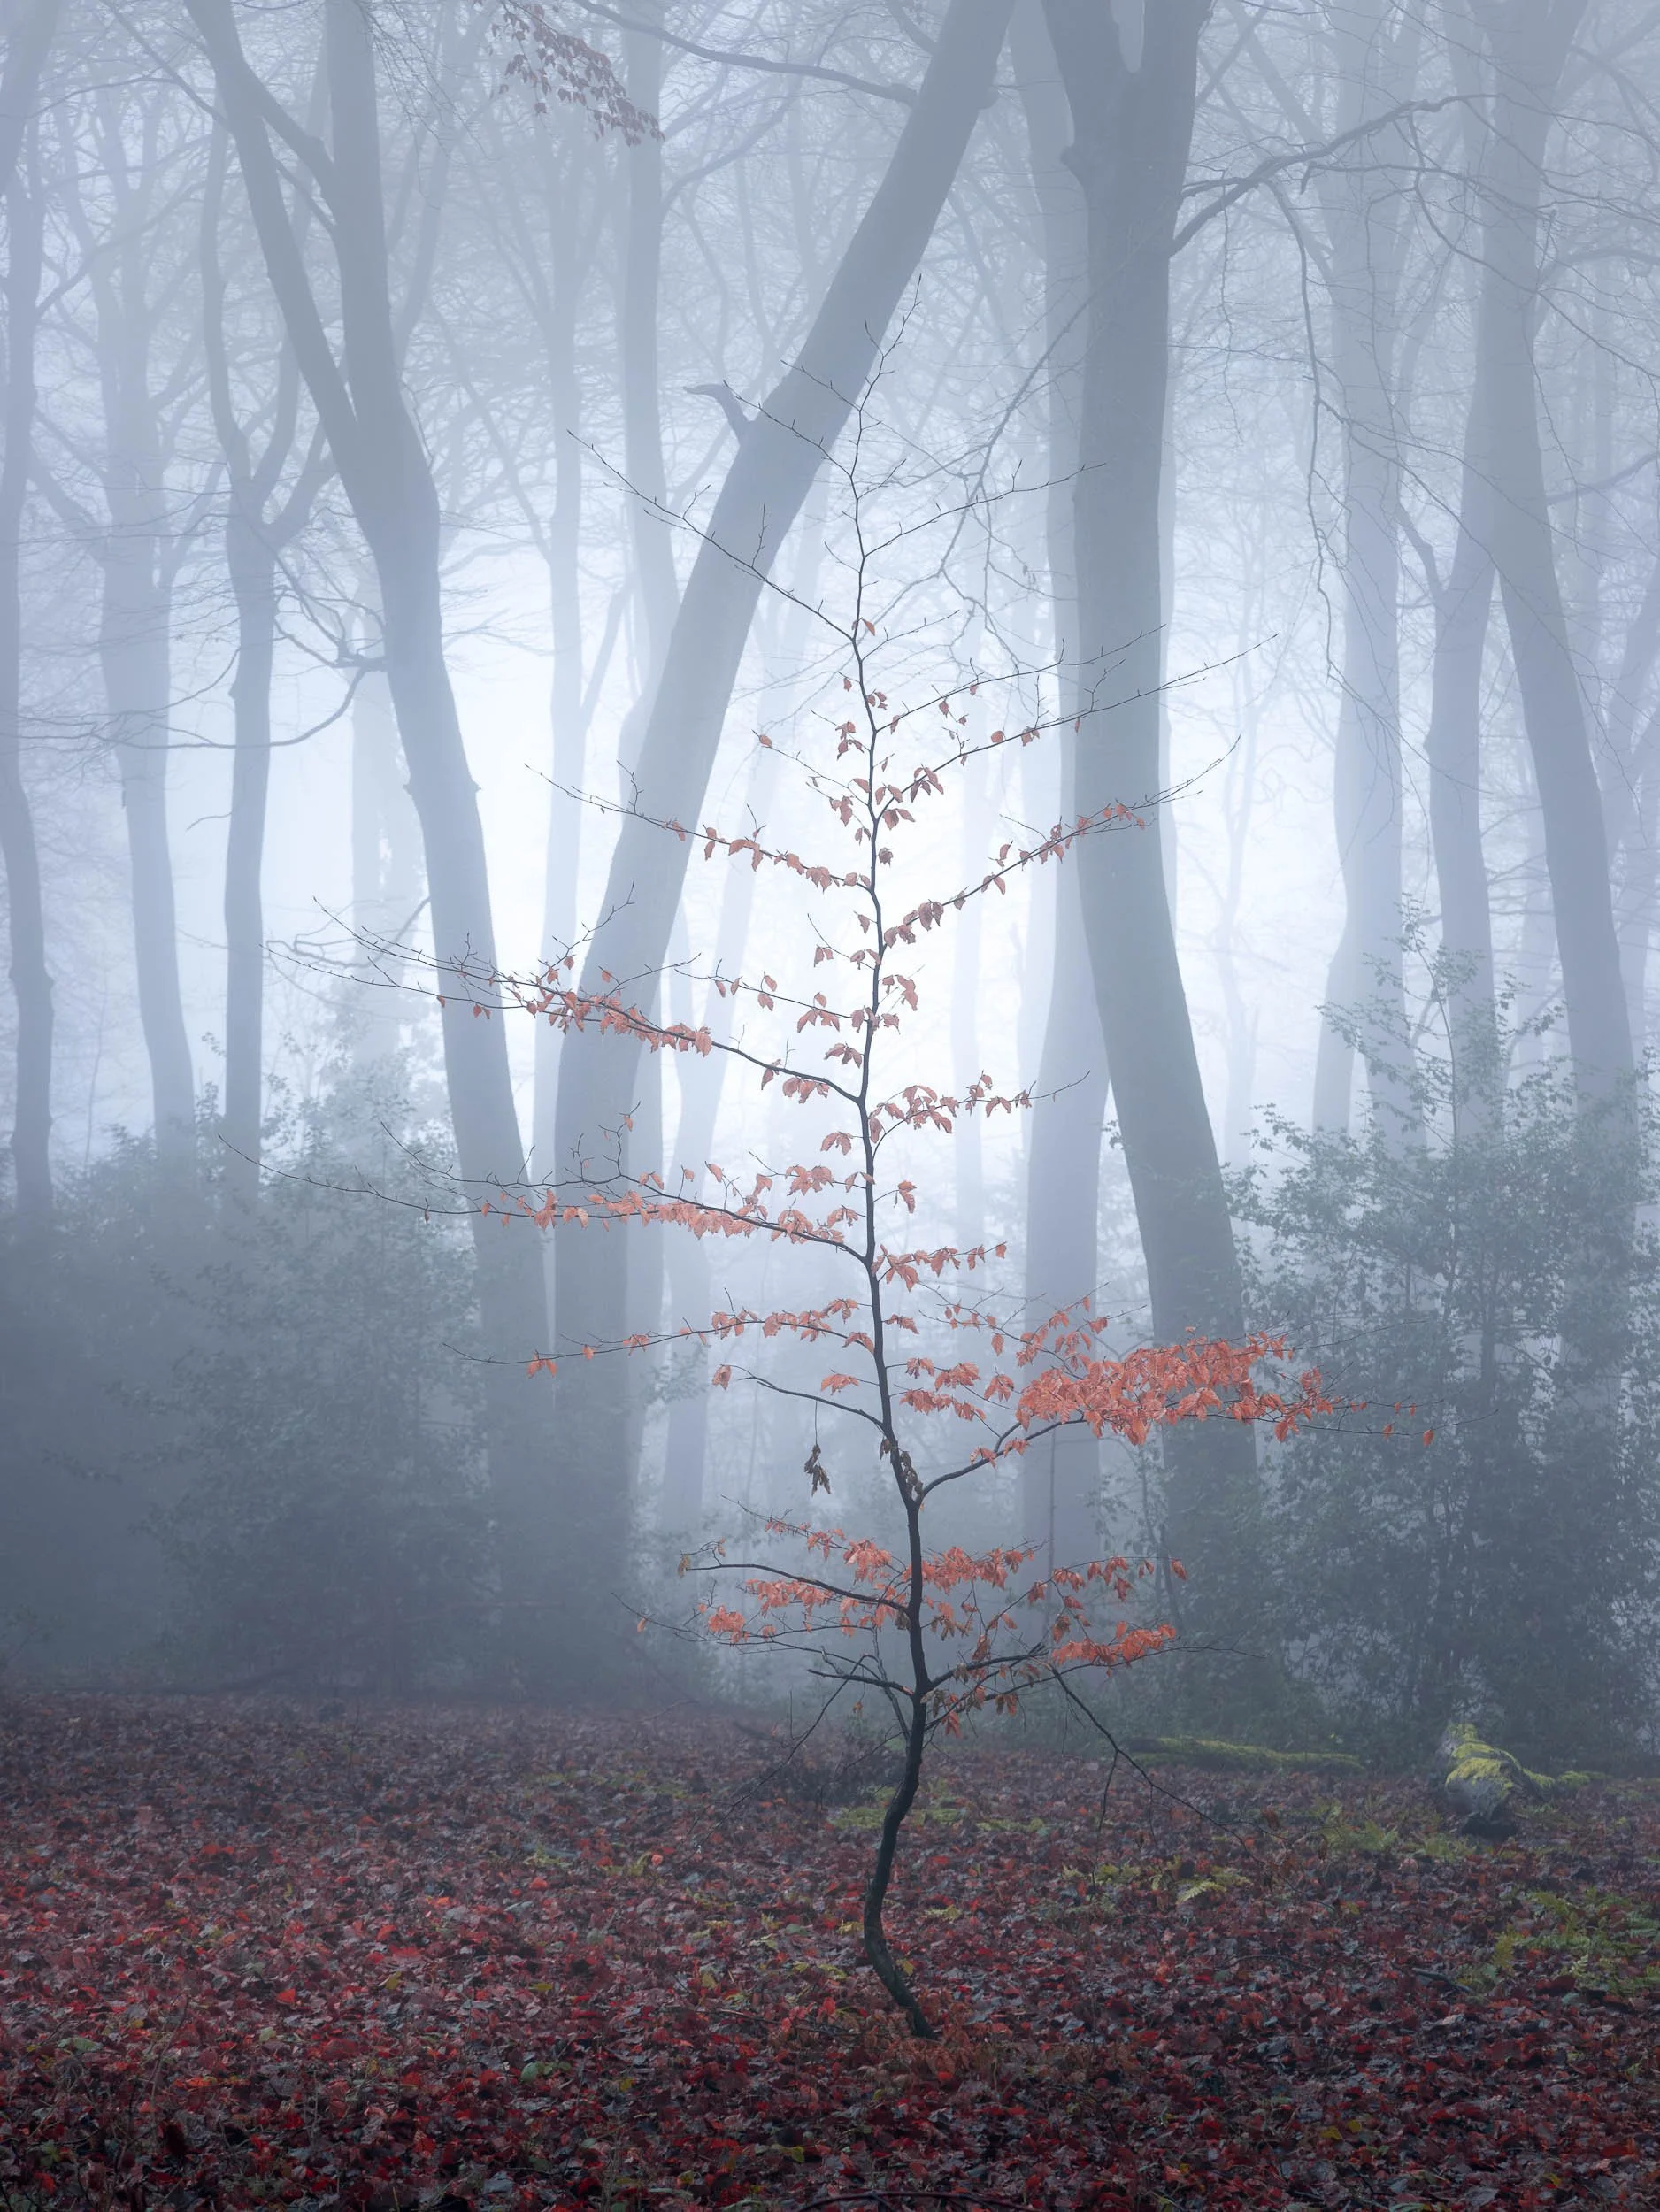
A winter “secret weapon”: copper beech leaves in fog
In the video (below), on the way back for my big breakfast, the fog thickened and I detoured through an area I know has beautiful copper tones.
Young beech trees often retain their leaves longer (that coppery colour). It adds one of the only natural colours you’ll reliably get in winter woodland photography.
In fog, it can look brilliant:
• copper leaves against a pale atmosphere
• framed by darker trunks
• a simple subject with a strong seasonal feel
How I framed it: Top tip -Always try to frame Portrait and Landscape
• landscape, which is great for putting on a wall in a frame.
• portrait (often better here, because the vertical framing suits the subject and the trunks — particularly useful when applying spring photography tips as new green leaves emerge)
How winter prepares you for spring woodland photography

Copper beech tree leaves make way for its spring leaves.
Winter forces clarity:
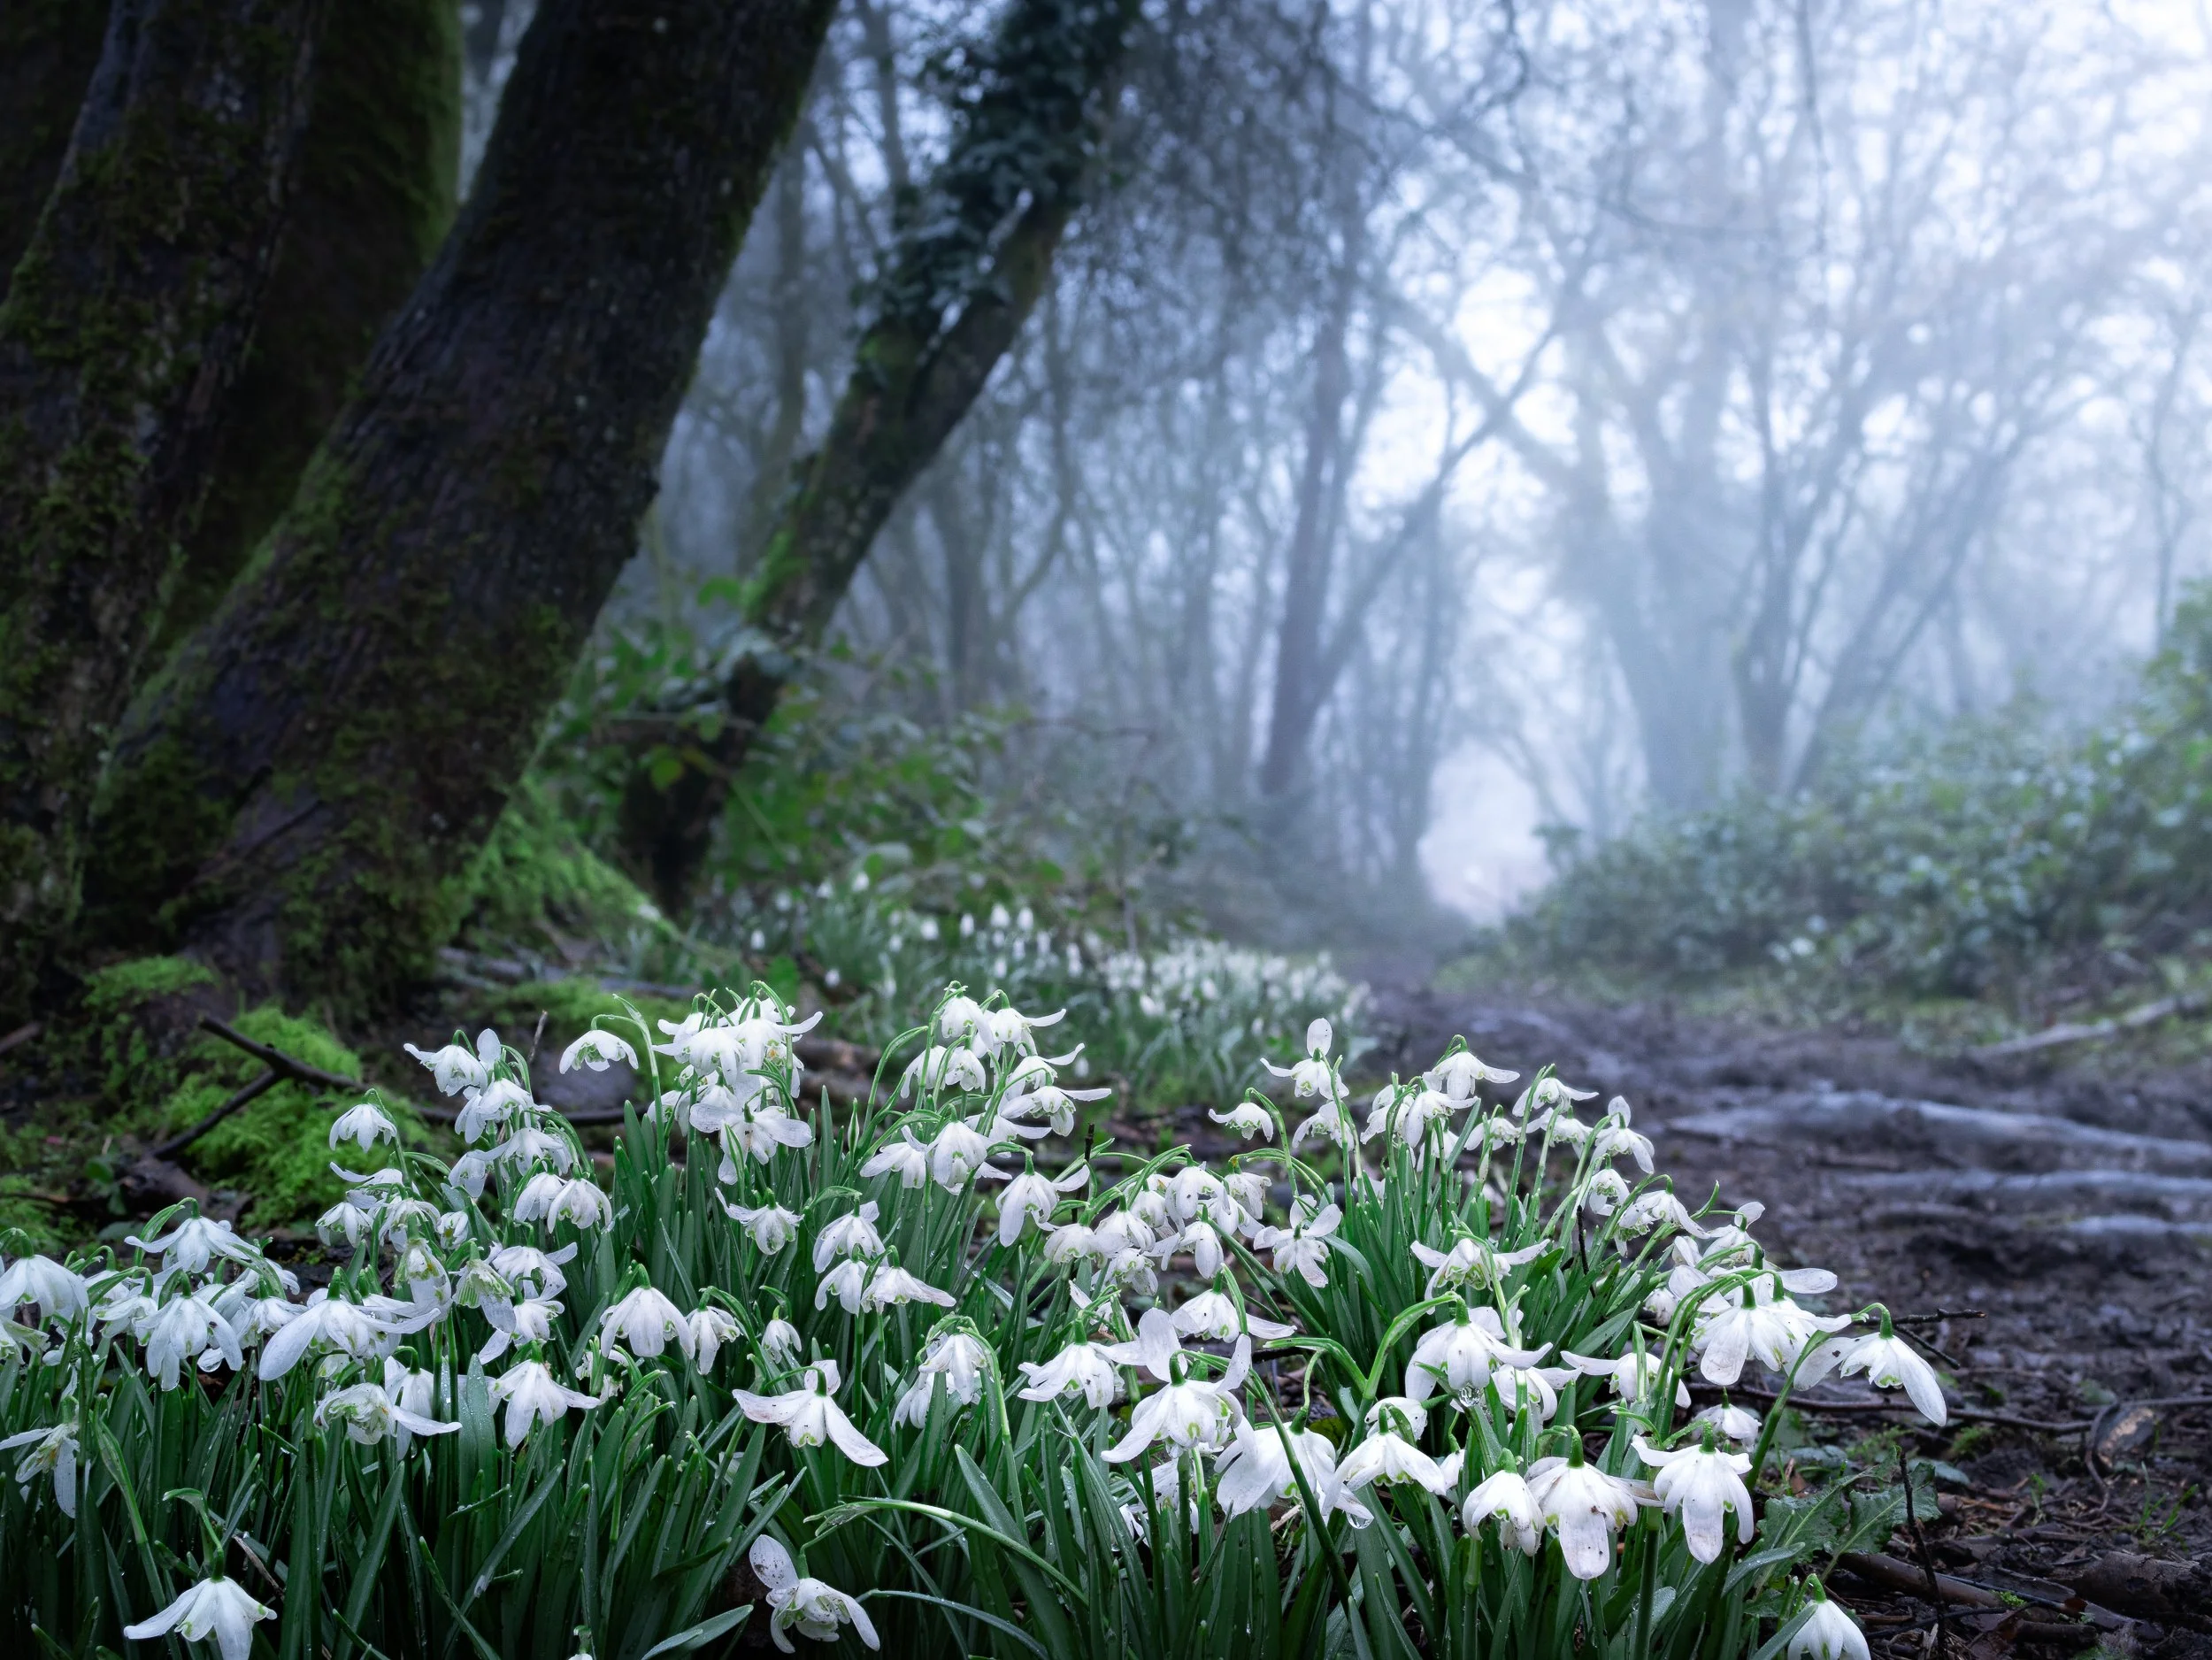
Taken a few days ago….signs of spring, but winter is still here for a bit longer. - Snowdrops in the Chiltern Hills.
• subject first
• structure and spacing
• careful framing
• simple layers
Spring brings the chaos back with fresh greens, busy undergrowth, and overlapping leaves.
If you can build strong compositions in winter woodland photography, you’ll find spring woodland photography much easier because you’ve learned to see structure, not just scenery. That is where winter photography tips naturally become spring photography tips.
Spring is just starting to show a glimmer out there. You still need your winter skills, but look out for those great touches of spring to contrast with the winter inside these woodlands. That’s the touch that provides atmosphere
If you want to see how this world is in the real world, here are my Winter Woodland Part 1 & 2 videos. (I would really be grateful for any comments below.)