
Summer Photography: Summer in Pictures
Poppies, wildflowers, woodland mist, infrared and black and white film and some even weirder stuff. There is no excuse not to get out there.
Summer photography can be a strange thing.
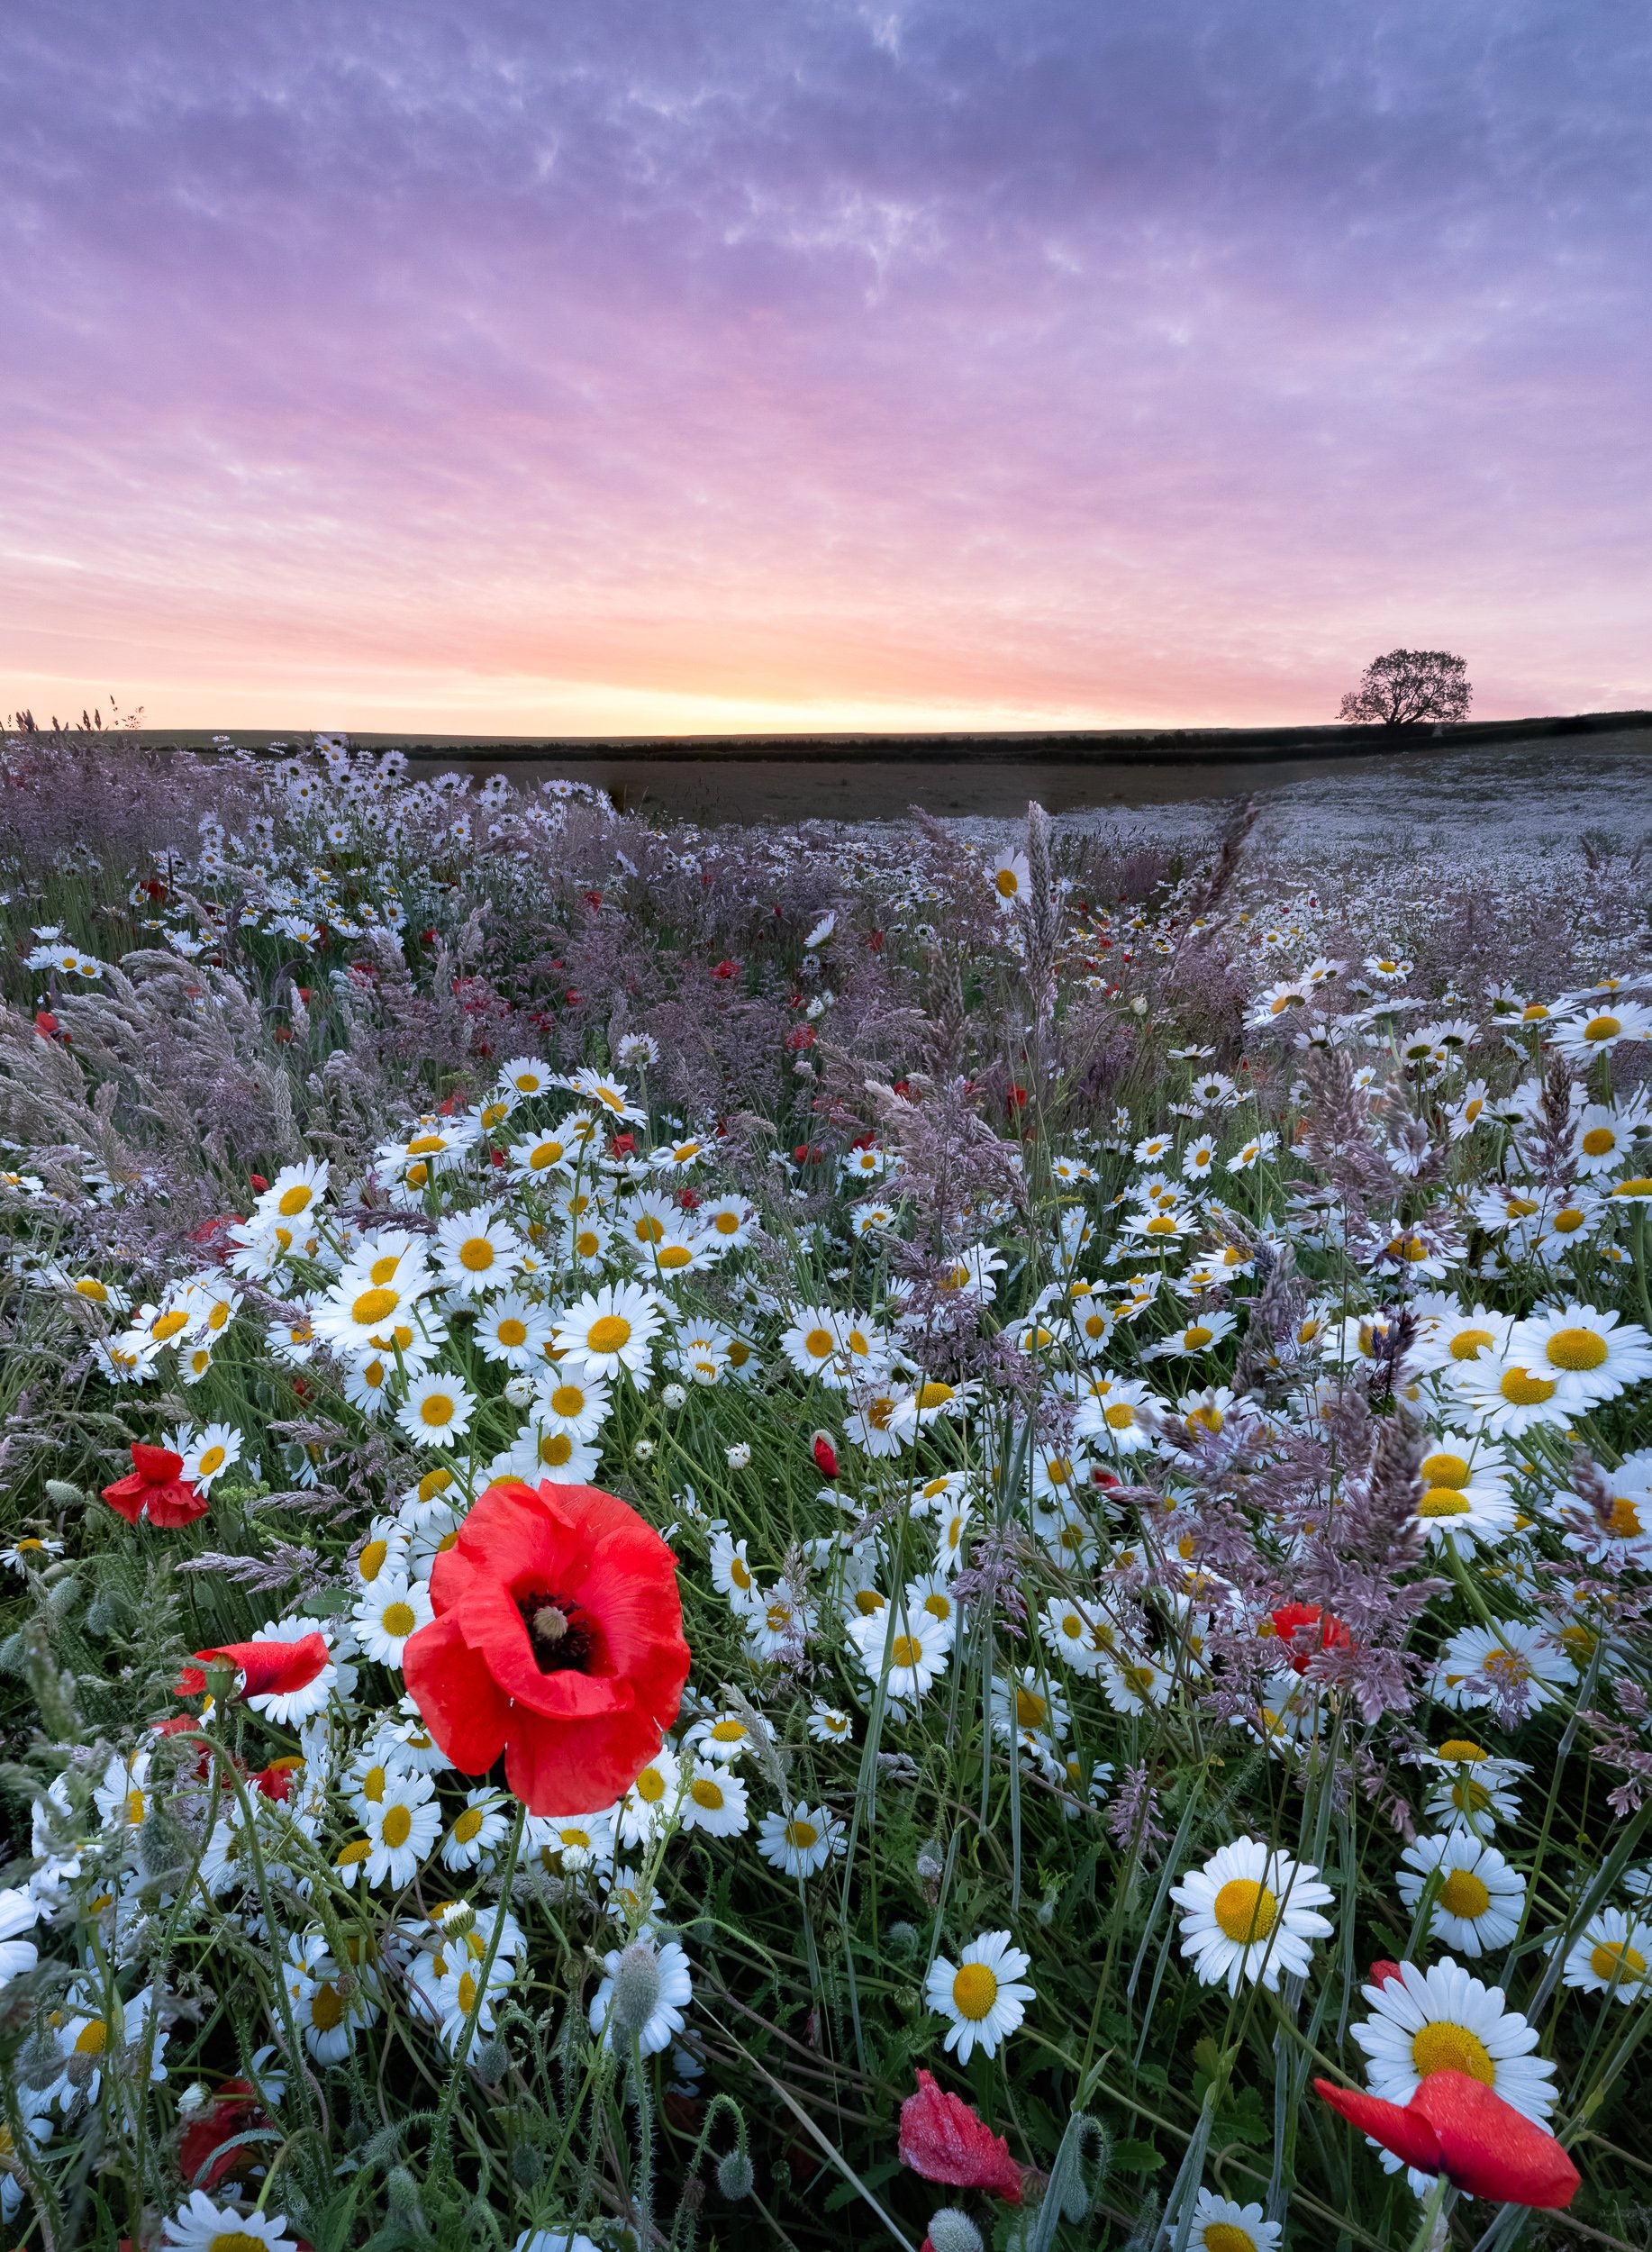
Poppies and Wildflowers at Sunrise, South England
On paper, it should be easy. Long days, warm weather, late sunsets and plenty of colour in the countryside. But in practice, it can be one of the more difficult seasons to photograph well. The light can be harsh, the skies can be empty, the woodland can become a heavy green mass, and by mid-morning the contrast can be almost impossible to control and worst of all, the mind-blowing early sunrise times.
That said, summer also offers some fantastic opportunities if you change the way you look at the landscape.
Over the last few weeks I have been photographing poppies, wildflowers, trees, misty woodland in the New Forest, a little infrared photography, and even some black and white film street photography in London. In a way, this is my summer in pictures: a mix of colour, experiment, failure, adaptation and a few unexpected successes. It has reminded me that summer is not a season to put the camera away. It is a season to adapt. This is a time to really experiment and potentially create some truly original images.
Here are a few ideas from what I have been working on recently.
Summer pictures of flowers: poppies and wildflowers work quickly, because they do not last
One of the highlights of my summer photography has been photographing poppies and wildflowers in the Chilterns.
Poppies are unpredictable. Some years they appear in great numbers, other years there are hardly any. They can also flower at slightly different times depending on the field, the farming, the weather and the season. When you find a good display, it is worth making the effort quickly because they can fade almost as fast as they arrived. I find that it is important to regularly scout farmland within a wide radius from my home.
The field I photographed was on private land, and I was asked not to disclose the location. That is something worth respecting with wildflower and poppy locations. These places can quickly be damaged if too many people walk through the crop or trample the margins. A beautiful photograph is not worth harming the very thing that made it beautiful in the first place.
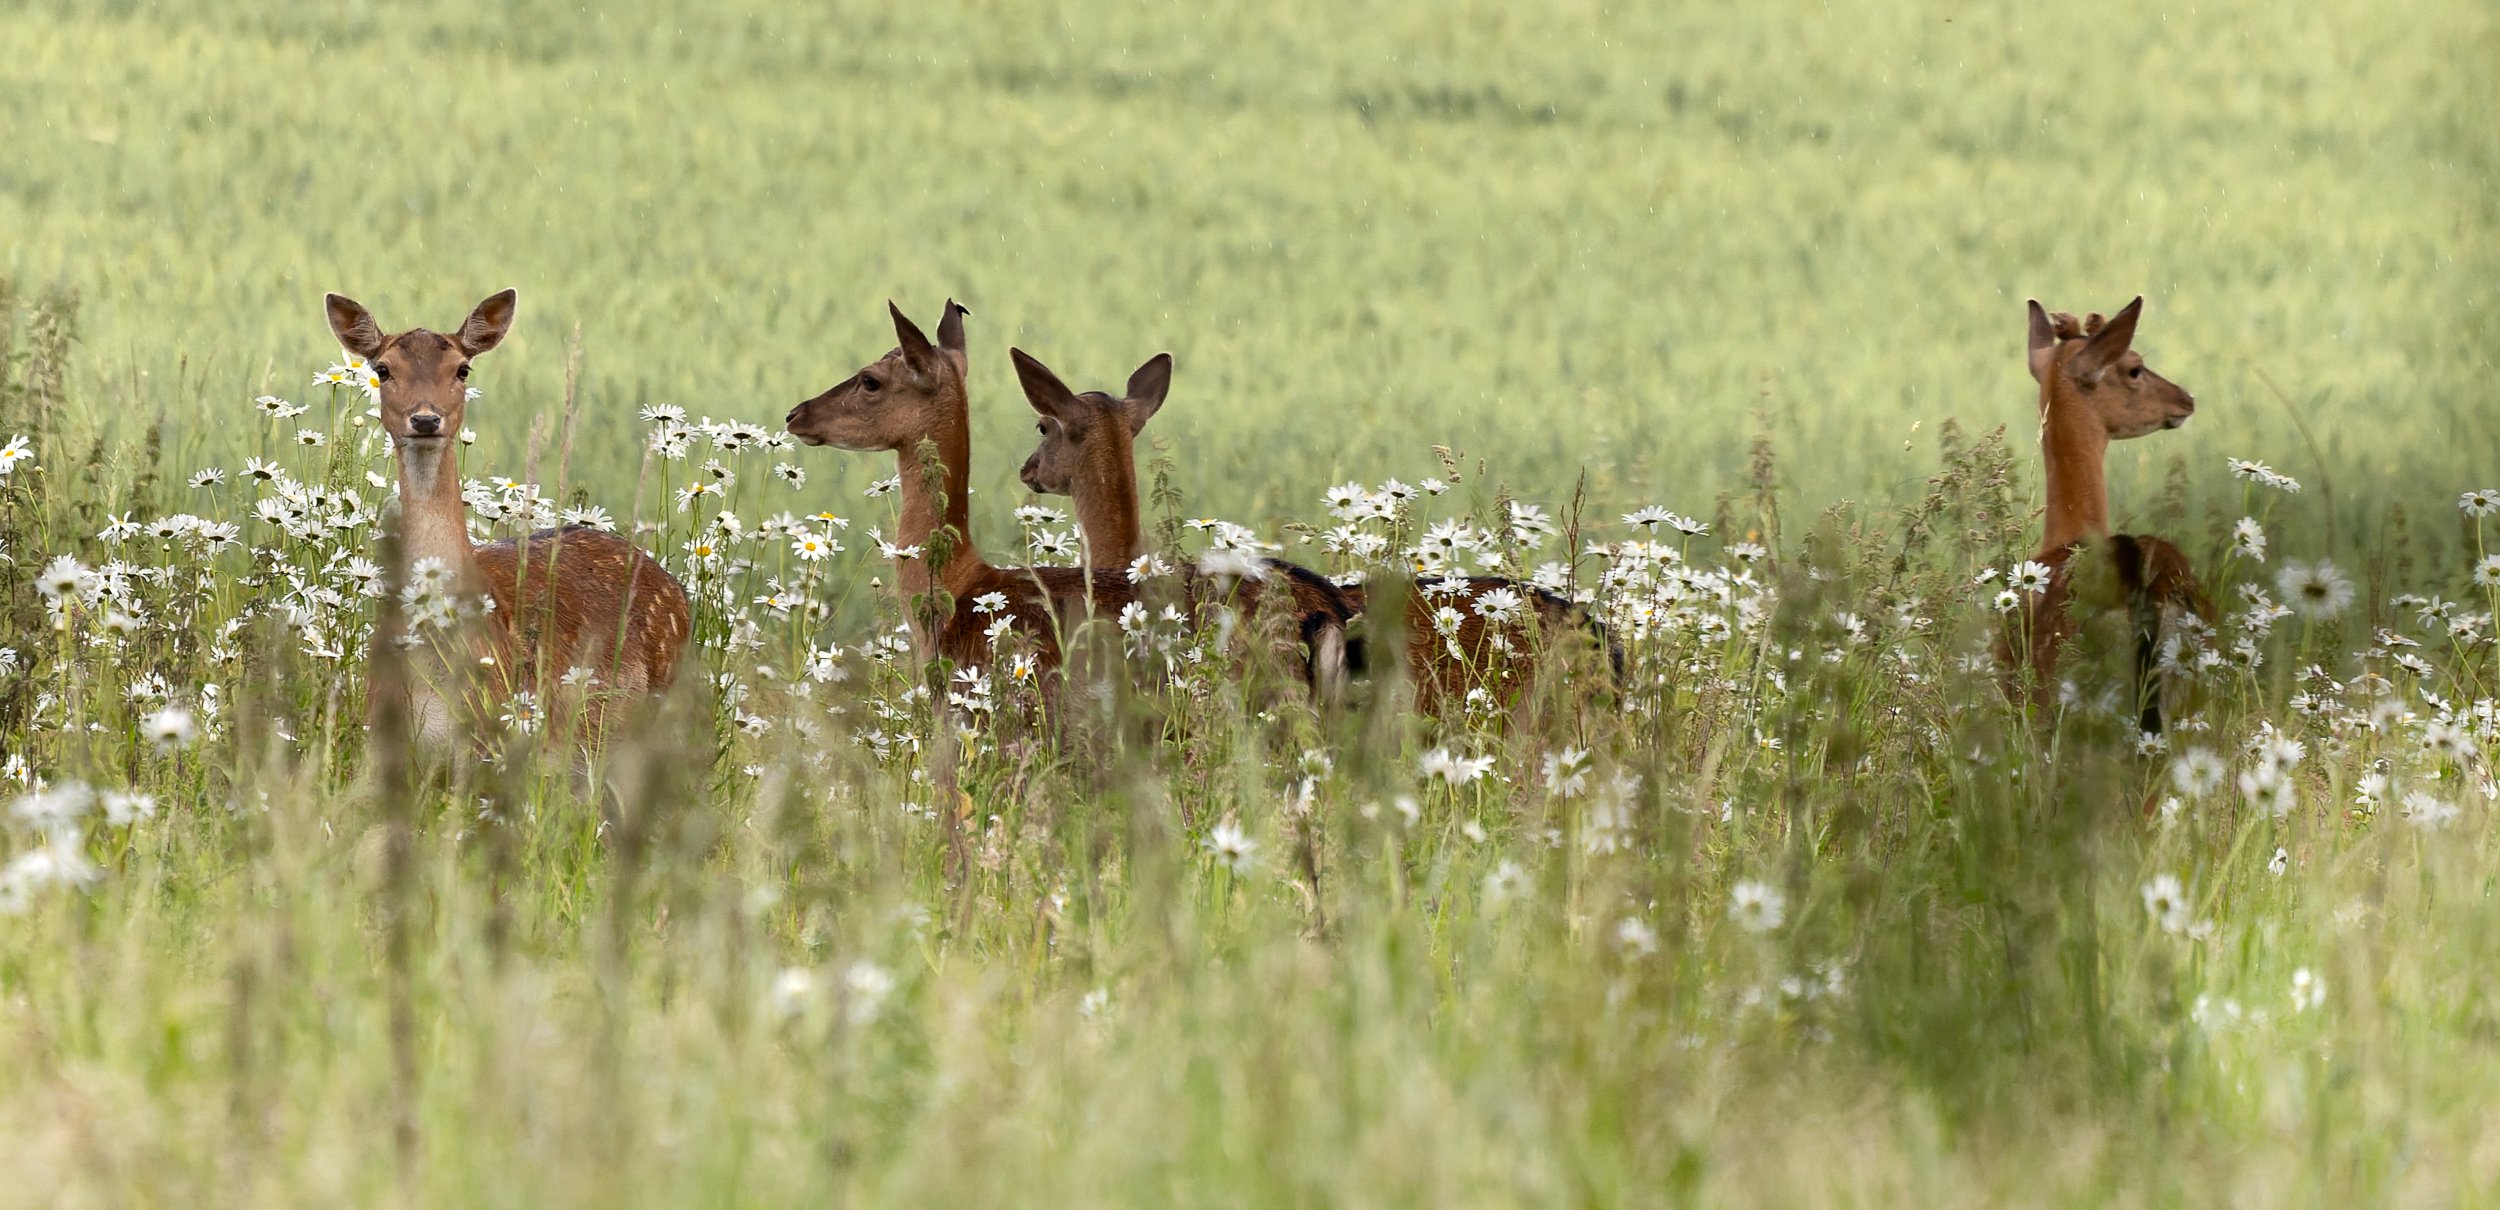
Wild deer watch as I shoot the wildflowers
One comment from a farmer made me smile. I was trying to find out who owned the field to get access. The farmer I approached said, “Good god no, it’s not mine. I would be too embarrassed to own that field!” He saw the incomprehension on my face and said, “Weeds, they are weeds every farmer's nightmare.” Perhaps he is right. But to a photographer, those “weeds” can transform an ordinary field into something full of atmosphere, colour and movement.
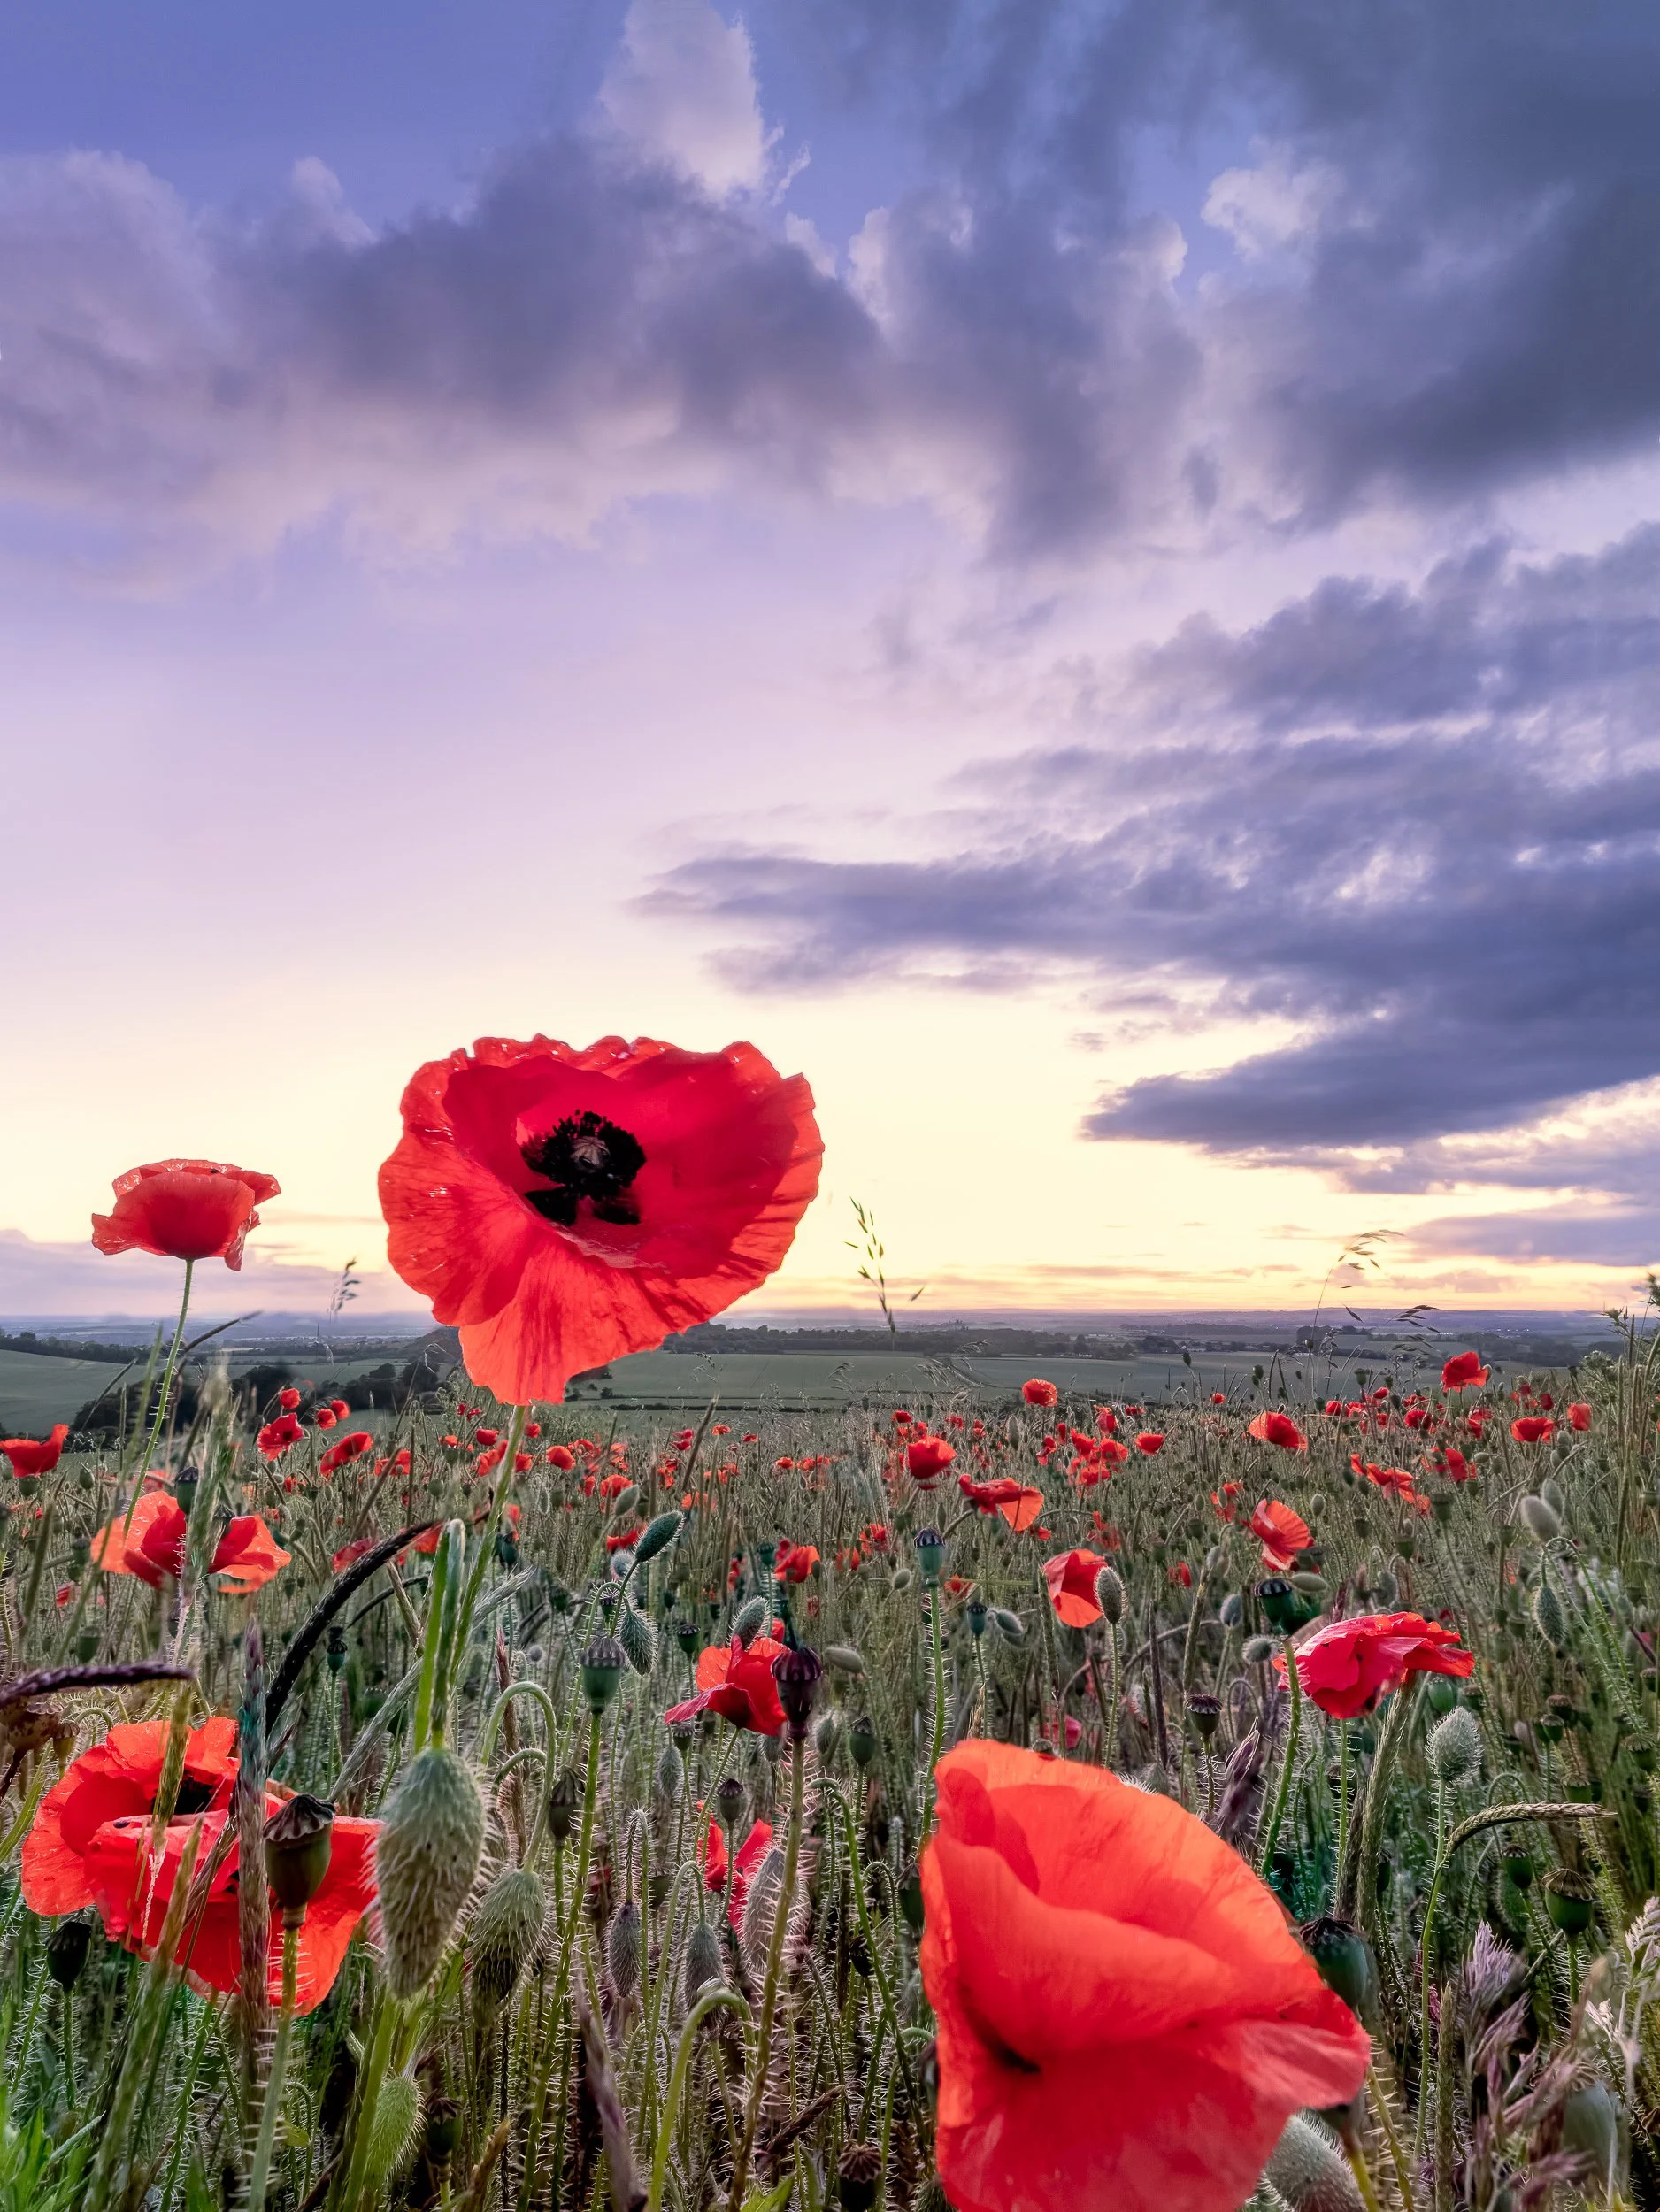
Poppy flower details in England’s Green & Pleasant Land.
For this type of work, I like using a lens that lets me get close to the flowers while still including the wider landscape. A 15mm to 35mm zoom macro lens is ideal because it allows you to pick out the detail of a flower in the foreground, but still show the rolling hills, distant trees or other flowers beyond. The aim is to create depth, foreground detail, middle distance colour, and a wider sense of place.
A useful approach is to get low, find a strong foreground flower or group of flowers, and then use the wider landscape to give the image context. You do not always need to photograph the whole field. Sometimes one or two carefully placed flowers can say more than a wide view of everything. I often see images taken of the red sheets of poppy flowers stretching into the distance; these images look OK, but to really take it to the next level, you need that and the detail of the poppies. For me, the stronger summer pictures of flowers come when you get stuck in, close and low.
Think in layers, not just subjects
When photographing wildflowers, it is easy to point the camera at the colour and hope for the best. The stronger image usually comes when you build the frame in layers.
Look for:
a clean foreground subject
a middle-distance pattern of flowers
a background of trees, hills or sky
separation between the key elements
That separation is important. If the flower disappears into the background, the image becomes messy. A small change in height or position can make a huge difference. Move left, move right, crouch down, or raise the camera slightly until the subject has space around it.
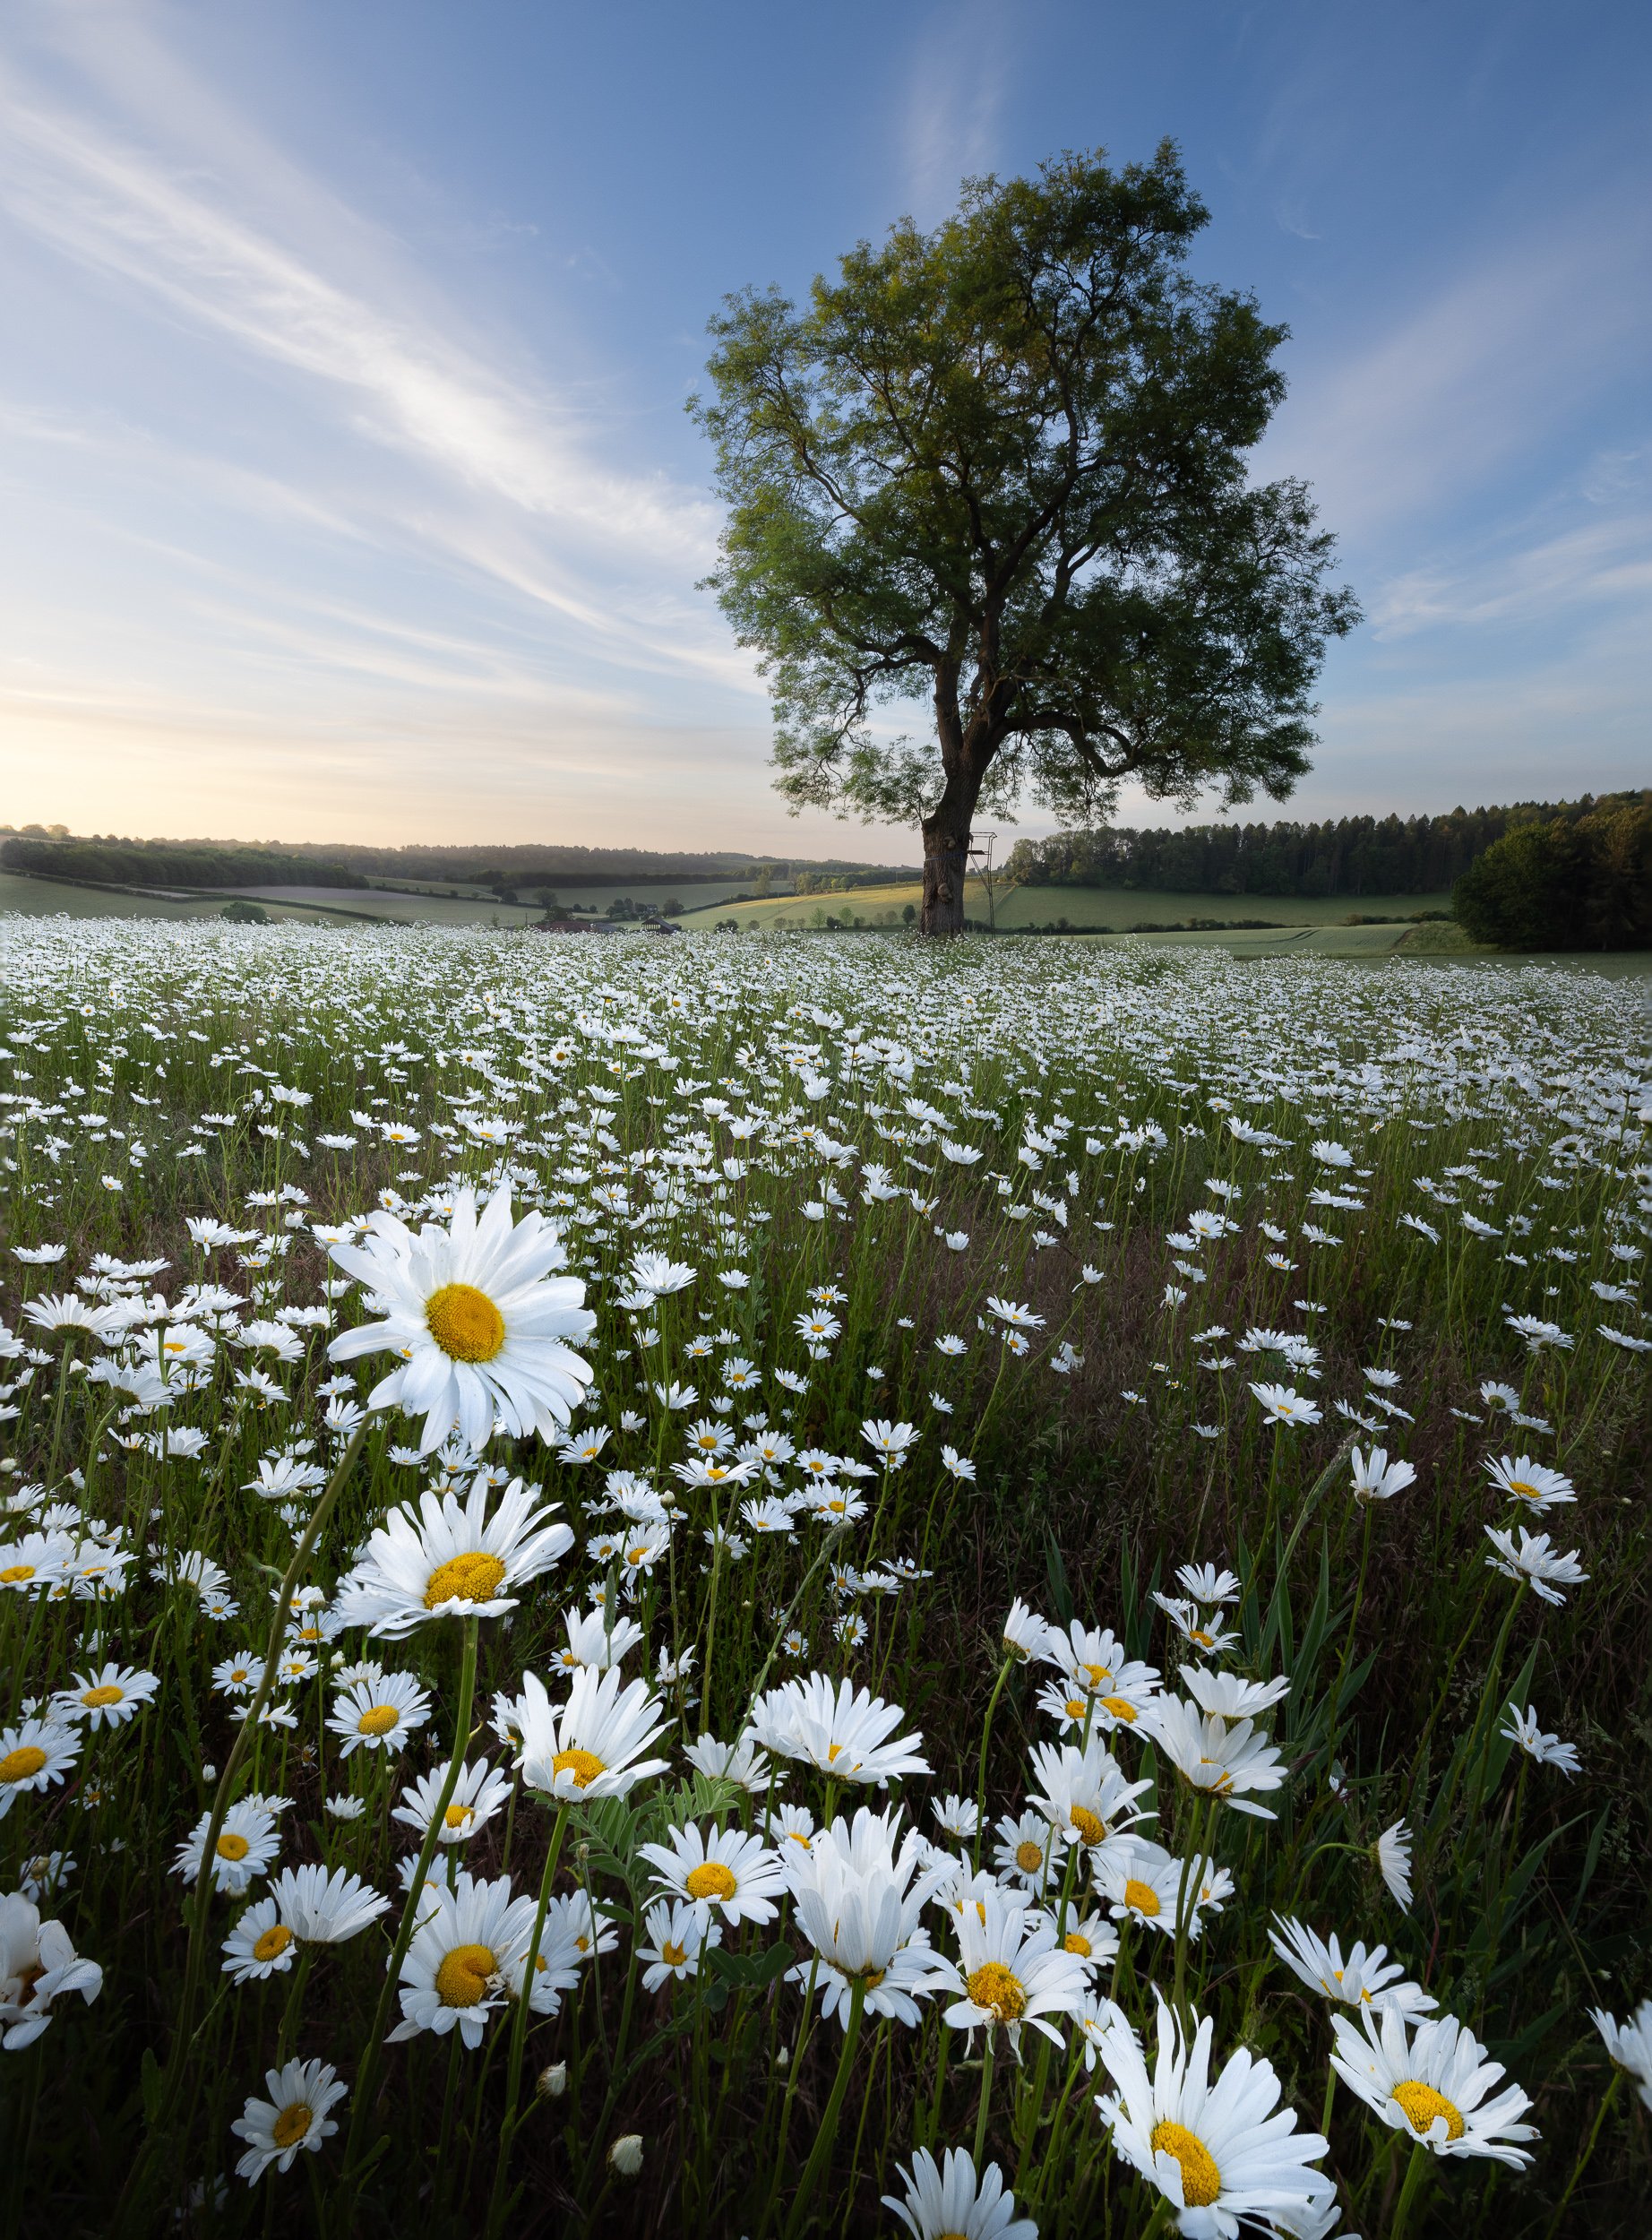
Wild daisy flowers in the Chiltern Hills at sunrise
With close foreground flowers, depth of field becomes important. If you want sharpness from the flower through to the distance, you may need a small aperture such as f/13 or f/16, careful focusing, and possibly a tripod. If the wind is moving the flowers, you then have to balance depth of field with shutter speed. There is always a compromise.
In still conditions I was able to keep the ISO low, sometimes around ISO 200. More often, especially in woodland or low light, ISO 400 is a good practical starting point. I would rather have a sharp image with a little noise than a soft image because the shutter speed was too slow.
An important note here which is also relevant to woodland photography: If it is windy, you need a higher shutter speed. The catch here is that this means an aperture of f16 that you previously selected to get the depth of field in focus.....is now f5.6 and nothing is in focus front to back. The only solution is to then focus stack by blending multiple images. However, focus stacking in the wind rarely, if ever, works. The only solution is to keep the aperture small i.e. f16, which prevents the need to focus stack and at the same time a high speed such as 1/100th second. The price the devil extracts from you for this bad behaviour is an extremely high ISO. In the early hours or evening this can mean an ISO as high as 2000! At this point modern technology can seriously help you out in the form of the new denoise engines we have recently seen. I find that the Photoshop and Lightroom plugin software from DxO PureRAW 6 really saves the day. In fact, I now use this software systematically as part of my technique if it is windy. (Use the code FASTFOX for 15% discount at DxO)
Summer woodland: look for mist, rain and separation
Woodland photography in summer can be very challenging. Once the canopy is full, the woodland becomes dense, green and chaotic. The contrast between bright sky and dark woodland can be difficult, and it is easy to come home with images that feel cluttered.
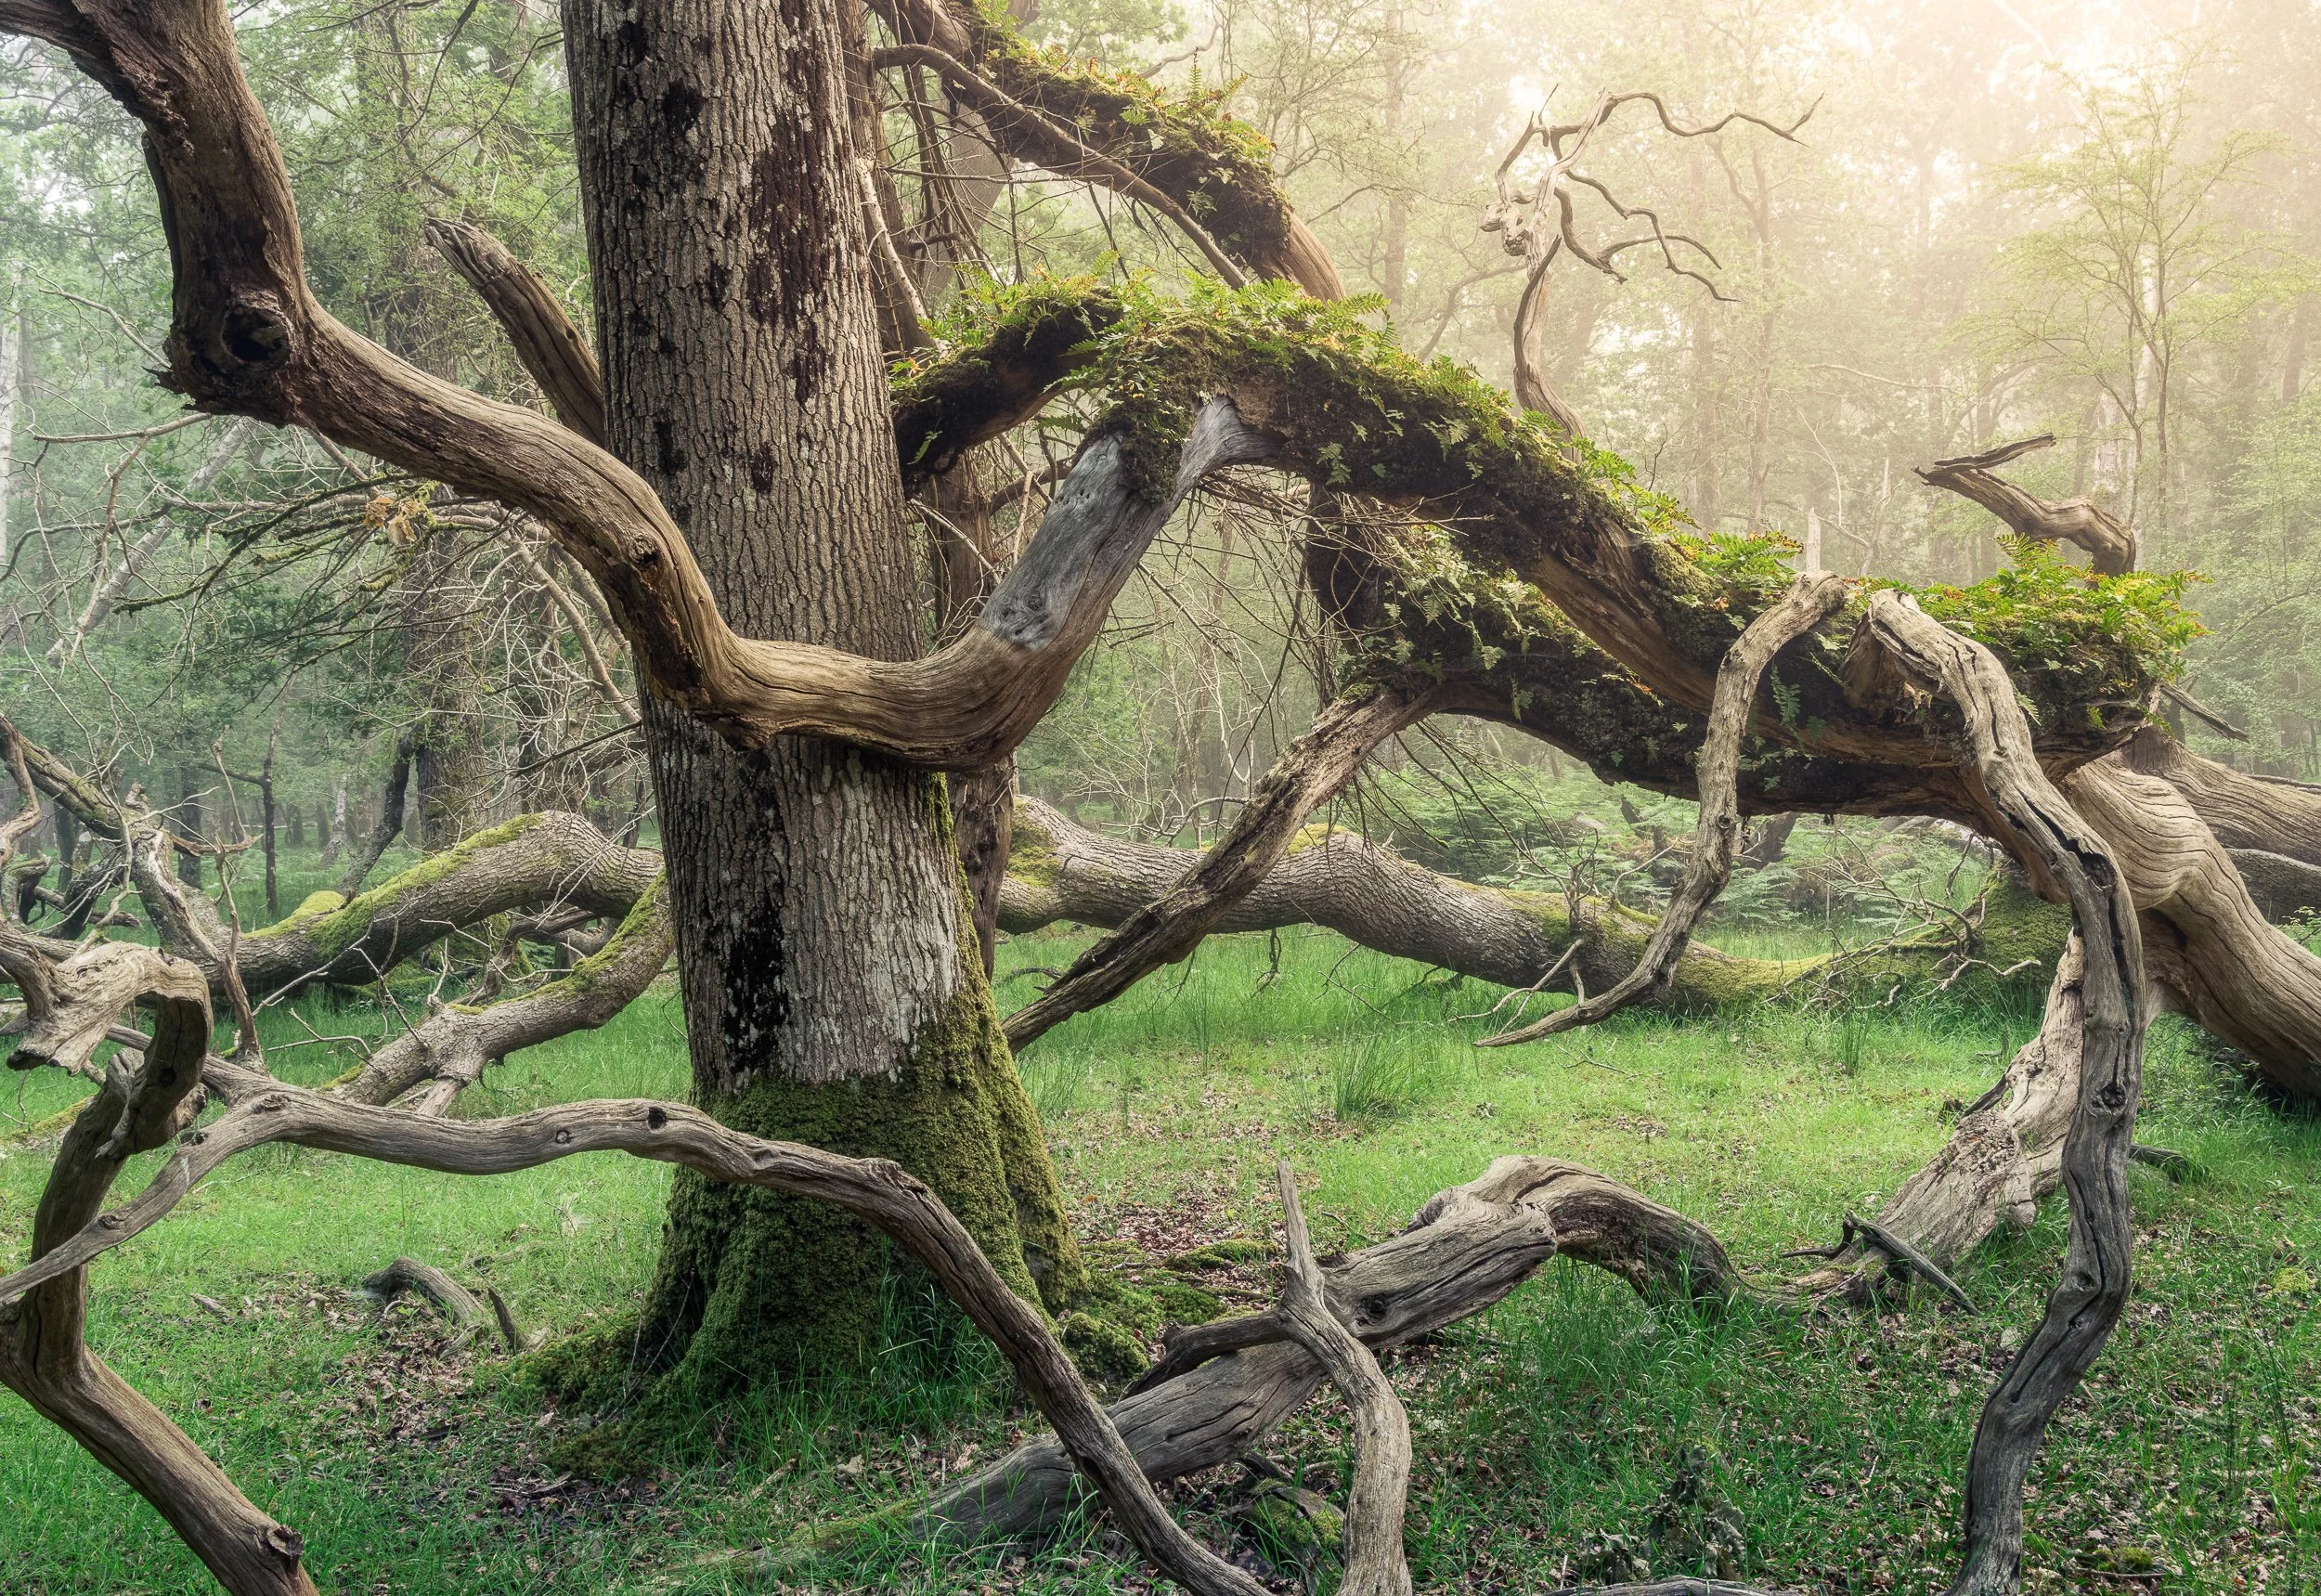
The twisted embrace of a fallen Oak Tree in the New Forest, South England
The New Forest gave me a rare summer gift: early morning mist.
I had been staying in the camper van before heading over to the Isle of Wight Festival. When I looked out early in the morning, there was sea mist drifting through the trees. I started walking at around half past four, and for a short time the woodland had that soft, atmospheric quality that makes everything easier to photograph. (The rule of thumb for woodlands is to avoid bright conditions unless it is very low sunrise/sunset light.)
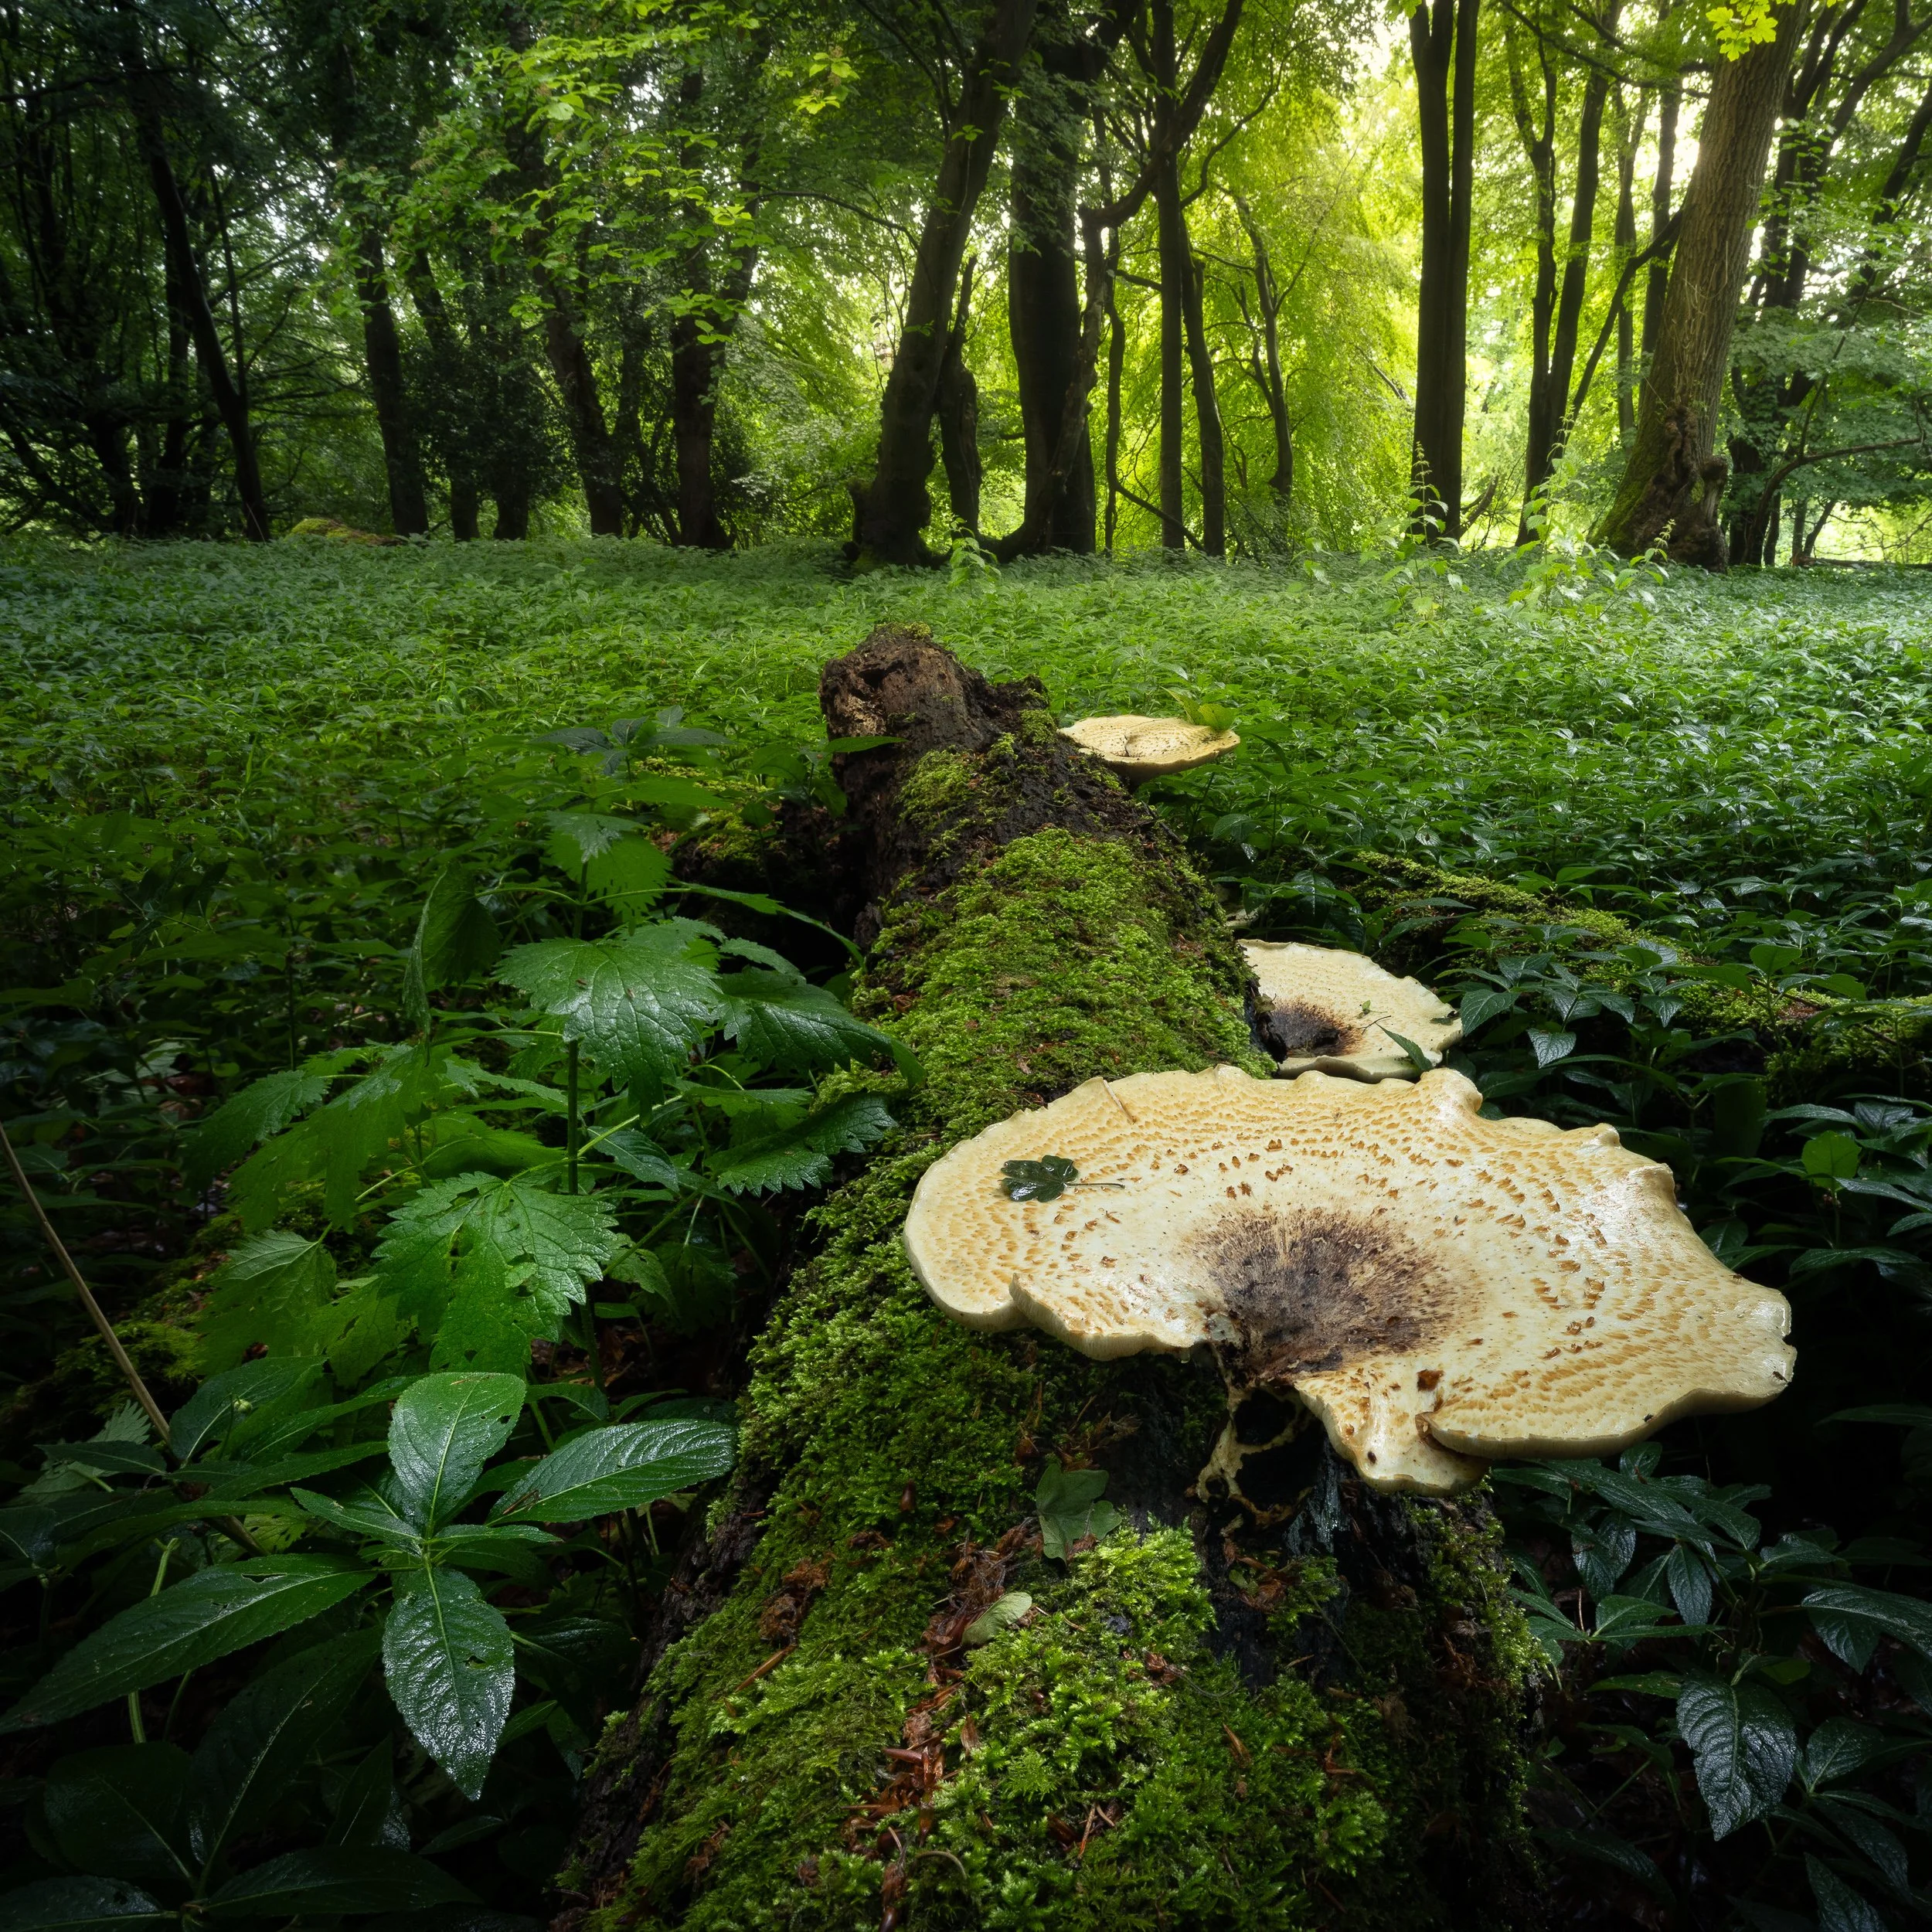
Look at your feet, keep the camera below the top of the canopy, rain can be as good as fog and mist.
Mist is almost the holy grail for summer woodland photography. It simplifies backgrounds, separates trees, softens contrast and gives depth to chaotic scenes. In the UK, summer mist is not something you can rely on, so when it appears, it is worth getting out quickly. The next best thing to the mist in summer is heavy rain. This rain will also provide separation of woodland elements. I go into this summer woodland rain in more detail in my Outdoor Photography Magazine technique article later this month. (Also, more advice can be found in my Woodlands Ebook for £10.99 called “Order In The Chaos”)
The New Forest can be wonderfully gnarly and chaotic, with oak, beech, pine and fallen trees all tangled together. In those situations I look for small stories rather than trying to photograph the whole woodland. A broken stump, a fallen tree, a line of branches disappearing into the mist , these can become the structure of the image.
On one composition I worked with a fallen tree, a broken stump and branches leading into the background. The settings were simple: tripod, ISO 400, around f/16, and a slow shutter speed of roughly two and a half seconds. The tripod was essential, especially once I added a polariser.
Keep the camera low in flat woodland
One thing I have learned in flatter woodlands, such as parts of the New Forest, is that camera height matters.
When there are no hills, natural viewpoints or slopes, raising the camera too high often brings too much bright sky into the frame. That can pull the eye away from the trees and make the image feel untidy. Keeping the camera lower helps control the background and keeps attention within the woodland.
The exception is mist or fog. When mist fills the gaps between the trees, you can often include more of the canopy because the sky and background are softened. Gnarly branches that would normally be lost in clutter can suddenly stand out beautifully.
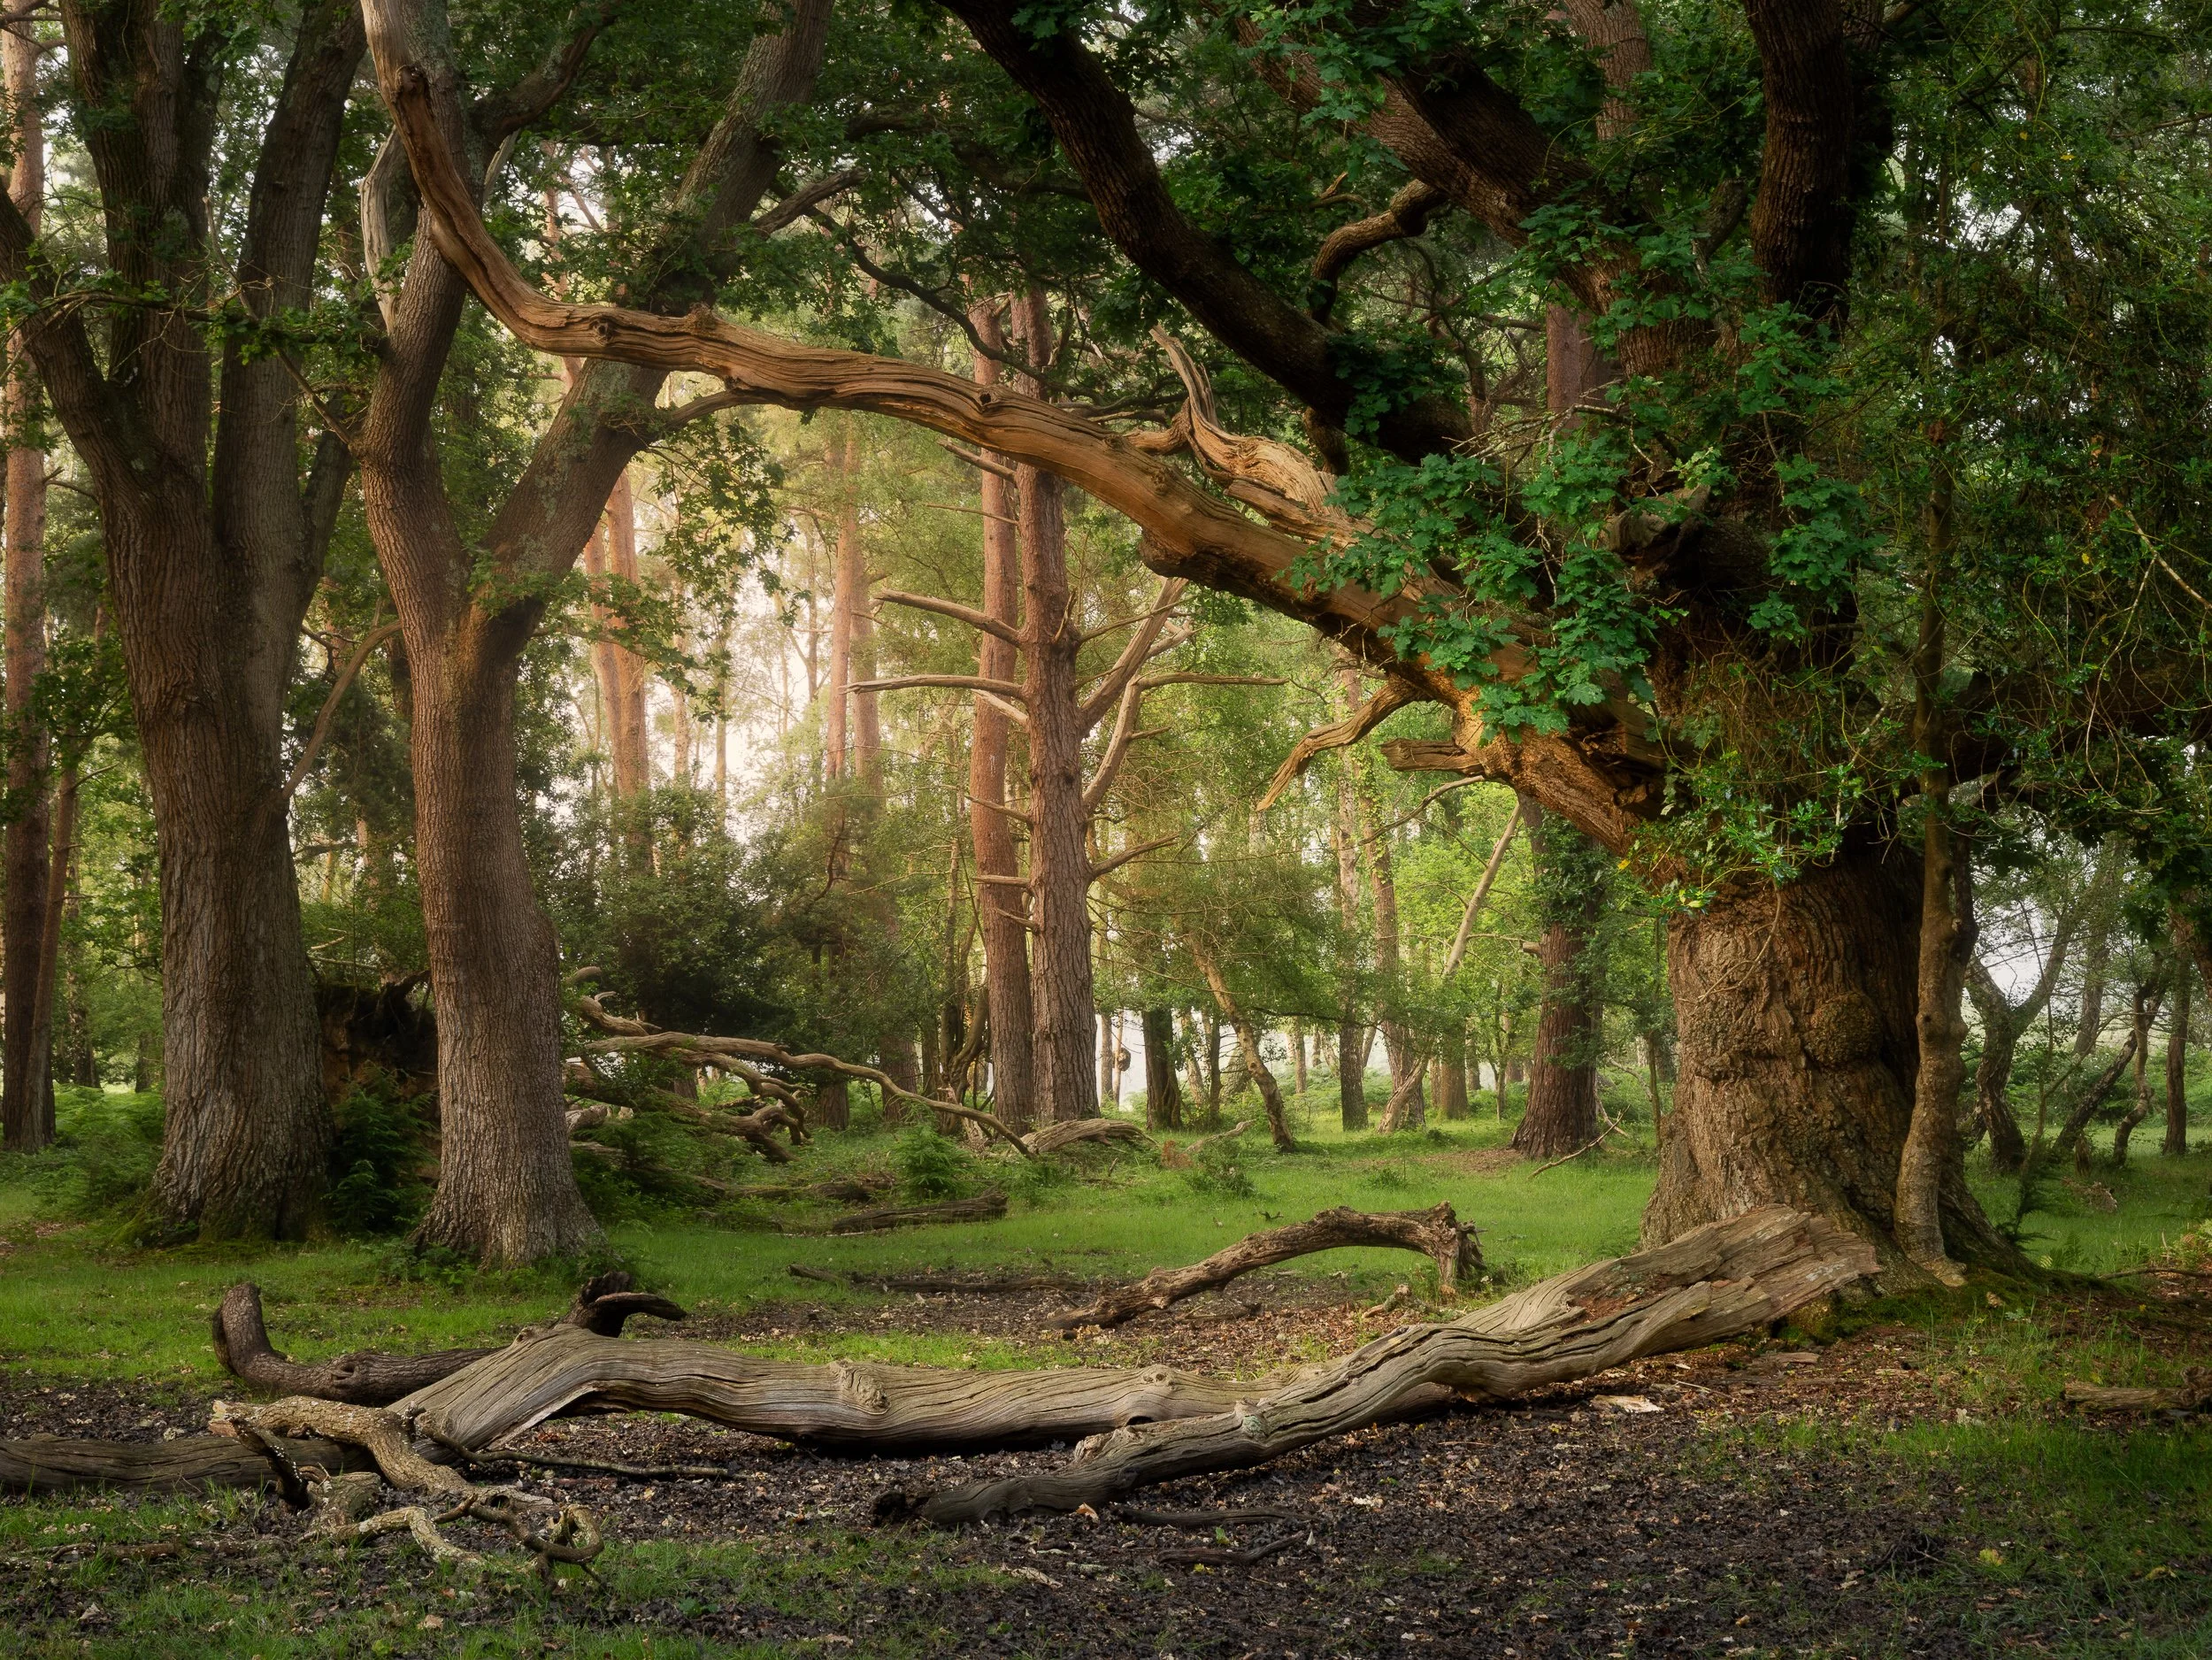
Mist on the outside edge of the forest filters the light like a light box in a studio.
In summer woodland, I am always looking for separation. That might be separation between different types of trees, between a dark trunk and a pale misty background, or between a foreground shape and the woodland behind it. Without separation, woodland images quickly become a jumble.
Use a polariser, but know when to remove it
A polariser can be very useful in summer woodland. It reduces glare on leaves, deepens colour and helps control reflections on damp bark or foliage. It can make greens look richer and more controlled.
But it also cuts light.
In already-dark woodland, that can push the shutter speed down very quickly. That is fine if you are on a tripod and the leaves are still, but it can cause problems if there is any movement. I tend to use the polariser when the light is becoming stronger or when glare is spoiling the foliage, but I do not leave it on automatically.
A simple practical tip is to keep the polariser wrapped in a cheap microfibre cloth in your pocket. Supermarket microfibre cloths are perfect for this. It keeps the filter protected and makes it easy to use when needed rather than leaving it screwed on all the time.
A rule of thumb for me here is that I tend NOT to use a polariser just after sunrise, but after 1 or 2 hours, I seriously start to consider using it.
Infrared is a brilliant summer photography option
Infrared photography comes into its own in summer.
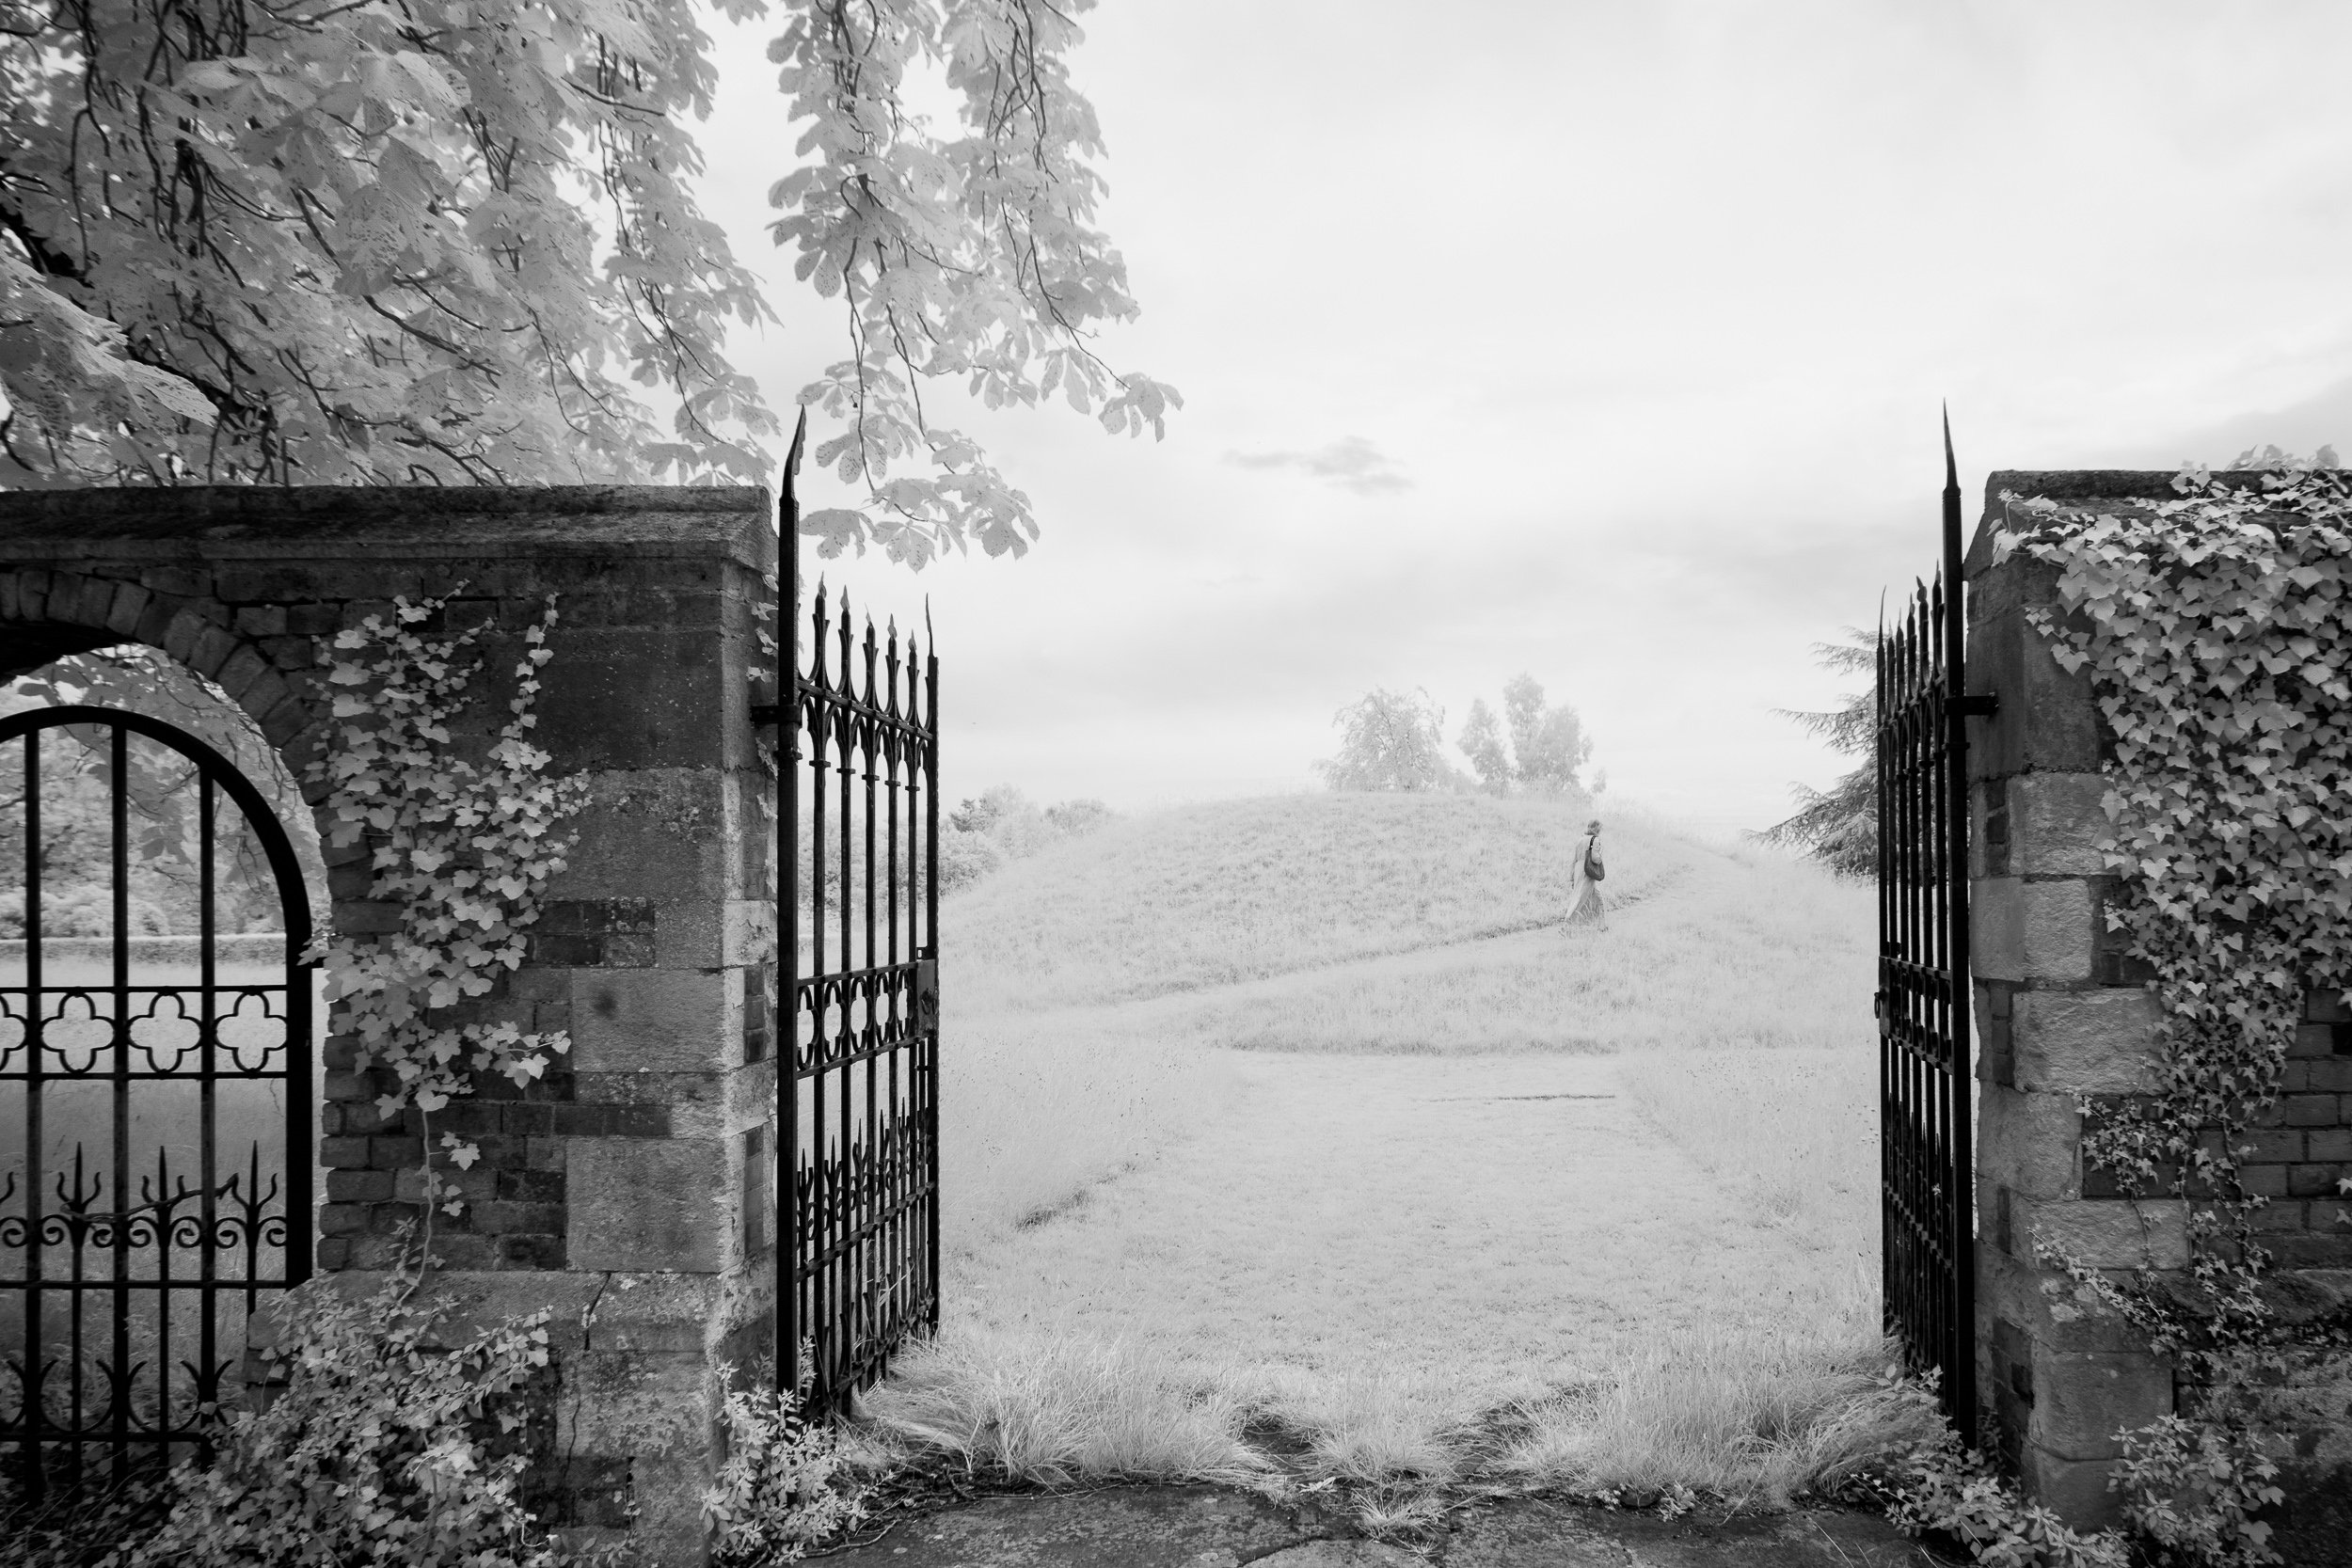
Infrared in Black and White with old buildings in the mid summer sun.
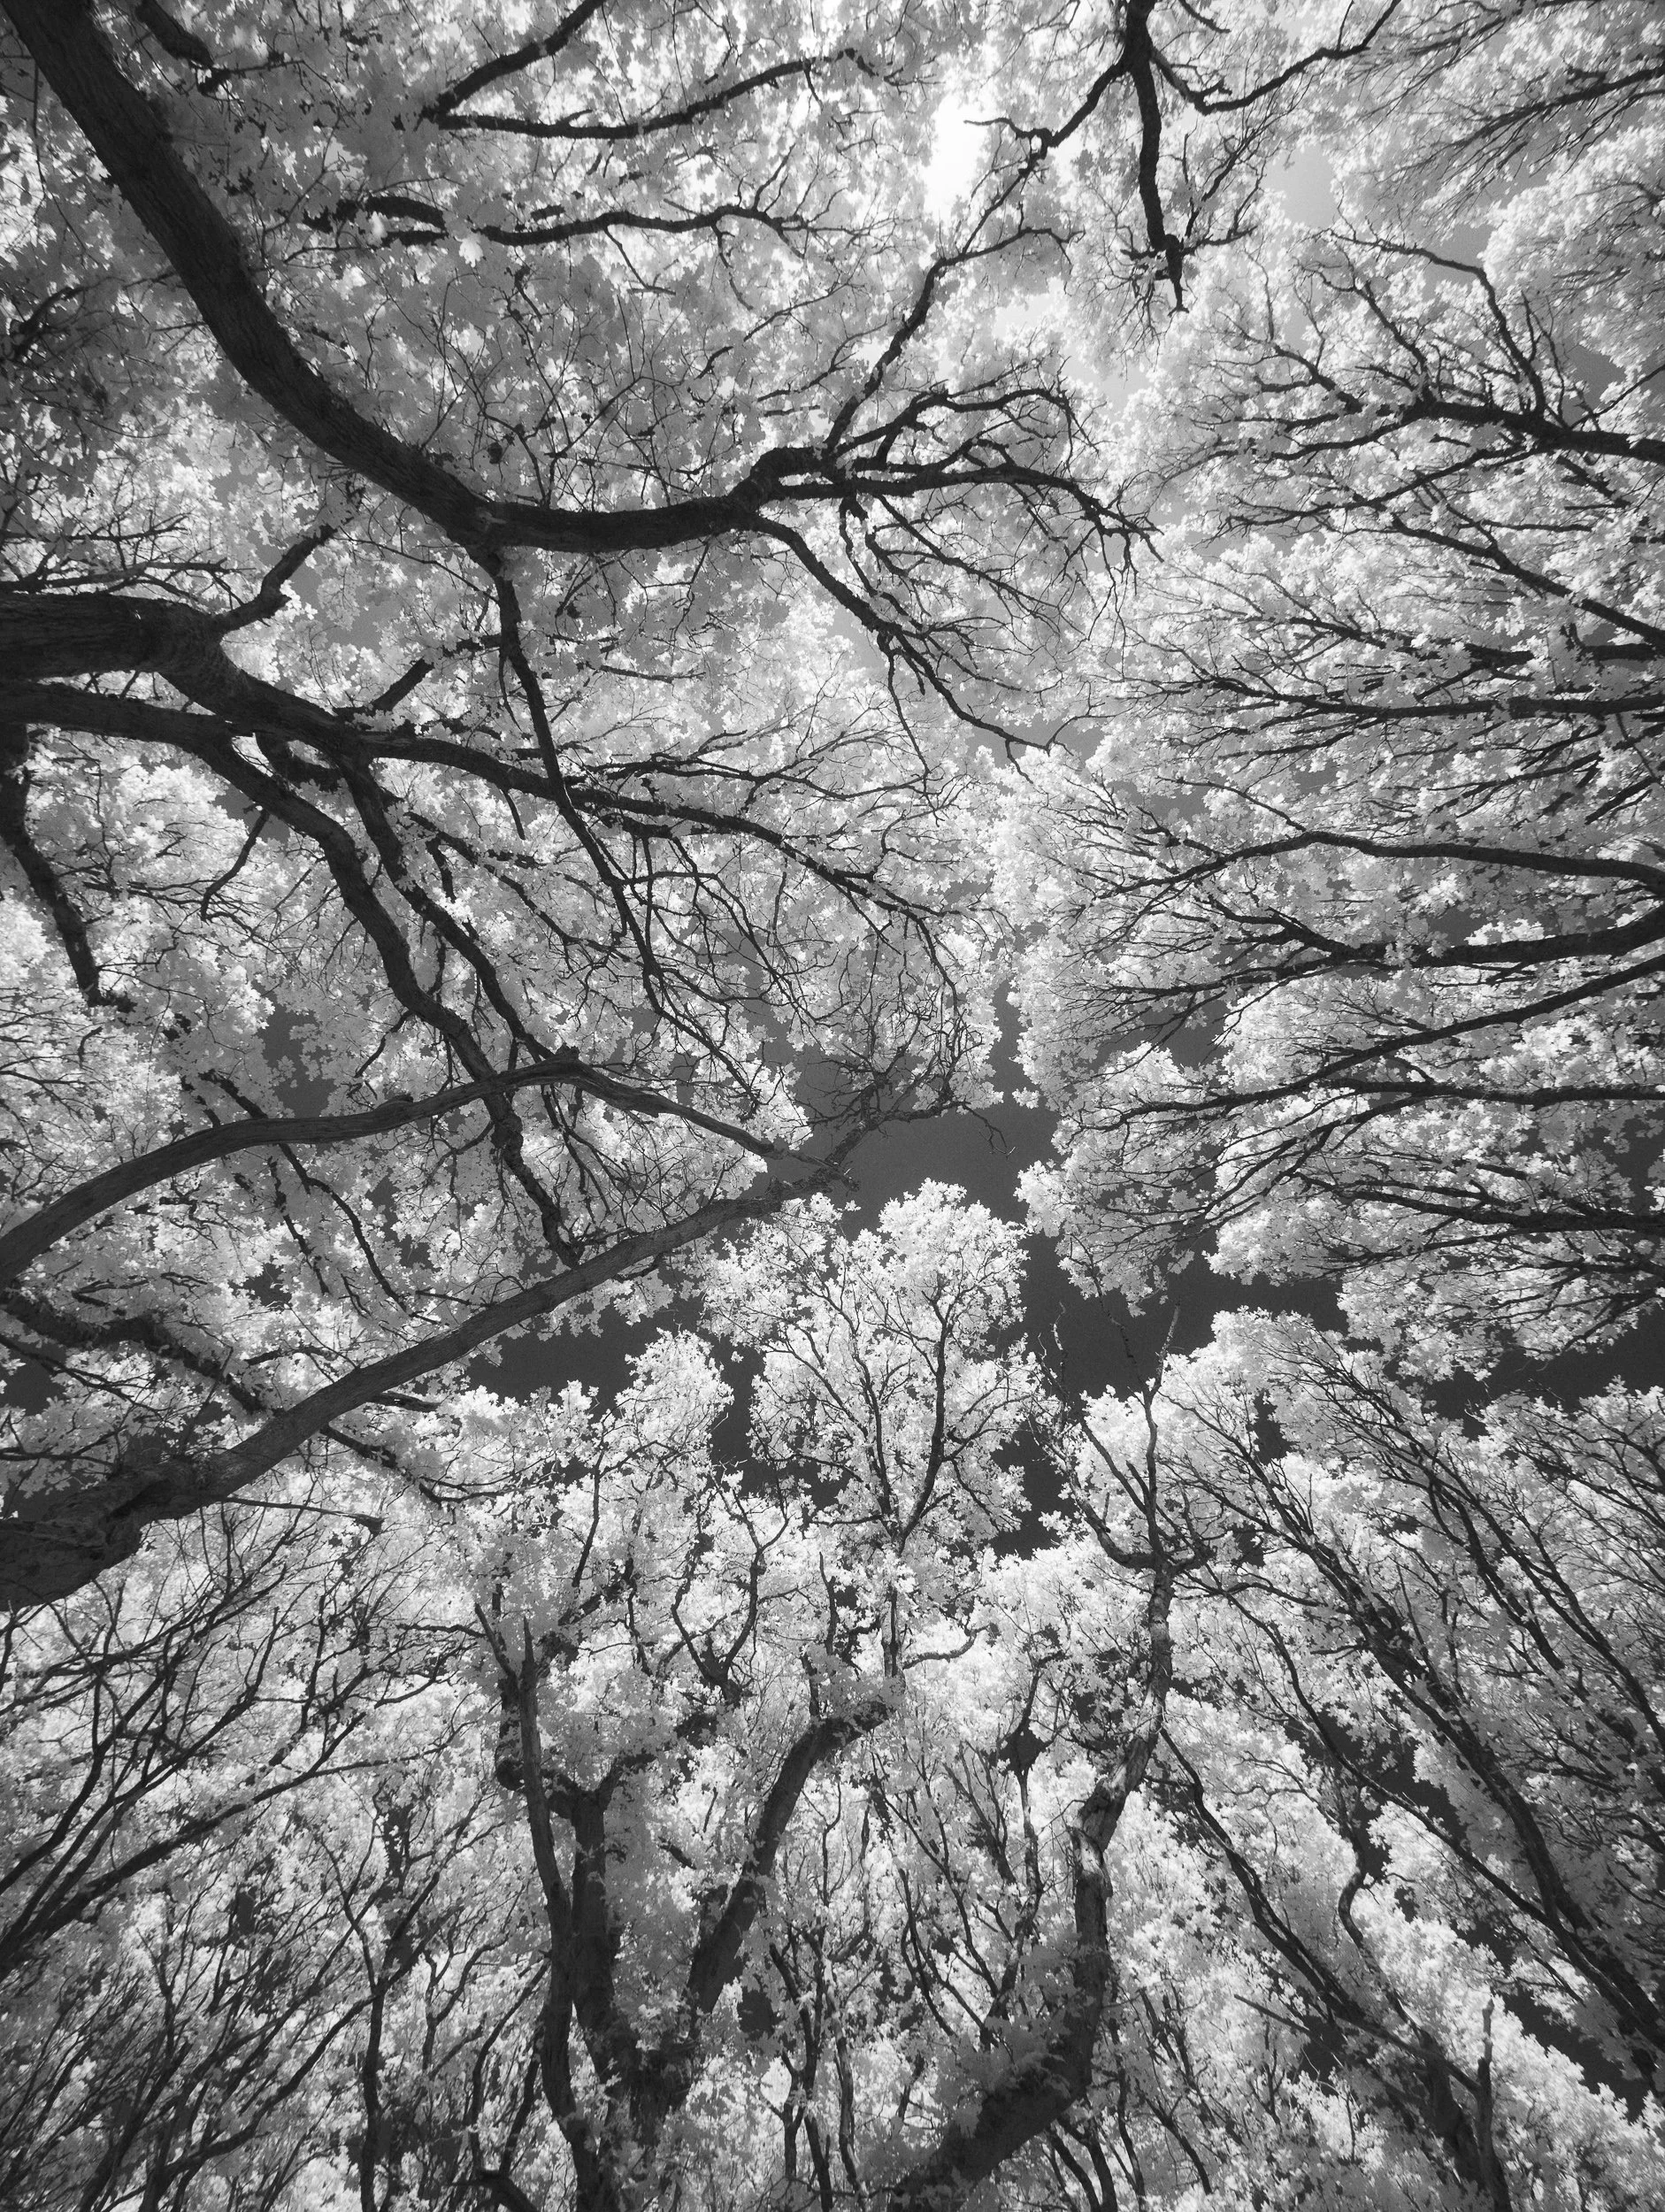
An infrared perspective of the woodland canopy. The opposite angle to colour is possible here.
The bright sun that can ruin normal landscape photography can be ideal for infrared. Green foliage reflects infrared light beautifully, turning leaves and trees pale or white, while skies can become dark and dramatic. It gives the landscape an otherworldly look and can be especially effective in woodland, parkland, old buildings, water and trees.
This is one of the reasons I like infrared as a summer idea. Instead of fighting the midday sun, you can use it. When conventional colour photography becomes too harsh, infrared can open up a completely different way of seeing the landscape.
For anyone struggling with summer woodland photography, infrared is worth exploring. It does not replace normal photography, but it gives you another creative tool when the light is otherwise difficult.
My preferred output for Infrared is Black & White. My converted camera is then colour balanced in camera using the custom setting. I then turn the view to mono as I shoot.
Summer in pictures can be green on green sometimes. Embrace that.
I also experimented with a multiple exposure technique inspired by Pep Ventosa, using a lone tree on a hill as the subject. By making several exposures while slightly shifting the composition, the tree remains recognisable but the surrounding summer greens become softer, more layered and almost painterly. It is a great technique for bright summer days, when the landscape can feel too literal or too green, because it allows you to create atmosphere and movement from an otherwise simple scene. This image below creates so many gentle shades of green. The image is eight exposures on the same frame.
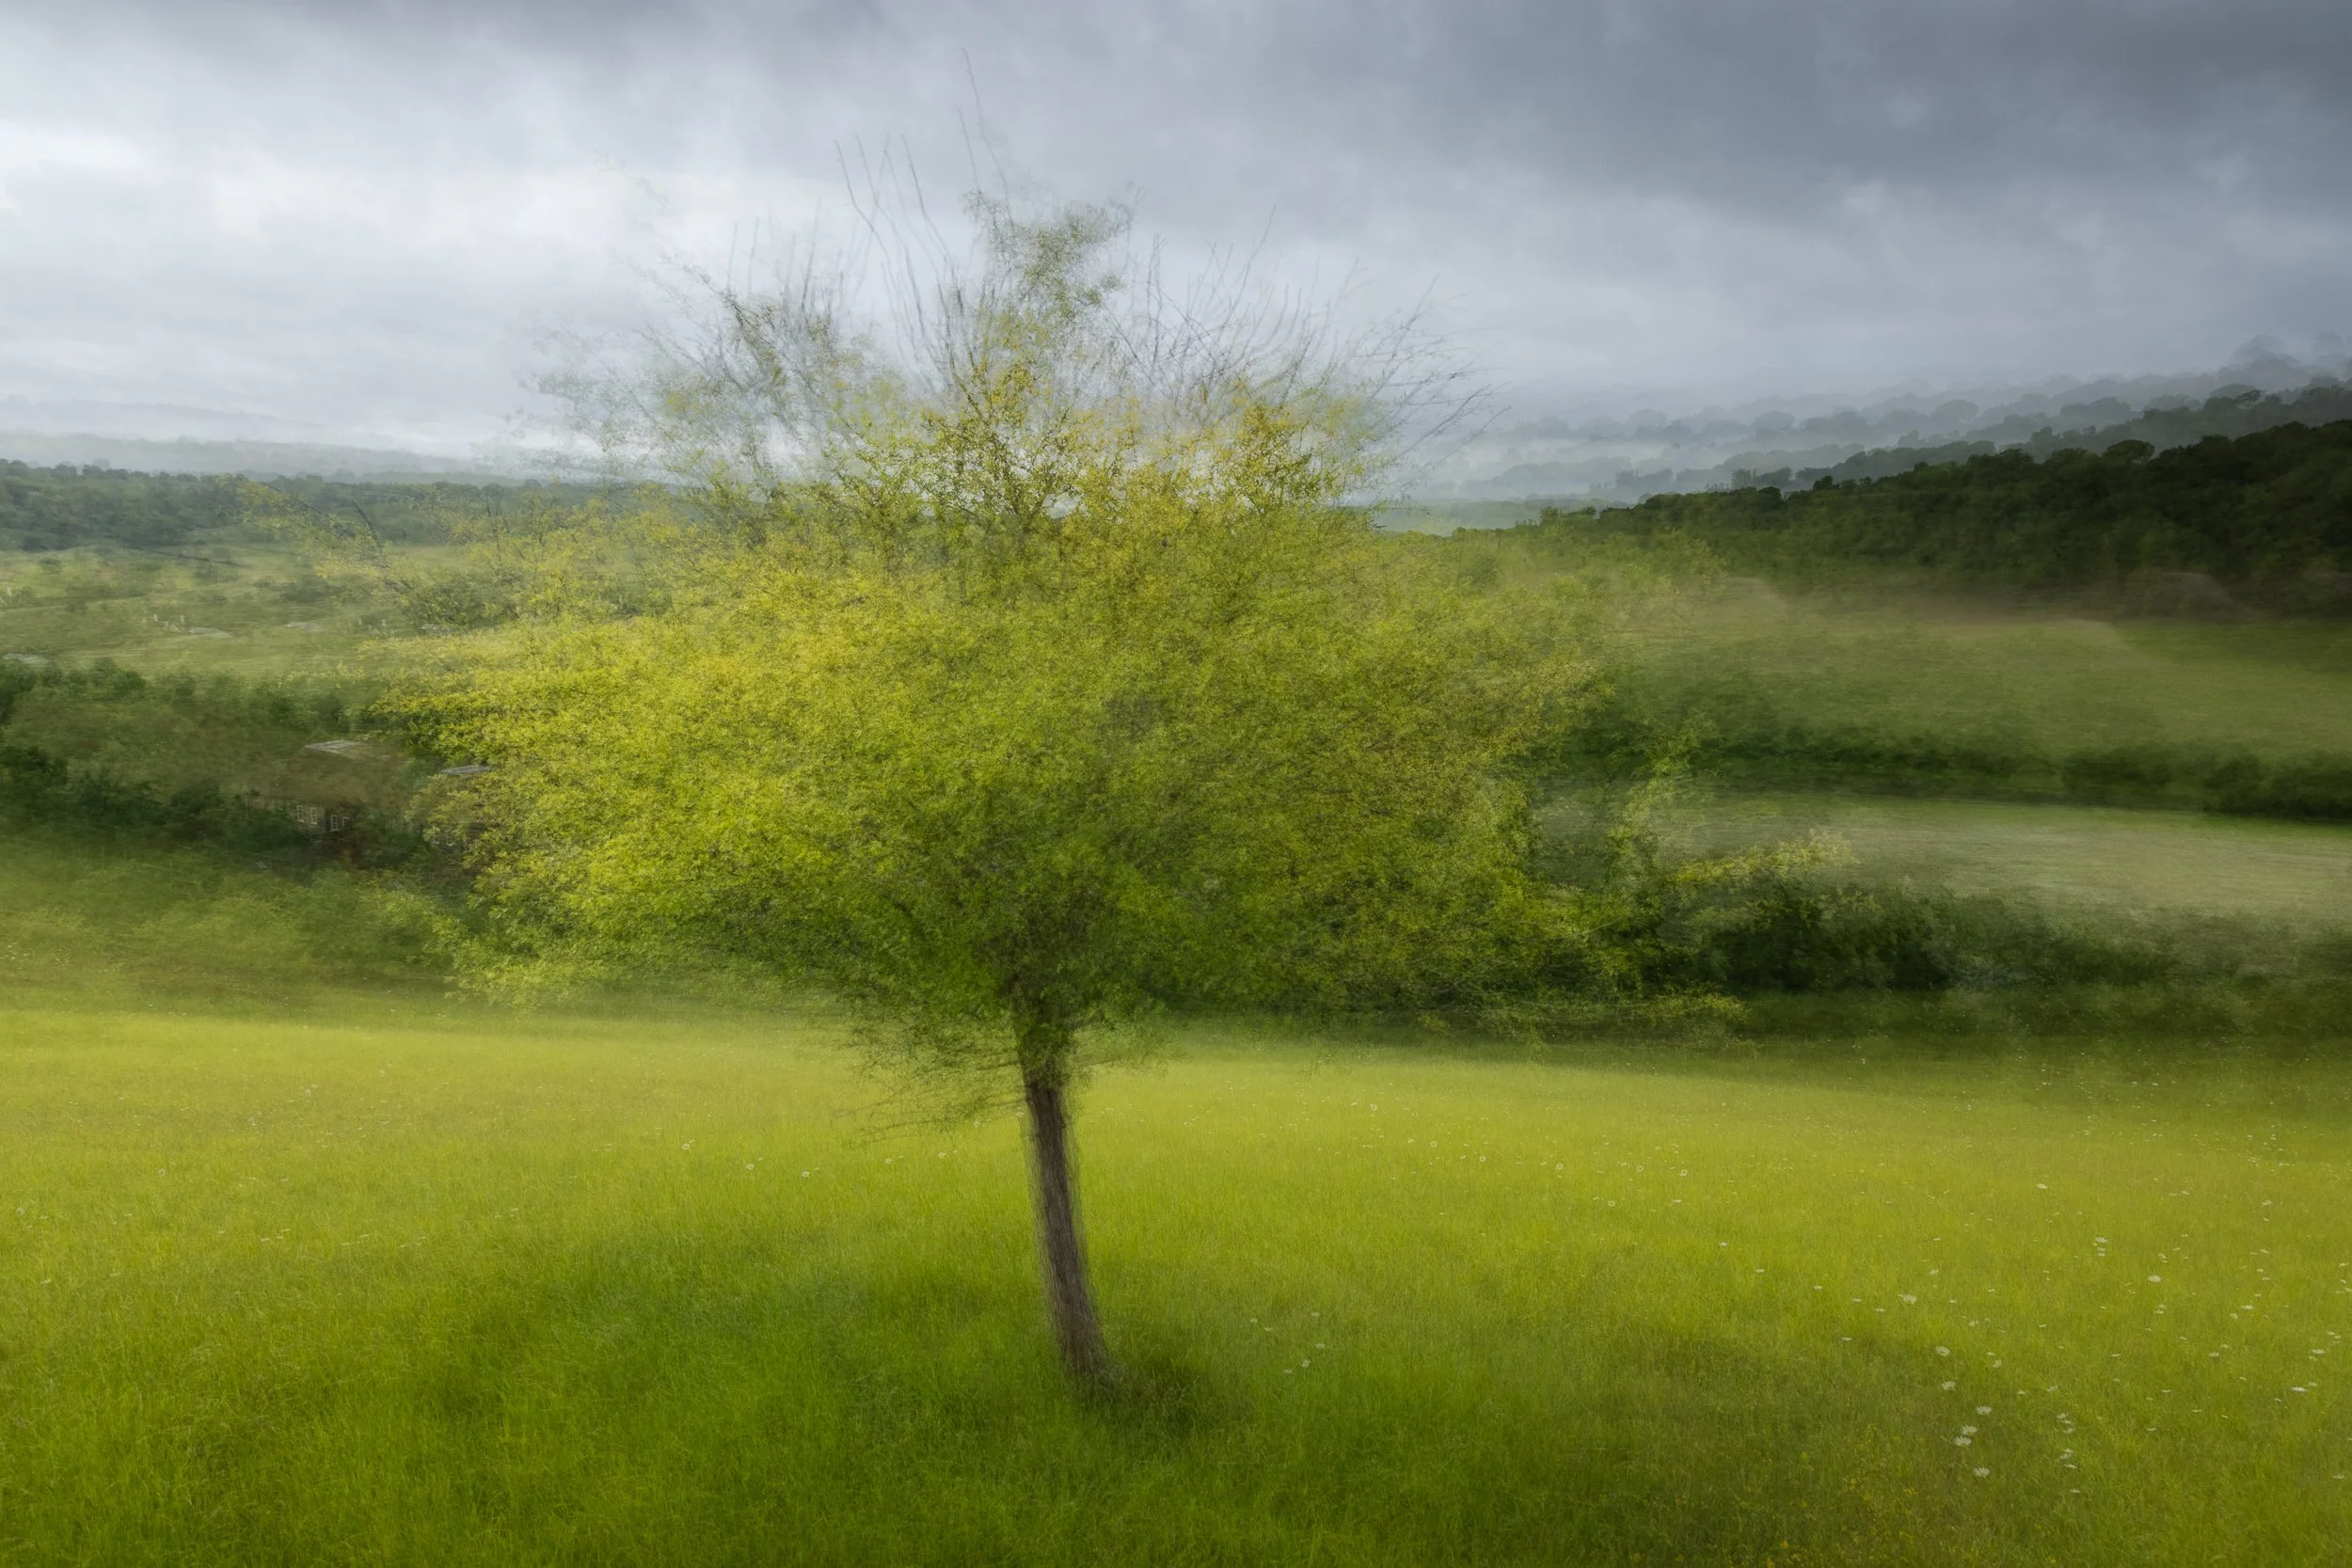
An eight images multiple exposure made in the camera. How many tones of green here?
Sunny days are also good for black and white film
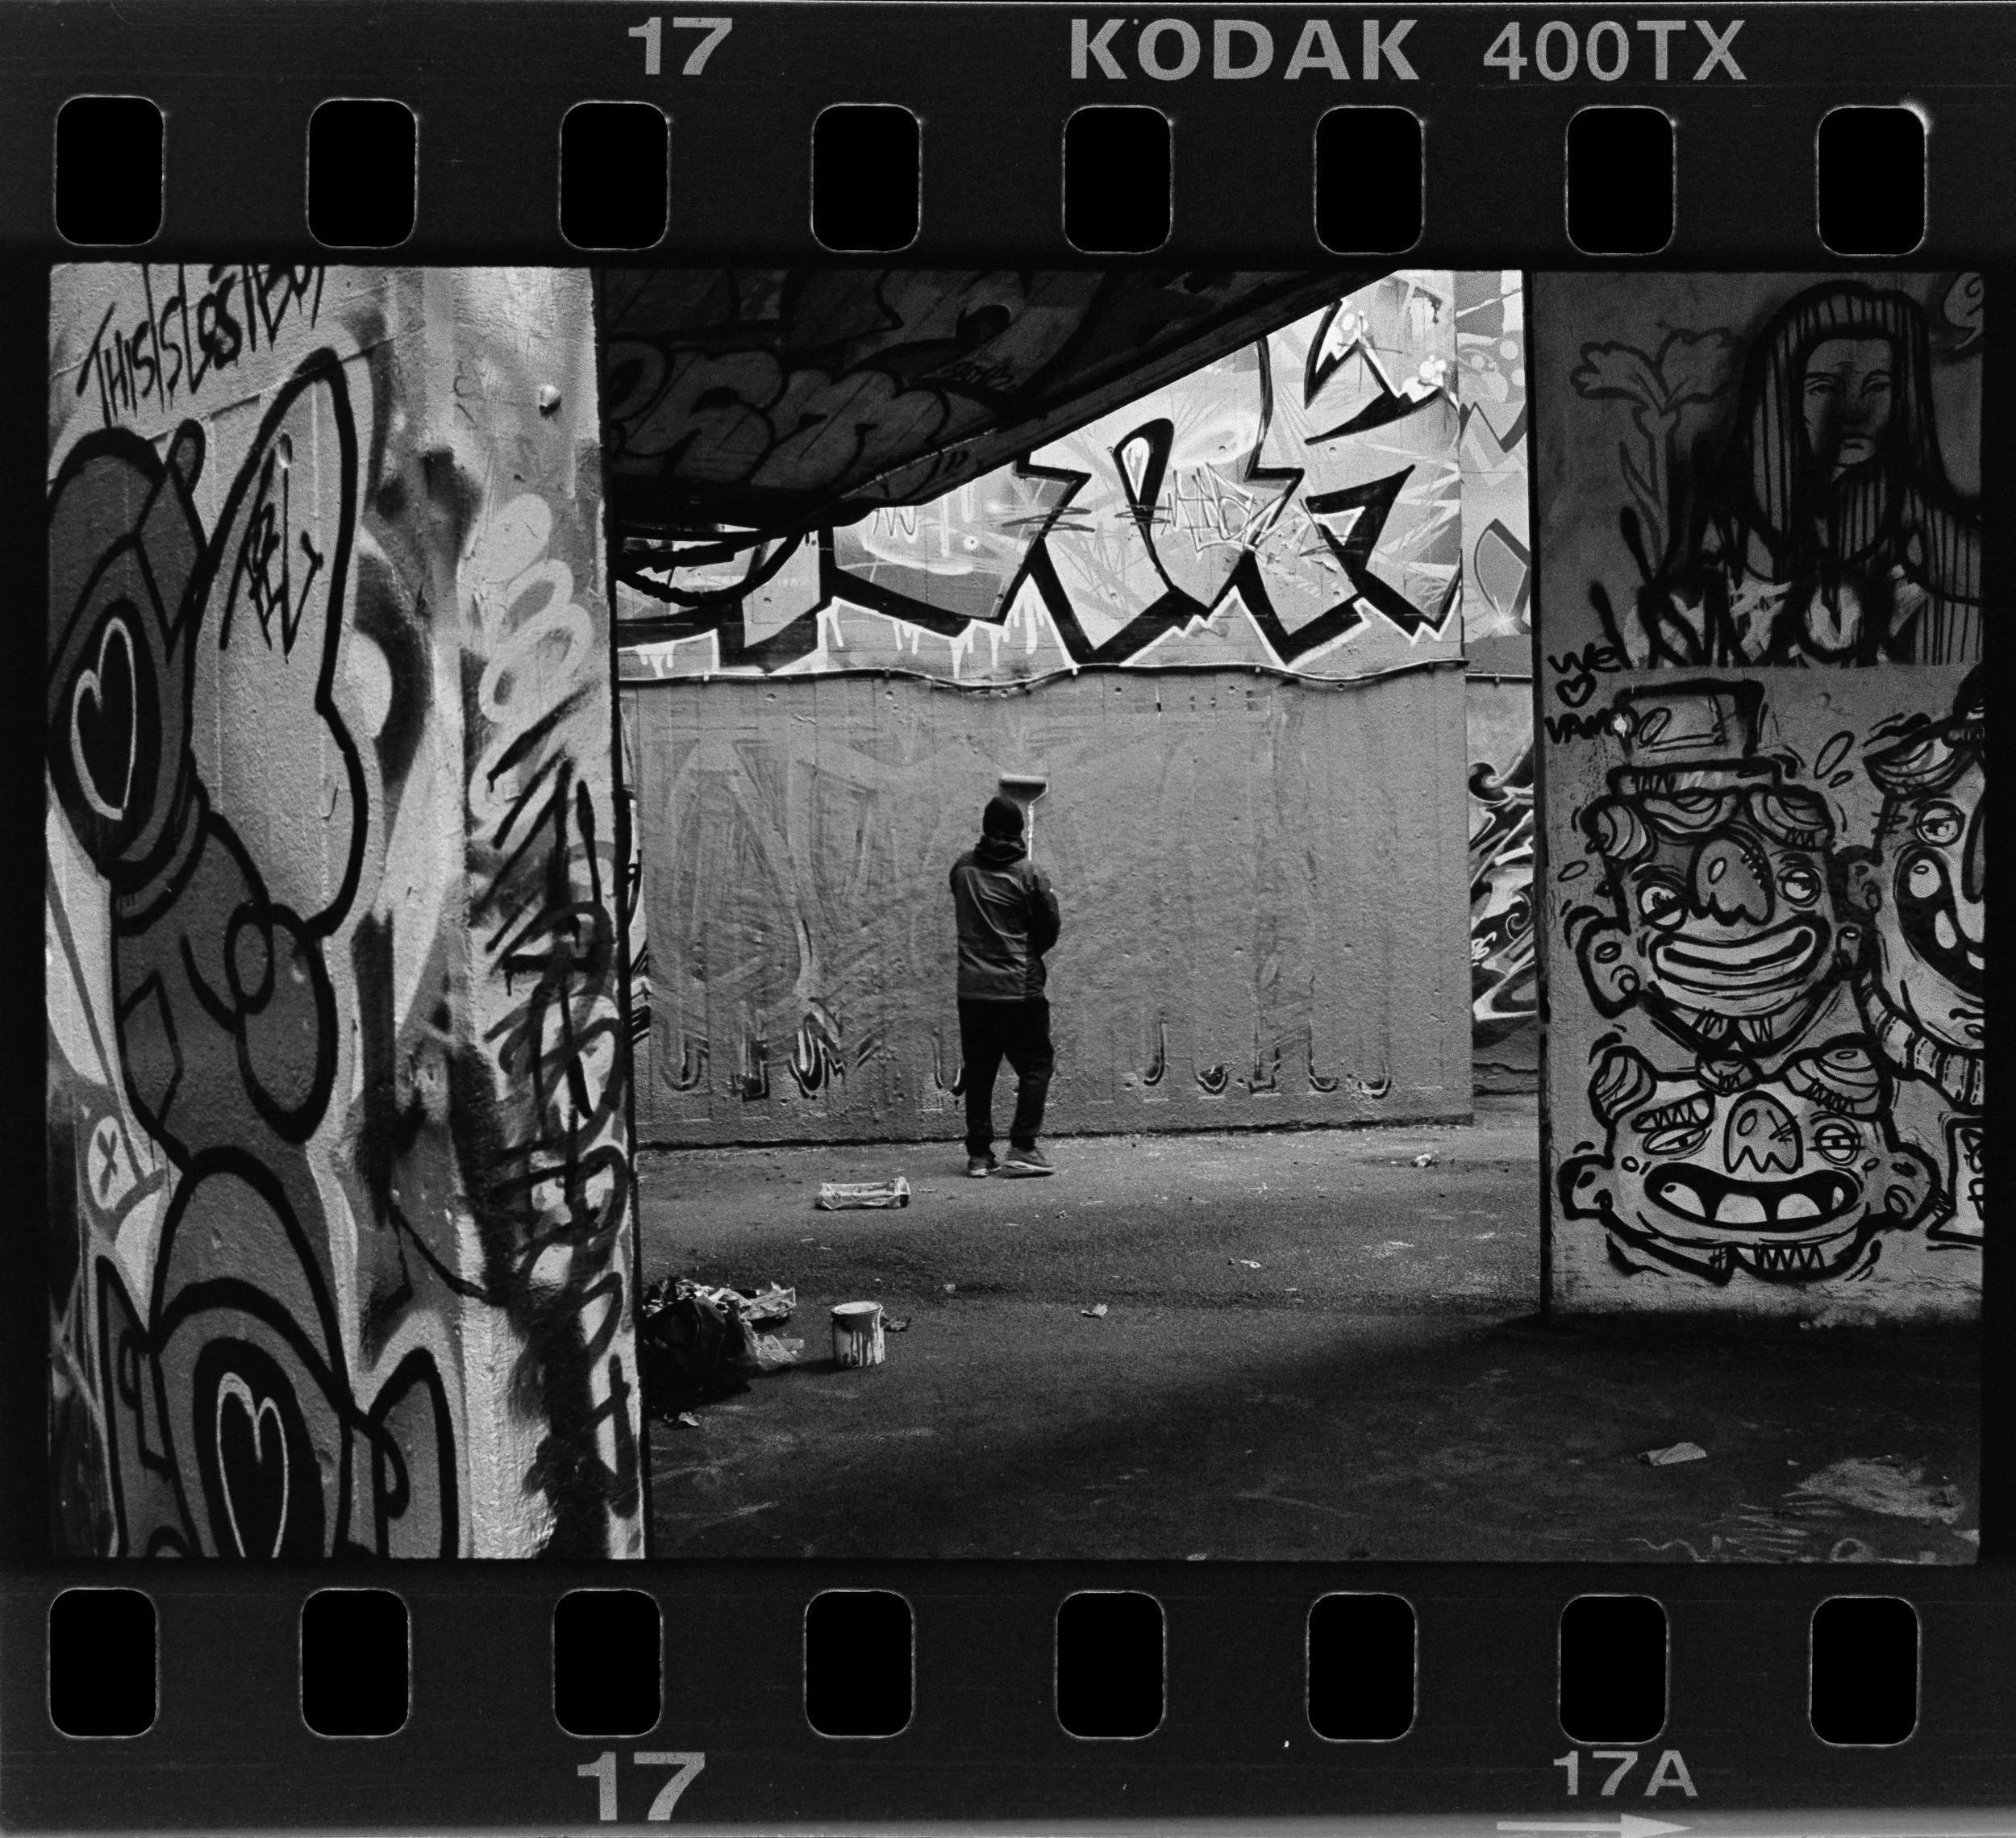
London South Bank street photo. Real Kodak 400TX film. Amazing fun!
Not every summer photography day has to be about landscapes.
On bright sunny days, when the countryside feels too harsh or the woodland is too contrasty, street photography can be a great alternative. I have also been scanning some black and white film images from London, and that has reminded me how well strong summer light can work in the city.
Hard shadows, bright pavements, silhouettes, reflections and graphic shapes can all suit black and white. What might be a problem in a woodland can become a strength on the street.
This will probably become my next blog: how I process black and white images and how I scan film for print. I often develop my own negatives at home and I have recently been working on improving my film scanning workflow. There is something very satisfying about taking a 35mm negative through to a finished print. I think I have now nailed how to get my film scans pin-sharp and can’t wait to share my tips on this with you.
Do not wait for perfect summer conditions
The biggest lesson from this summer in pictures is that summer photography rewards flexibility.
Poppies and wildflowers might last only a short time. Woodland mist might appear for half an hour and then disappear. Infrared might work best when the normal landscape light is too harsh. Street photography might be the answer when the countryside is not giving you anything.
You arrive with a plan. Nature has other ideas. You embrace the chaos and make something better.
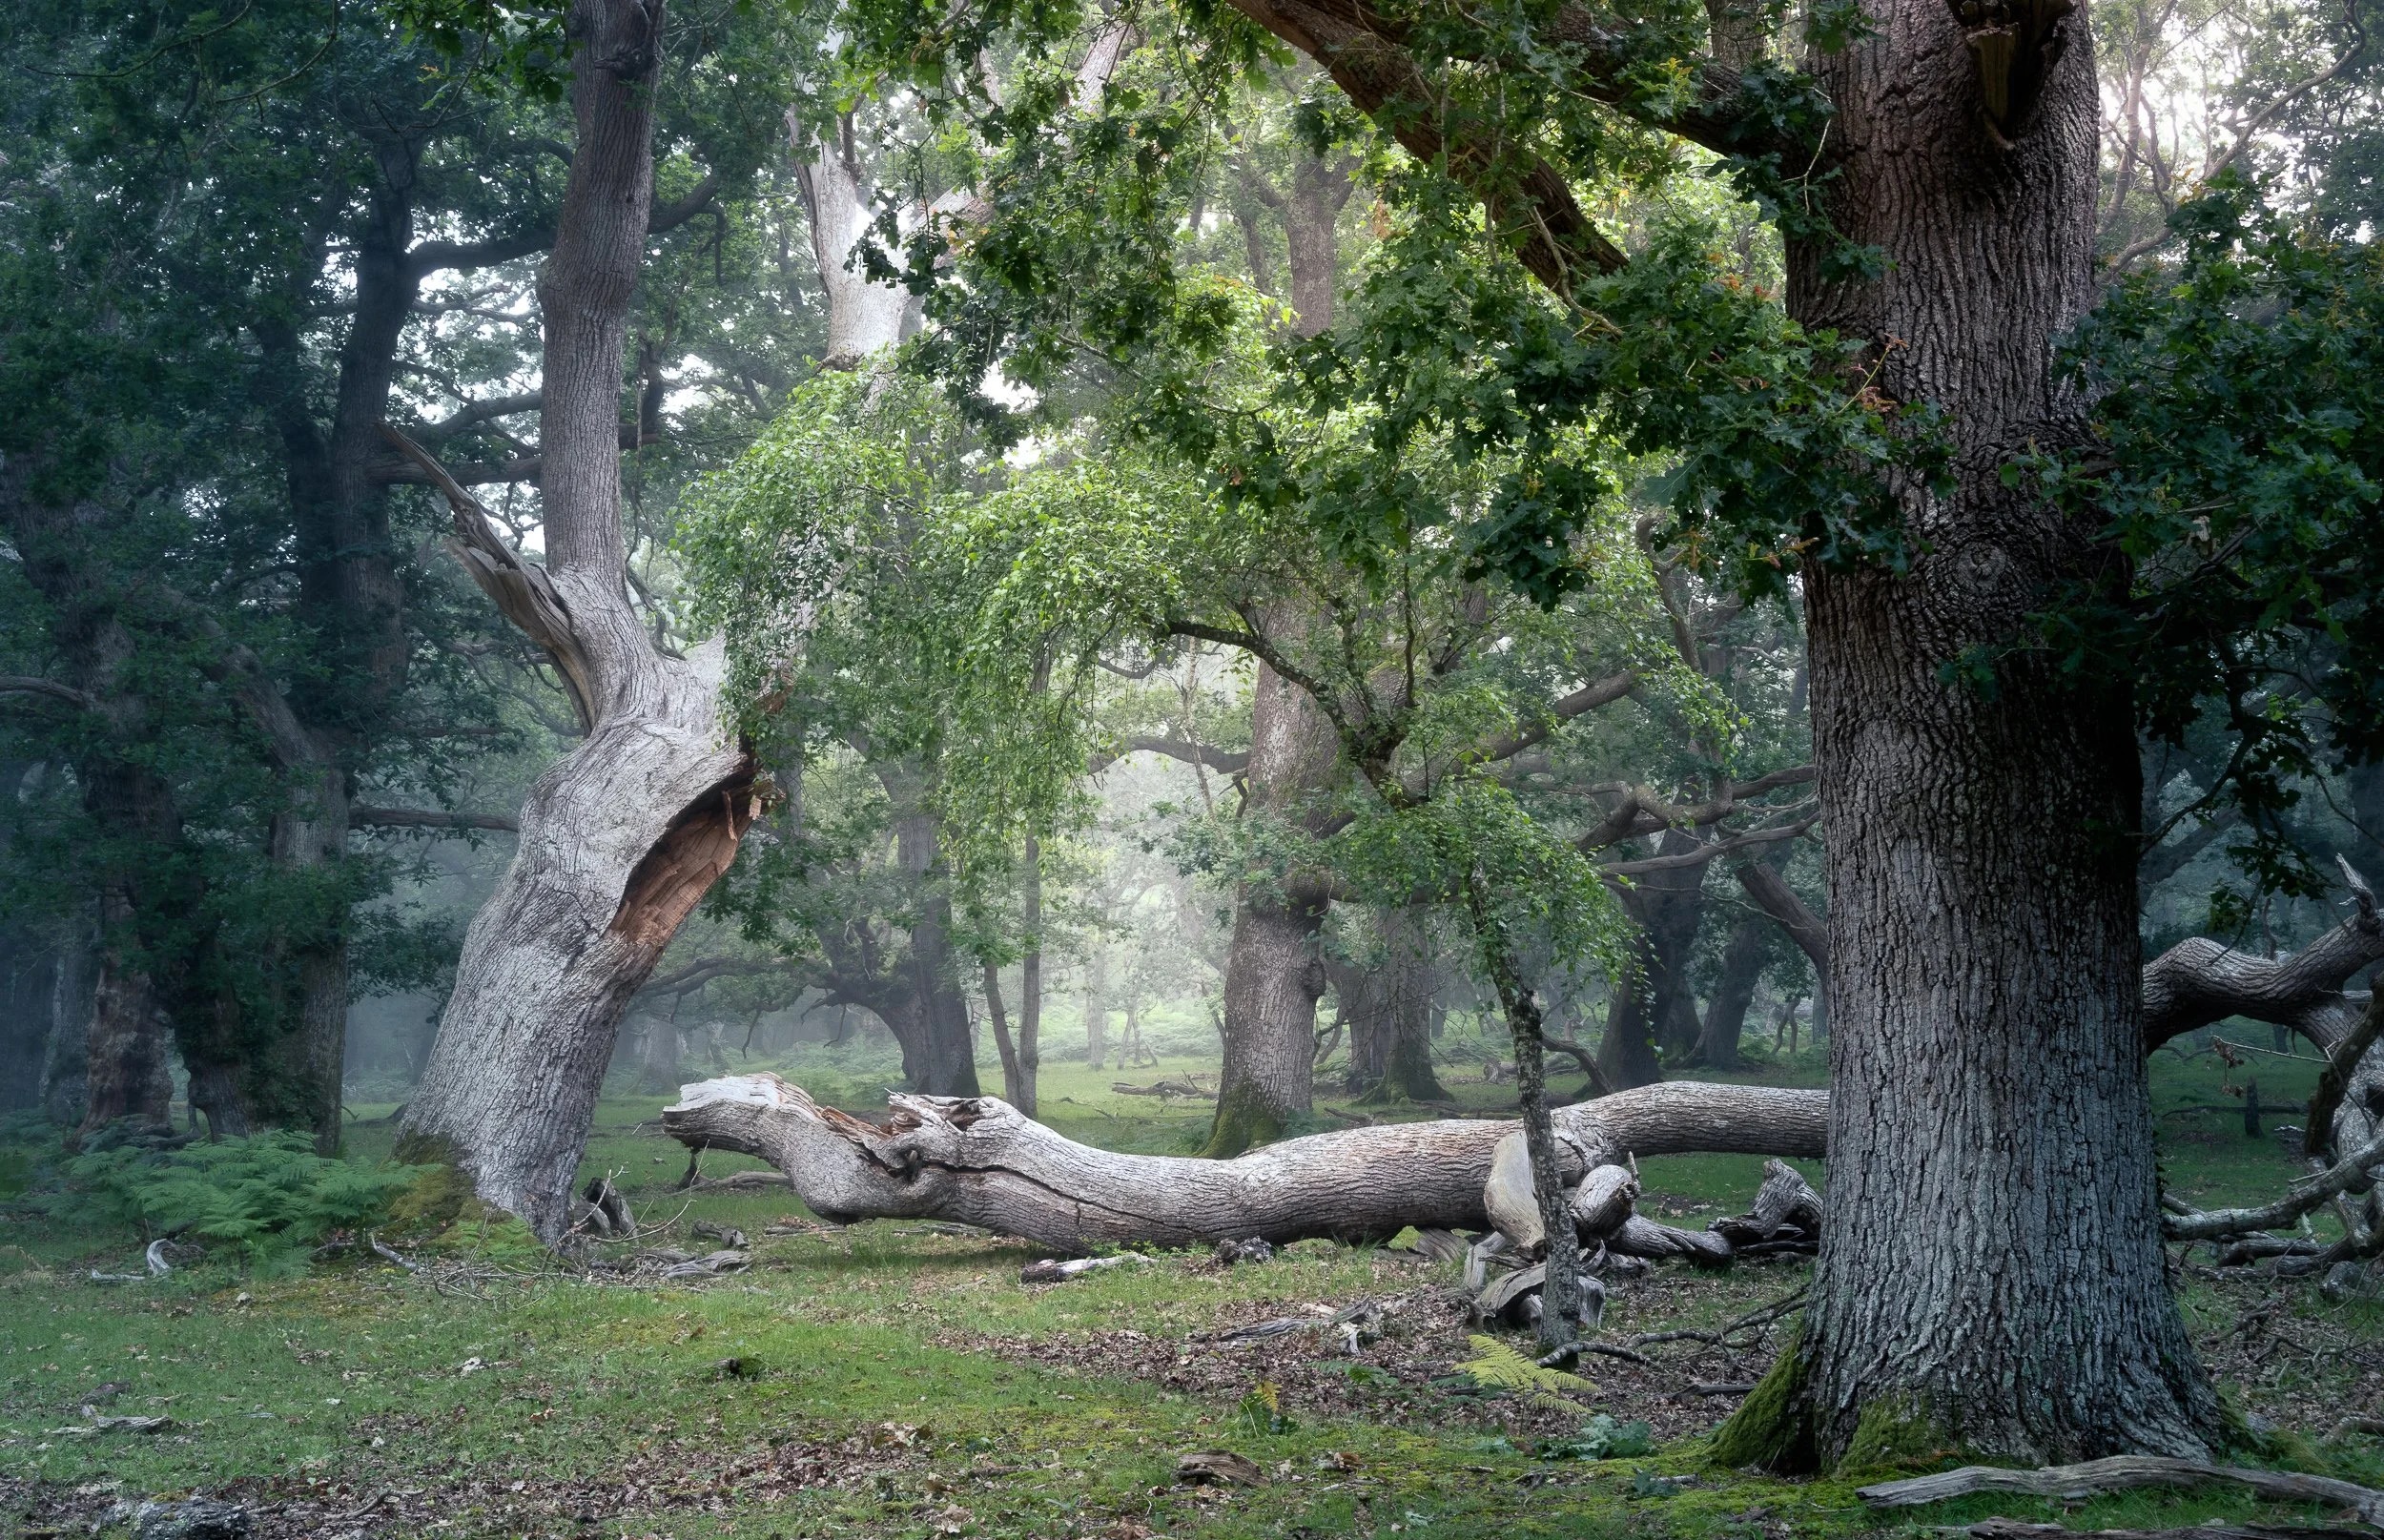
An early morning stroll in the New Forest. The image tells a story for me and leaves questions for the viewer.
That, for me, is the real joy of summer photography. It is not always easy, and it is rarely predictable, but there is always something to try.
If you are struggling with summer landscape photography, do not just wait for autumn. Look for wildflowers, get out early for mist, simplify woodland scenes, try a polariser, experiment with infrared, or take a roll of black and white film into the city. These subjects are all part of the wider story of summer photography, from woodland and wildflowers to street photography and film.
There is always a photograph somewhere. You just might need to change the way you are looking.
Robin Dodd’s tutorial can be seen on his YouTube channel below:
(Please give me a like if you watch it, as this really helps me out. If you got this far….Thanks! Please leave comments below, and I will reply if you want some further advice)
Please leave comments below, and I will reply if you want some further advice